Introduction to M3D Smart UI
M3D Smart UI is out brand new navigation and control system that comes with the new D8500 Enabler Lite and Enabler Pro. The Smart UI helps you control different settings of the printer, start prints, do complete bed levelling, change filament, and even connect the printer to your WiFI network, all directly from the printer. With the Smart UI, you can start using your printer without the need of any computer or laptop attached to it.
This guide is designed to give you a deep dive into the controls and menu of the Smart UI.
The Navigation:
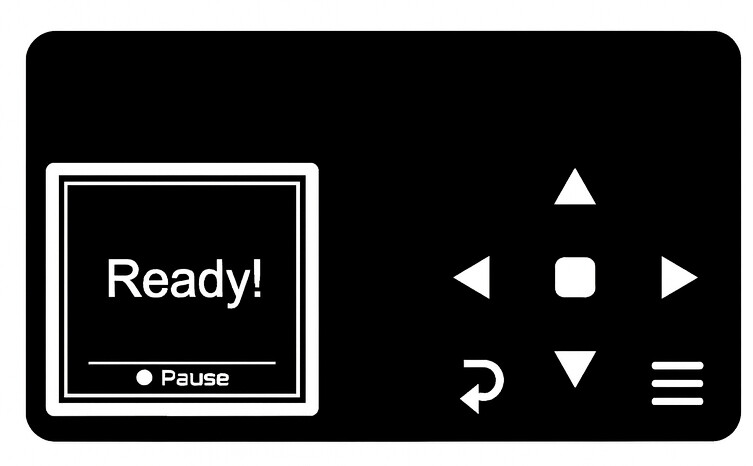
The touch pad of the Smart UI is very self explanatory. You will be using this touch pad to navigate through the menu and control your printer. It has the follows keys:
- Up
- Down
- Left
- Right
- Select (center key)
- Main Menu (bottom right)
- Back (bottom left)
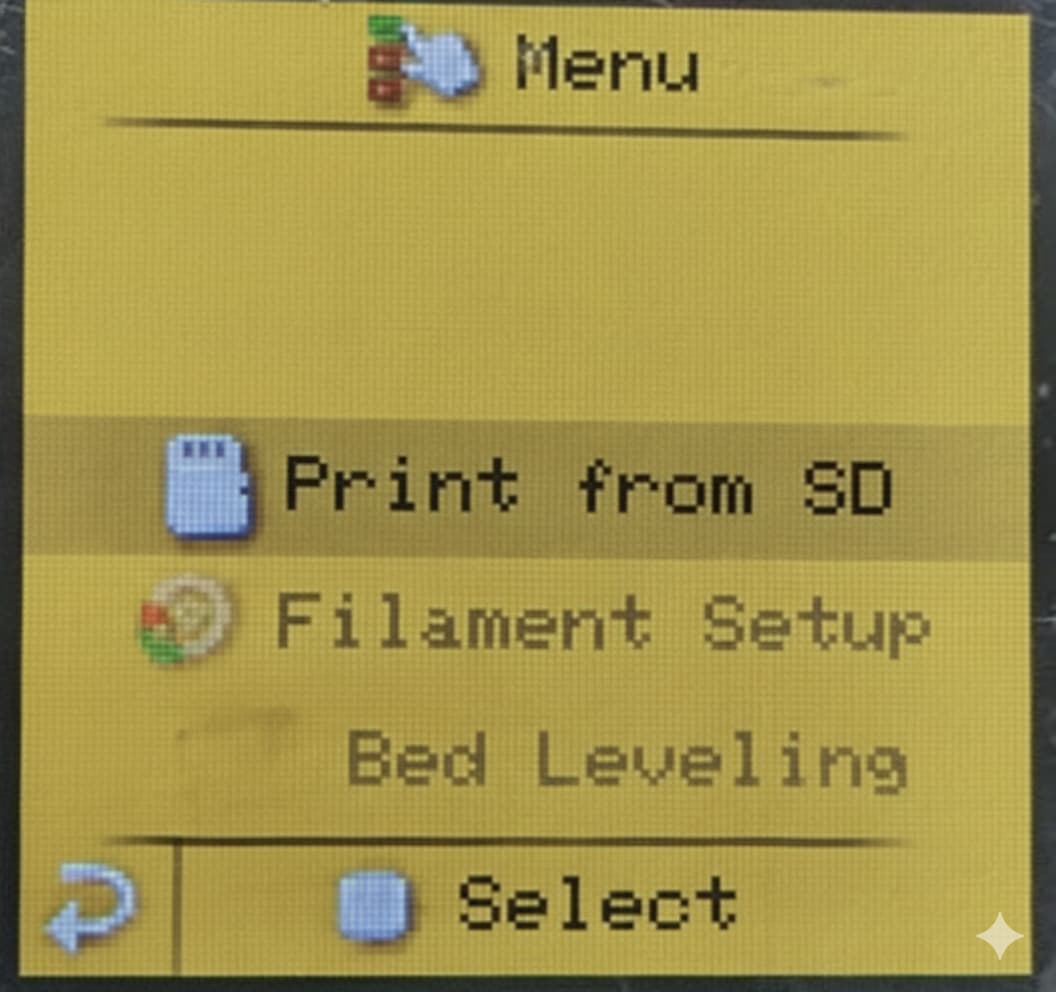
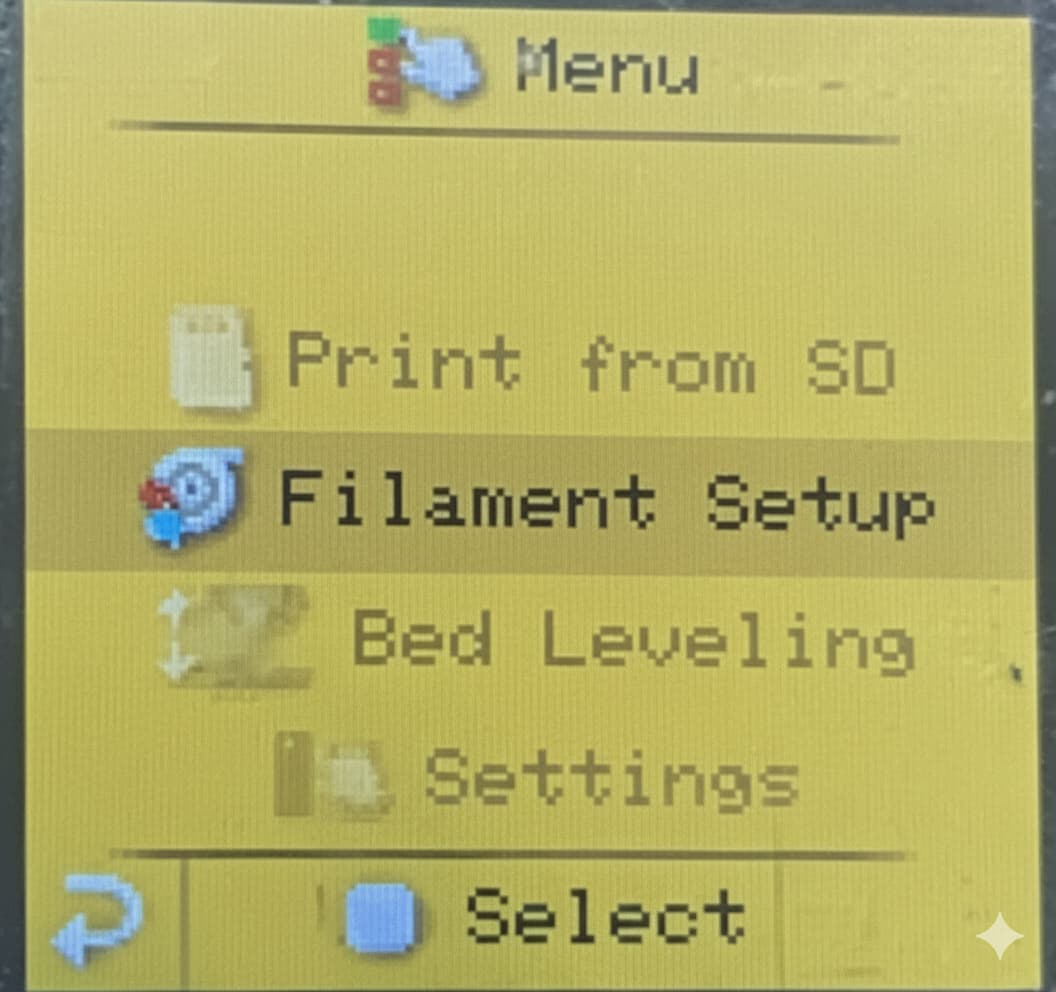
The Menu:
- The menu will be in the form of a list and you will be using the Up and Down arrows to navigate through the different options.
- You can use the Center button to select your desired option in the menu.
- The bottom left corner is the back button which you will use to go back to the previous menu.
- The bottom right button takes you straight back to the main menu. Note that this button will only work in certain menus you can see it on the display.
Now let’s walk through each option in the menu one by one:
1. Print using SD Card:
By using this menu, you can print directly from the SD card present in the printer. You just have to load your .gcode file into your SD card and insert it in the printer before your turn it on. You can load files into your SD card by either using a good quality SD Card Reader or upload using WiFi (preferred method).
Note:
Don’t take out your card while the printer is on. If you want to do so, please use the “Unmount Card” option in the menu to remove the card safely. This option will be explained ahead.
File Selection:
Upon selecting this menu, you will be able to see a list of all the available files you have stored in your SD card. You can navigate all these files using the up and down arrows, and then select your desired model using the center key or right arrow.

Model Preview:
Once selected, the printer will show you a preview of your model along with the material/filament that will be used to printer the model. You can configure this in the Filament Setup menu that we will explore ahead. Press the center key to continue to the next step.

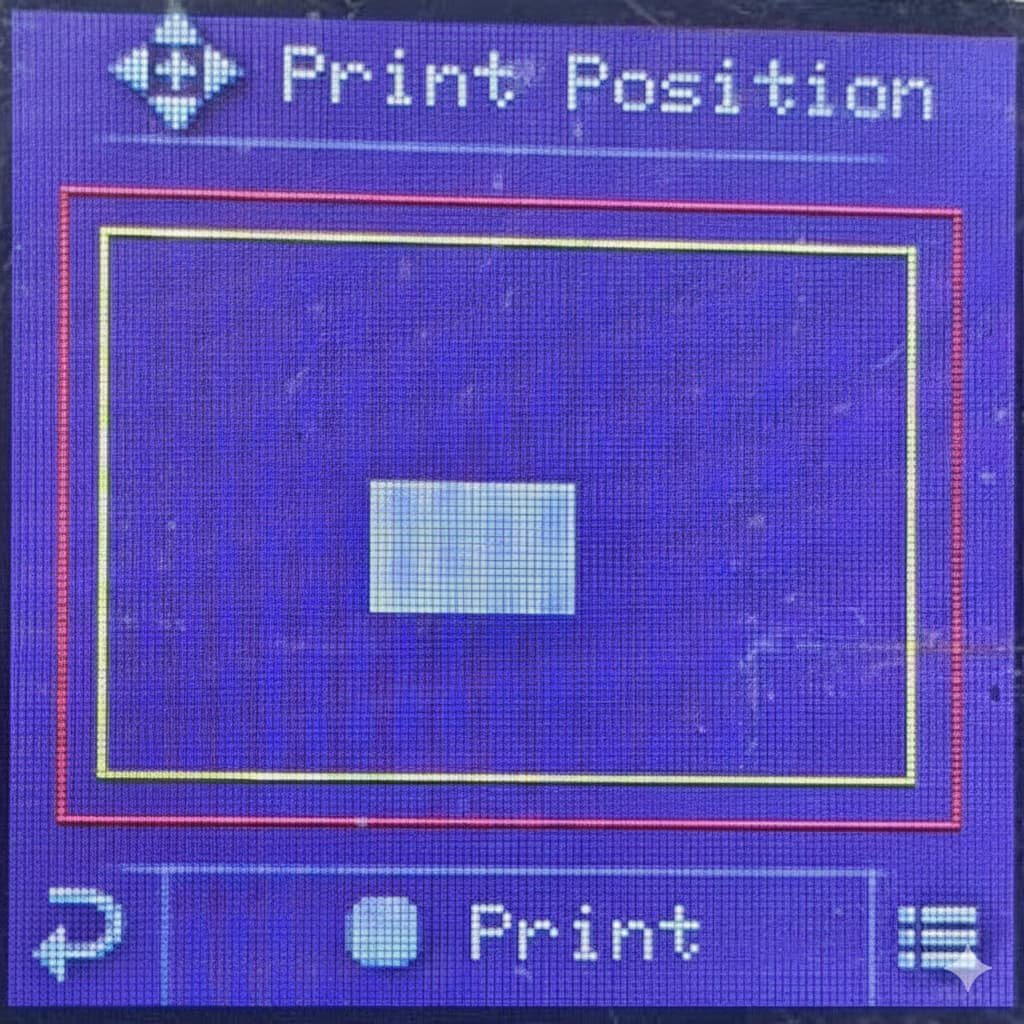
Print Placement:
This menu helps you visualise where your model will be printed on the print bed. You can also adjust the position using the Arrow keys. Once selected, press the center key to start your print.
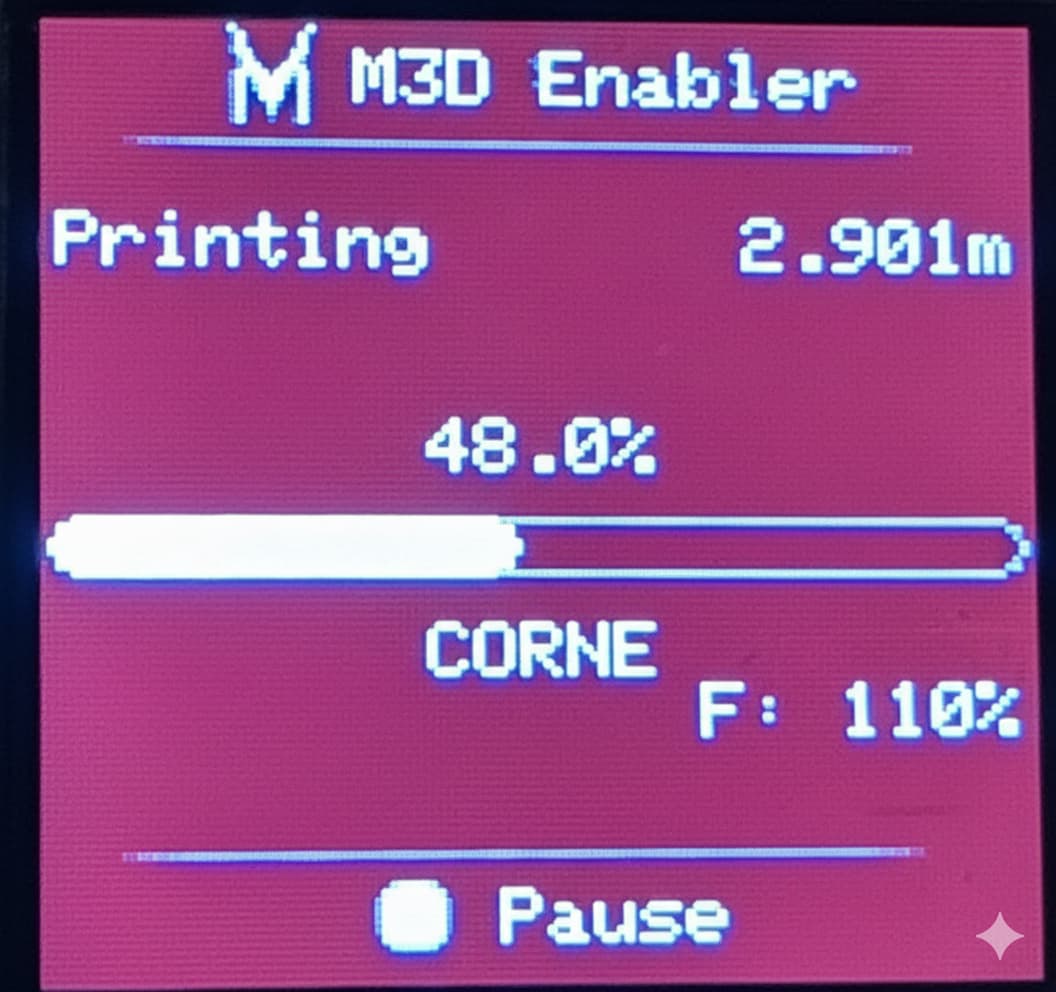
Print Progress:
Once the print starts, the display will the live percentage of your print along with other details of the model being printer.
2. Filament Setup:
This setting allows you to change your filament or to configure your filament settings for the printer.
Note:
If you are using the Enabler Pro, you should be able to see two different extruder settings in this menu.
Color select
This allows you to select the color of your filament. By selecting your filament color in this menu, it would be easier for you to see which color is loaded in each extruder at the time of the printing. Thus, you can choose with which filament you want to print each print while creating a multi-color print.
You can select the different available colors using the left and right keys.
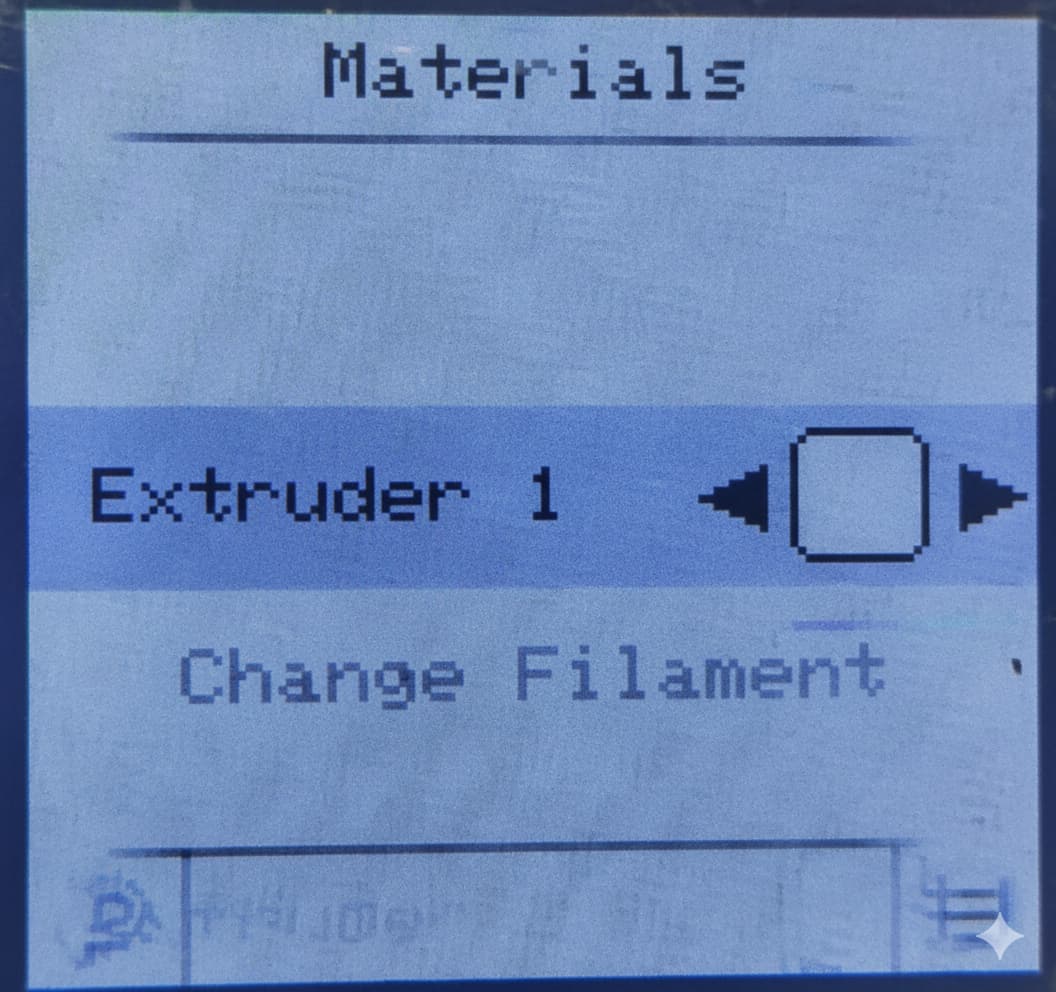
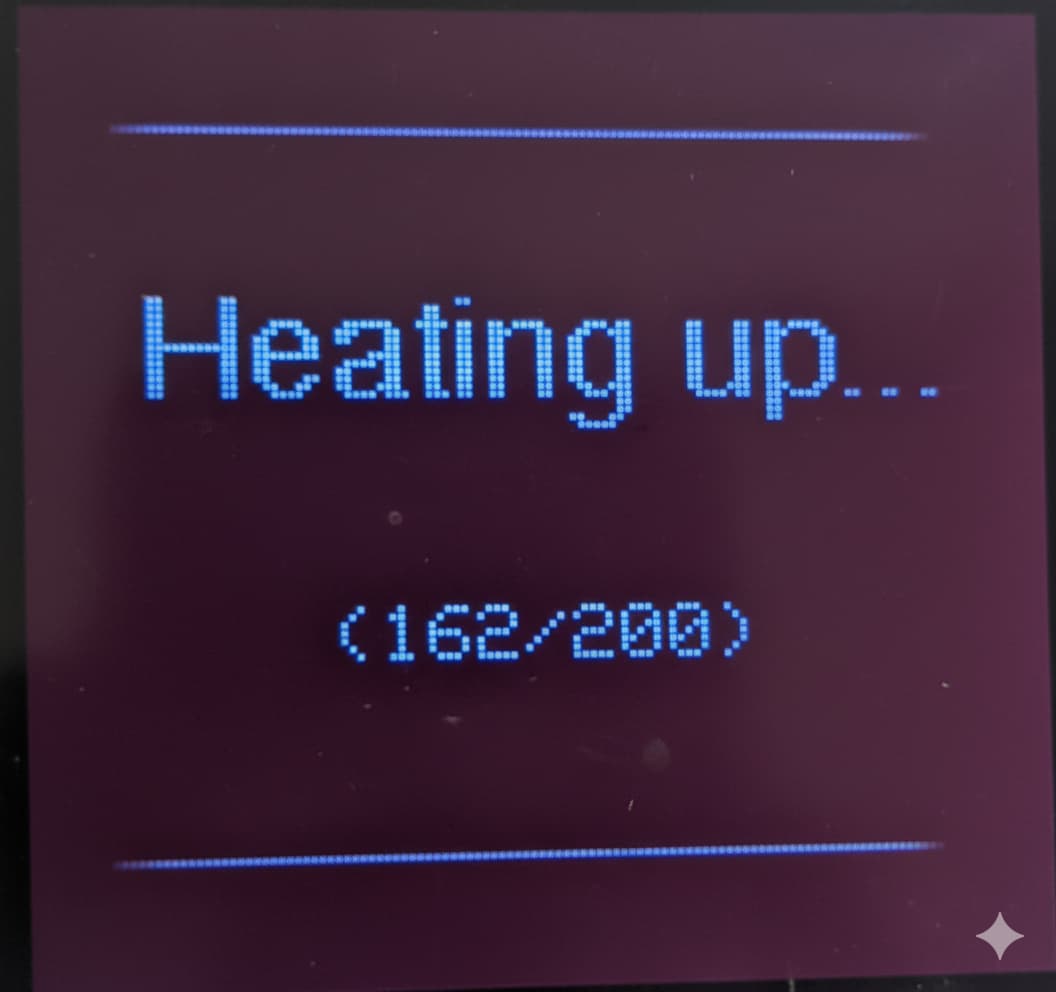
Change filament
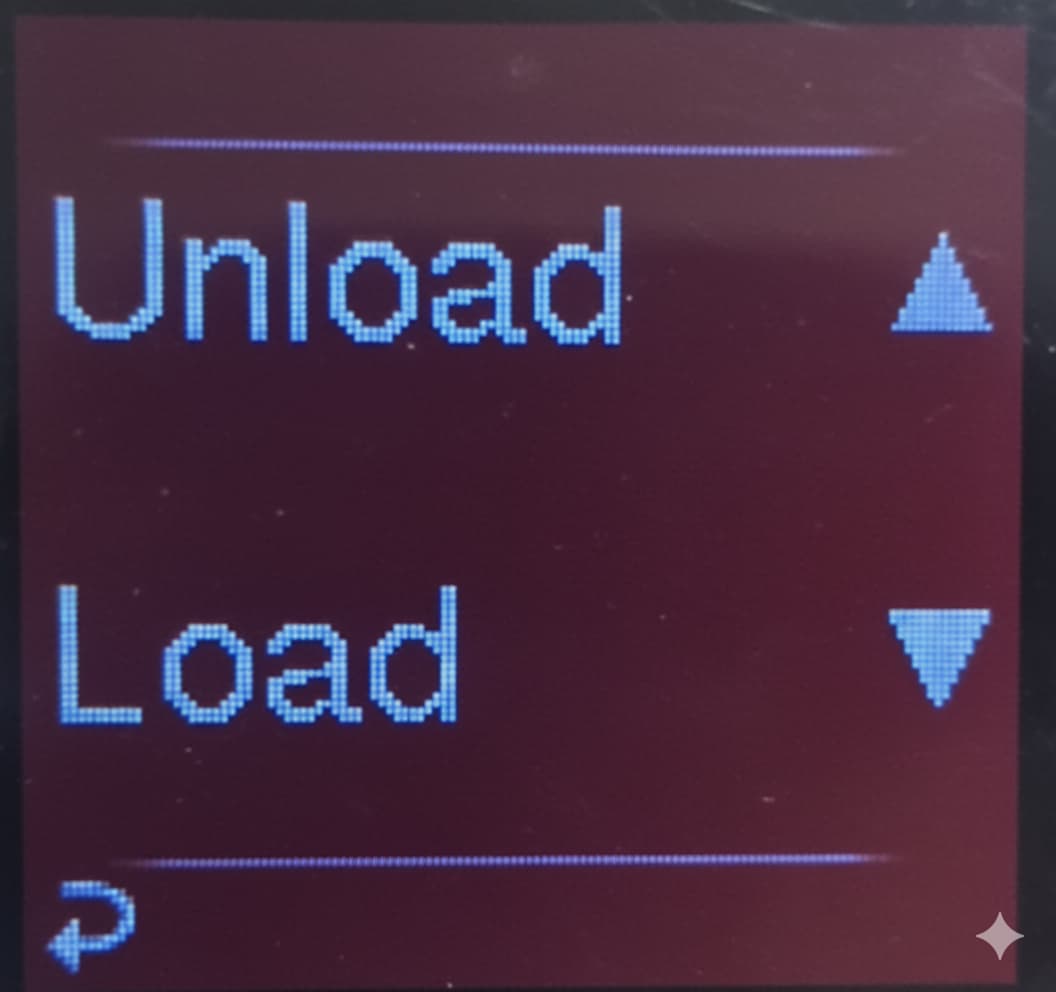
This menu helps you change or load your filament with ease. Once selected, it automatically heats up the nozzle and asks you to prompt for further action.
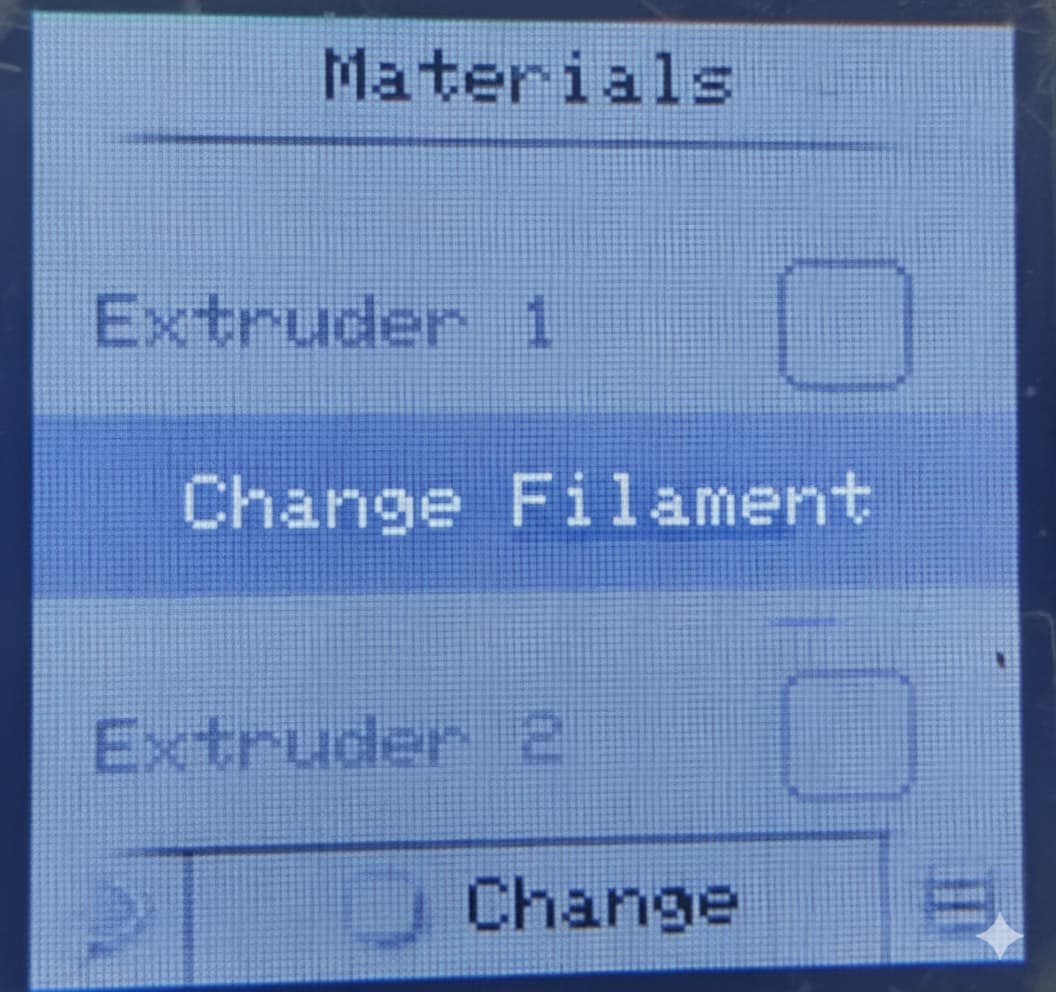
- You can either unload if you have existing filament in your printer and you want to switch it for a different one.
- Or select load if you want to load a fresh spool and there is no filament already present in the printer.
.
.
.
To load your filament, just bring the tip of the filament near the extruder hole and press the Load button. If the extruder stops after a while and there is still no filament coming out of the nozzle, you can press it one or two more times. If there is still no filament coming out, try pushing it slightly with your hand. This is because sometimes the gears grind the filament and makes it hard to grip.
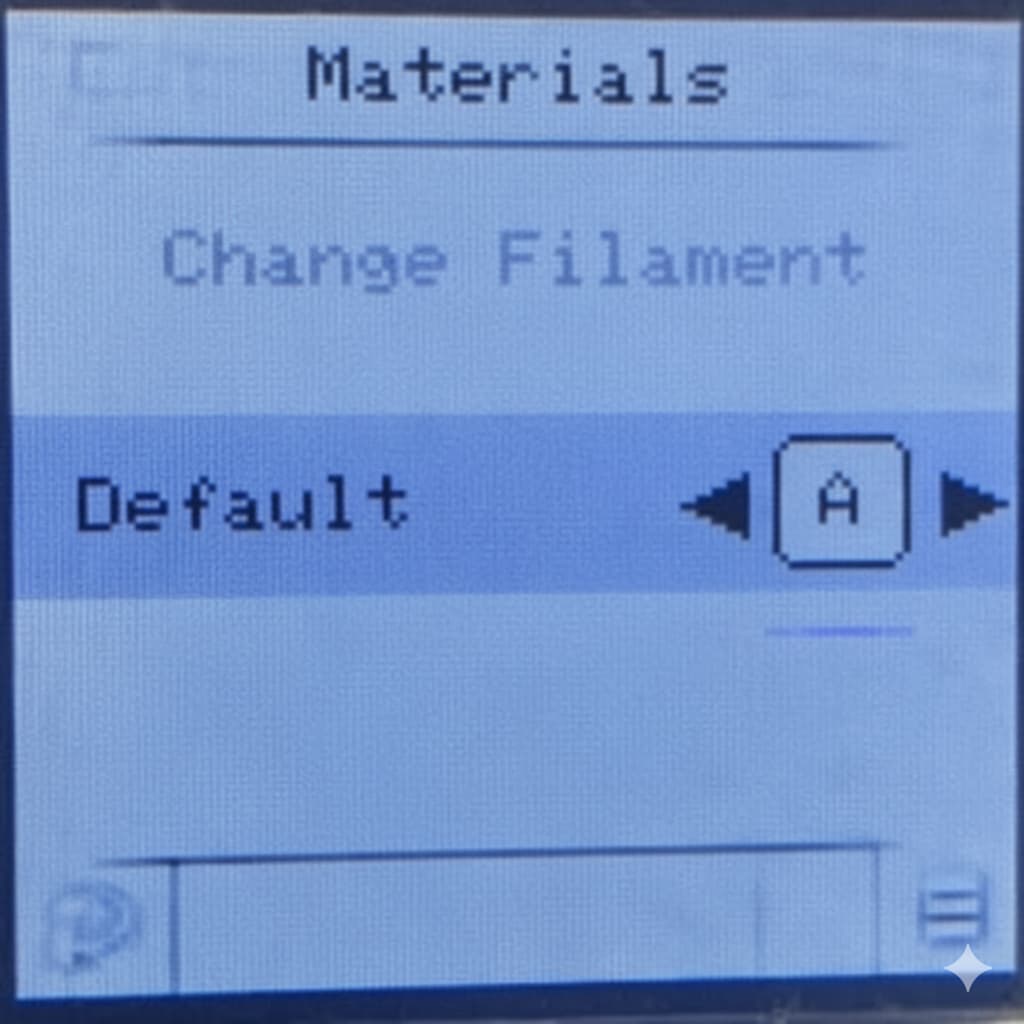
Default Filament
When using two filaments, there will always be a default or go to filament for the printer with which it starts printing if a specific material isn’t specified.
Note:
This option is set at Auto “A” by default. It is recommended to not change this option. The material to be used for the print must be specified during the slicing of the model. Whatever filament/color is selected during slicing will be used by the printer if this setting is at auto.
Changing this setting from auto or “A” may cause the printer to glitch. This issue will be resolved in the future update.
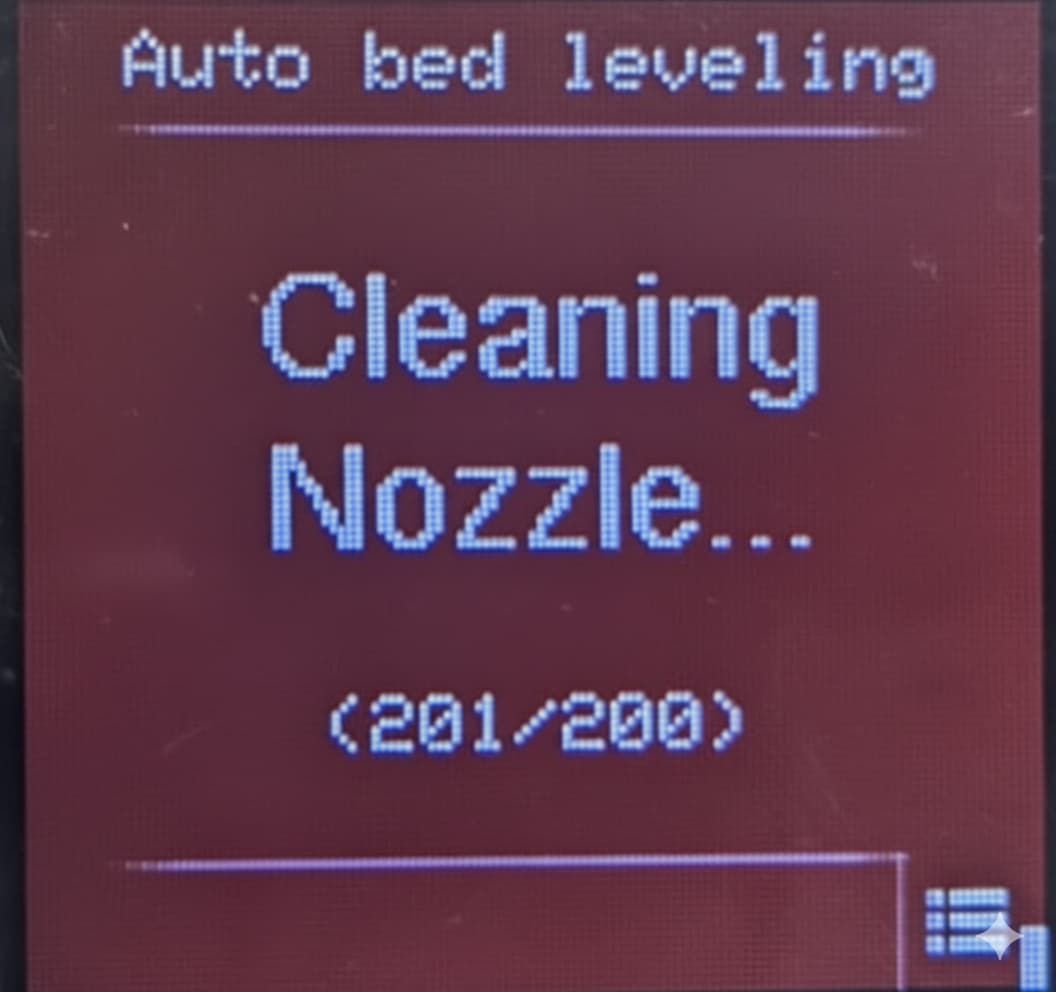
3. Bed Levelling:

Using this menu, you can start the auto-bed levelling process which is one of the unique features of the D8500 Enabler Pro. Once selected, the printer will automatically start heating up and start the bed levelling process and give on-screen prompts.
Before starting bed levelling, make sure there is no filament residue present on the bed to ensure perfect bed levelling.

.
.
.
.
.
.
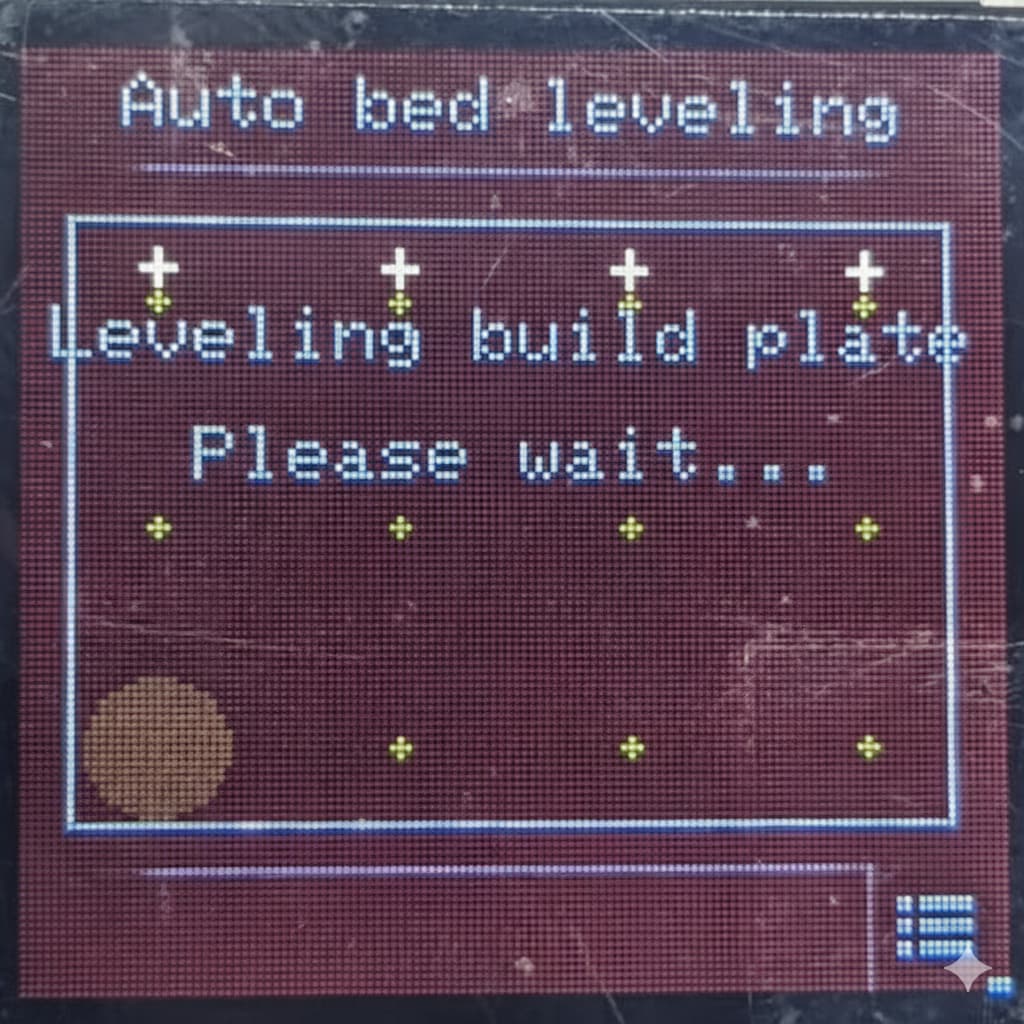
Once the levelling is successful, it will show a confirmation prompt on the screen.

Note:
The D8500 Enabler Pro uses a pressure sensor for automatic bed levelling, which measures the distance between the nozzle and the print bed and adjusts the calibration accordingly.
However, external factors such as vibrations, an uneven surface, or other interference may occasionally cause inaccurate levelling results. If you find that the bed is still not properly levelled after the process, simply run the bed levelling procedure again — this usually resolves the issue.
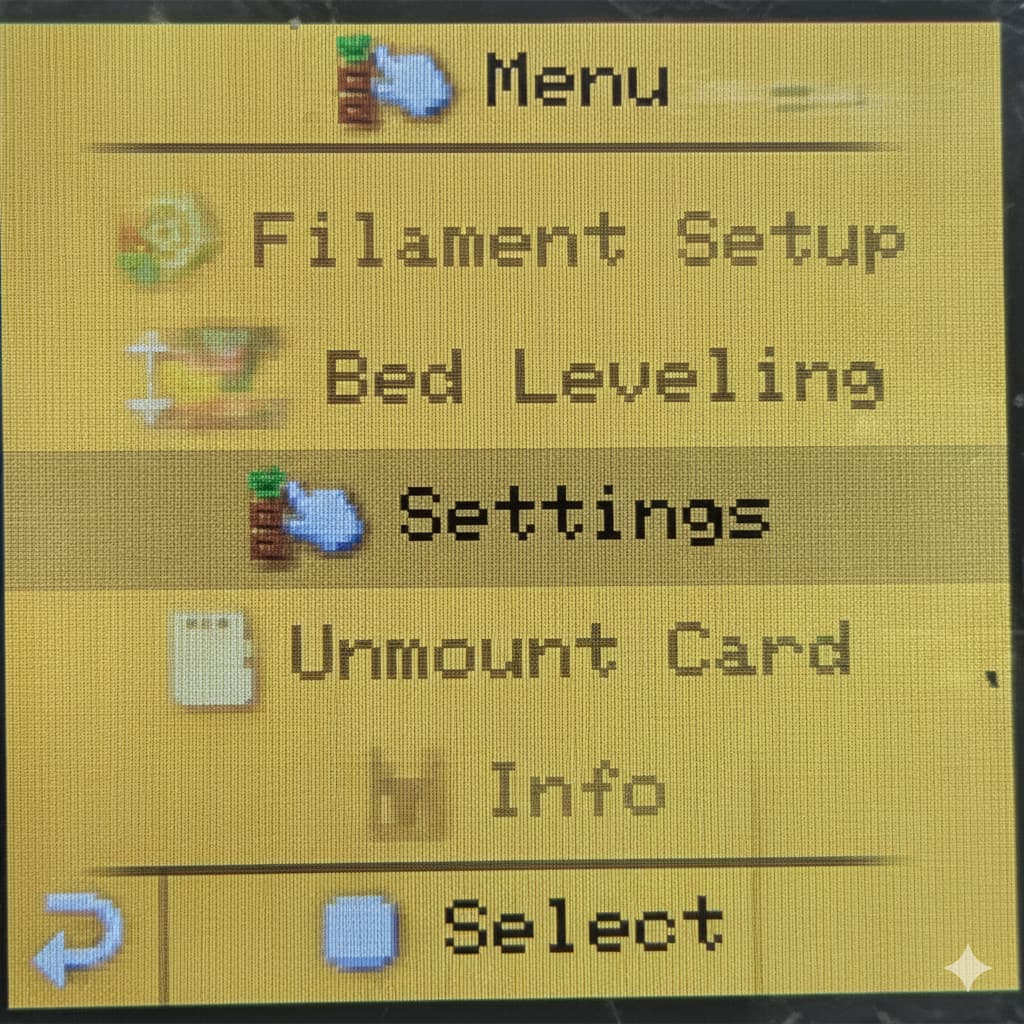
4. Settings
This menu has some options to help configure your printer for optimum use:
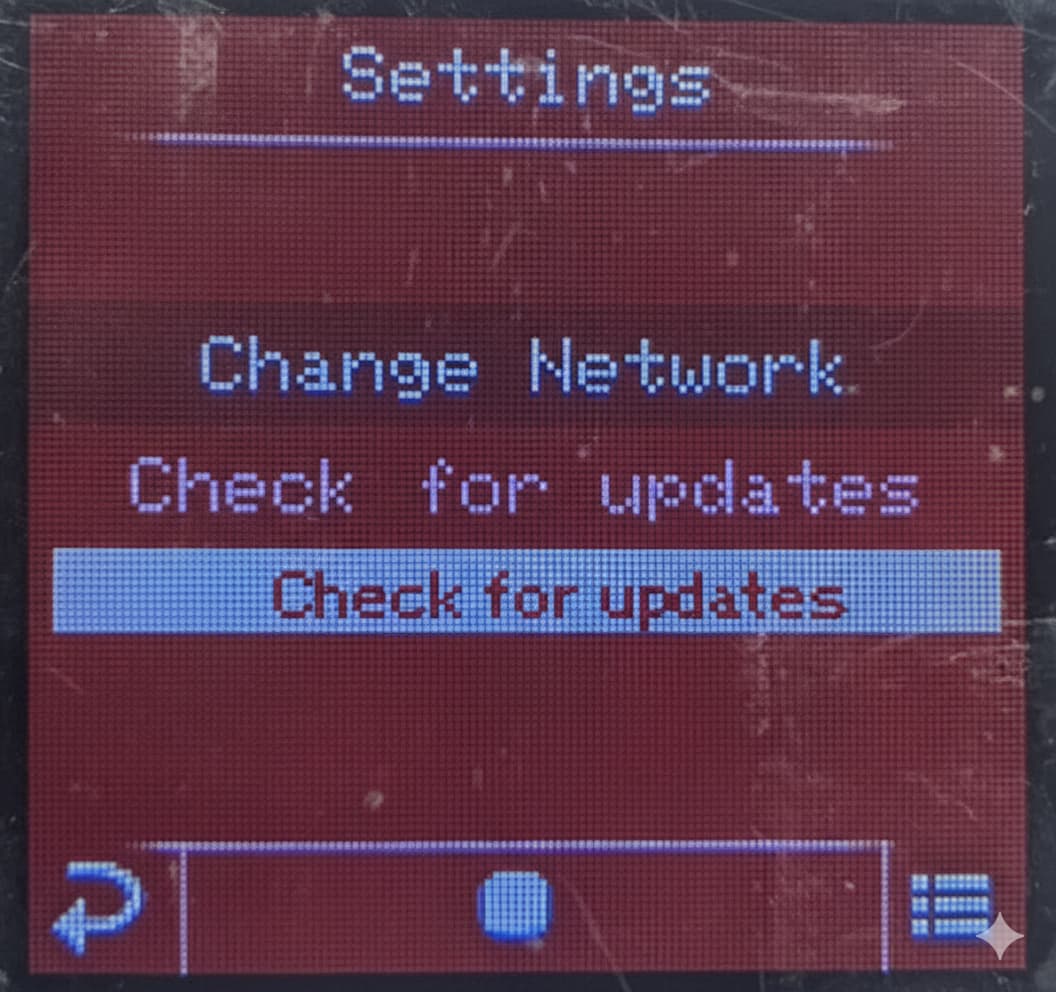
Change Network:
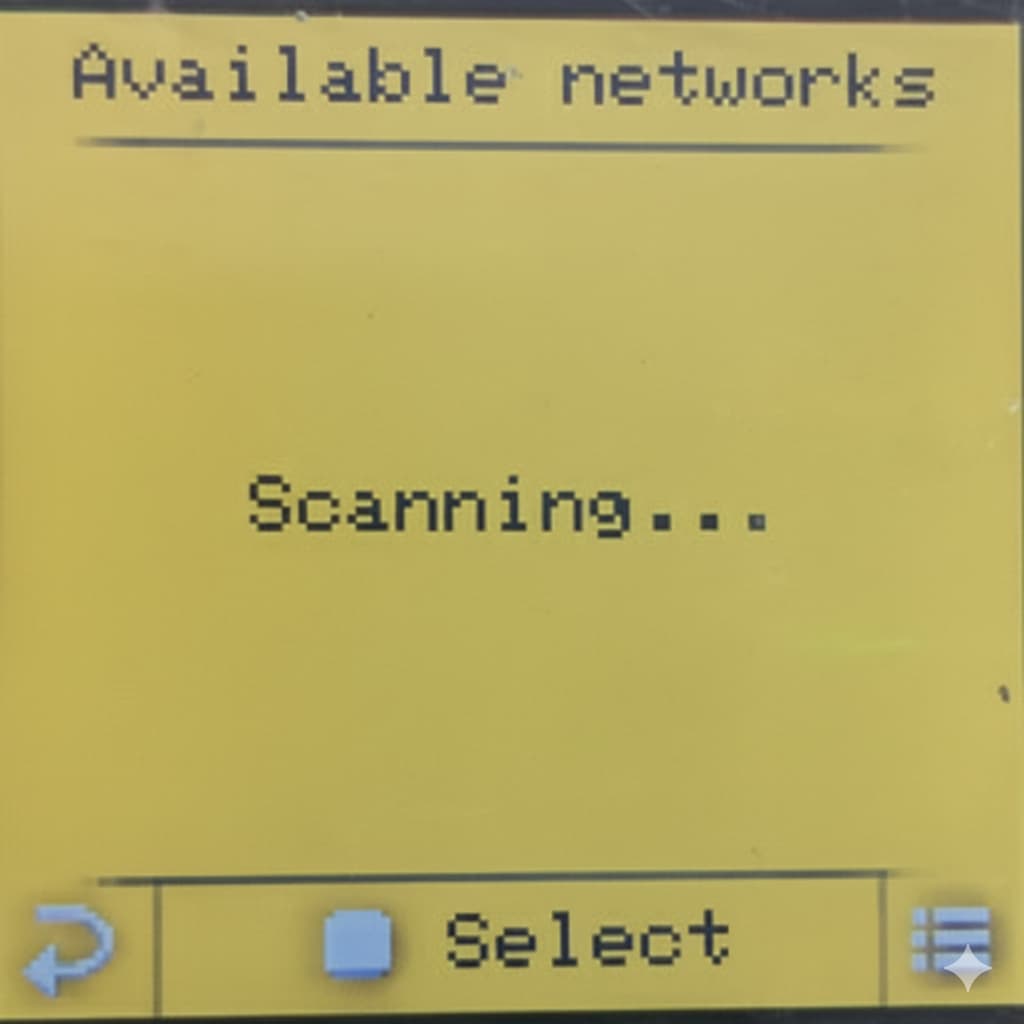
To use your printer over WiFi, you normally need to connect your device directly to the printer’s own WiFi hotspot. However, this can quickly become inconvenient — you have to keep switching back and forth between your home WiFi (for internet access) and the printer’s network (for printing).
A simpler way is to connect your printer to your home WiFi network instead. This way, your printer stays on the same network as your computer, letting you use the M3D Enabler online utility and access all features without constantly changing connections.
Once selected, you will see a list of available WiFi networks. Scroll to you home network and press next.
Once selected, enter your WiFi password using the slider on the left. To switch to capital letters, press the menu button on the button right.
Once done, press the back button to close the keyboard and then press the select key to confirm the password.
You will see a confirmation message once the printer connects to your WiFi network.
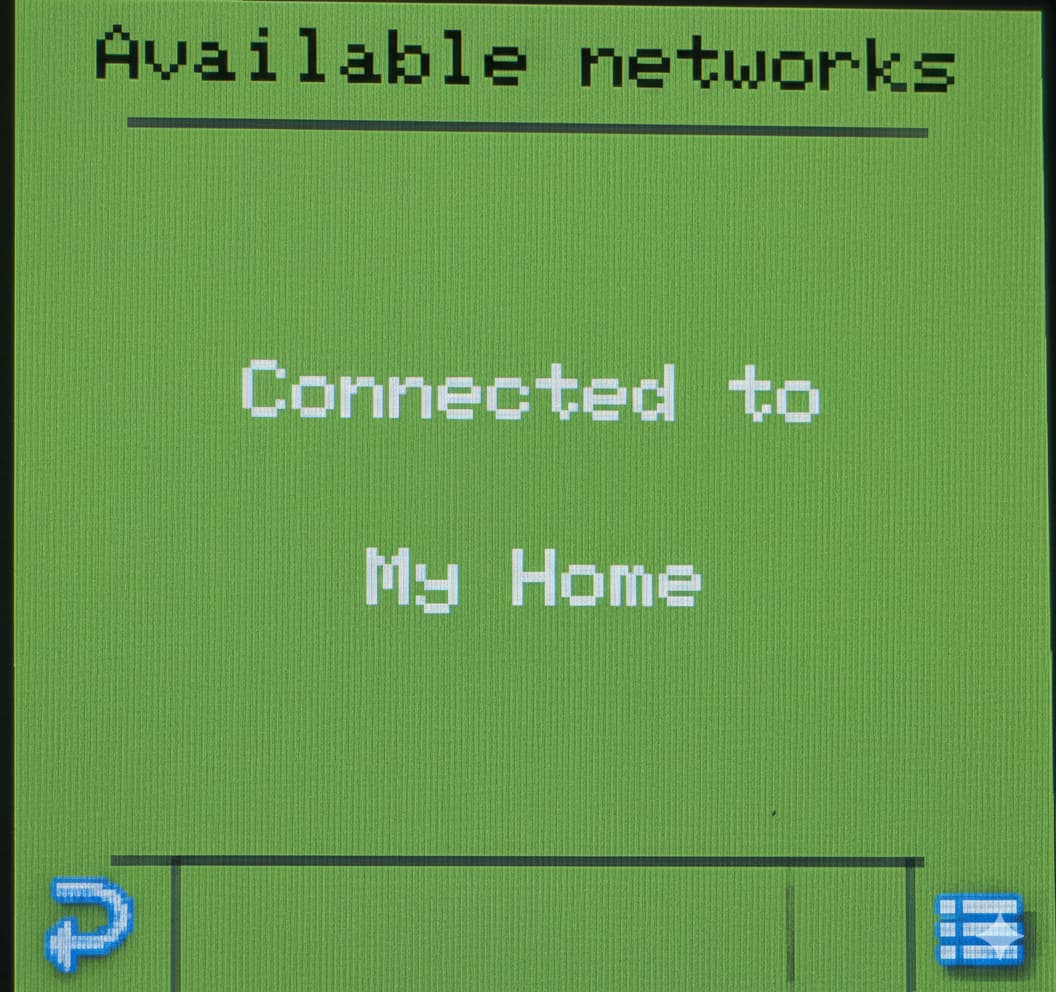
Now you can directly go to http://m3d-enabler.local/ without connecting to your printer since your printer and your computer/laptop are connected to the same WiFi network.
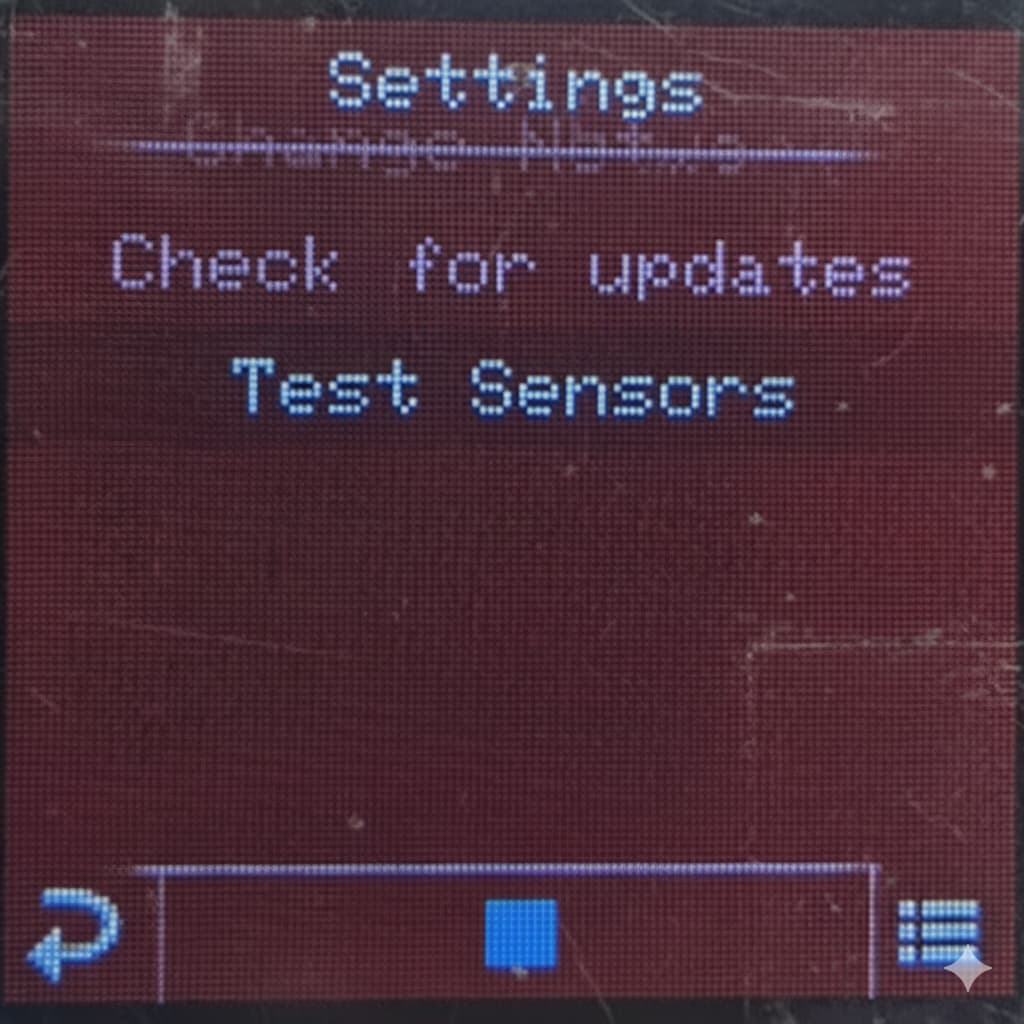
Check for Updates
This menu can be used to update your printer’s firmware whne we push out a new update. You will be notified via this community as well as via other channels whenever we push out an update.
Test Sensors:
This menu is used to test different sensors and calibrations of the printer. This is a purely diagnostic tool for us to use to troubleshoot in case of any diagnosis or repair. Users are advised not to use this.
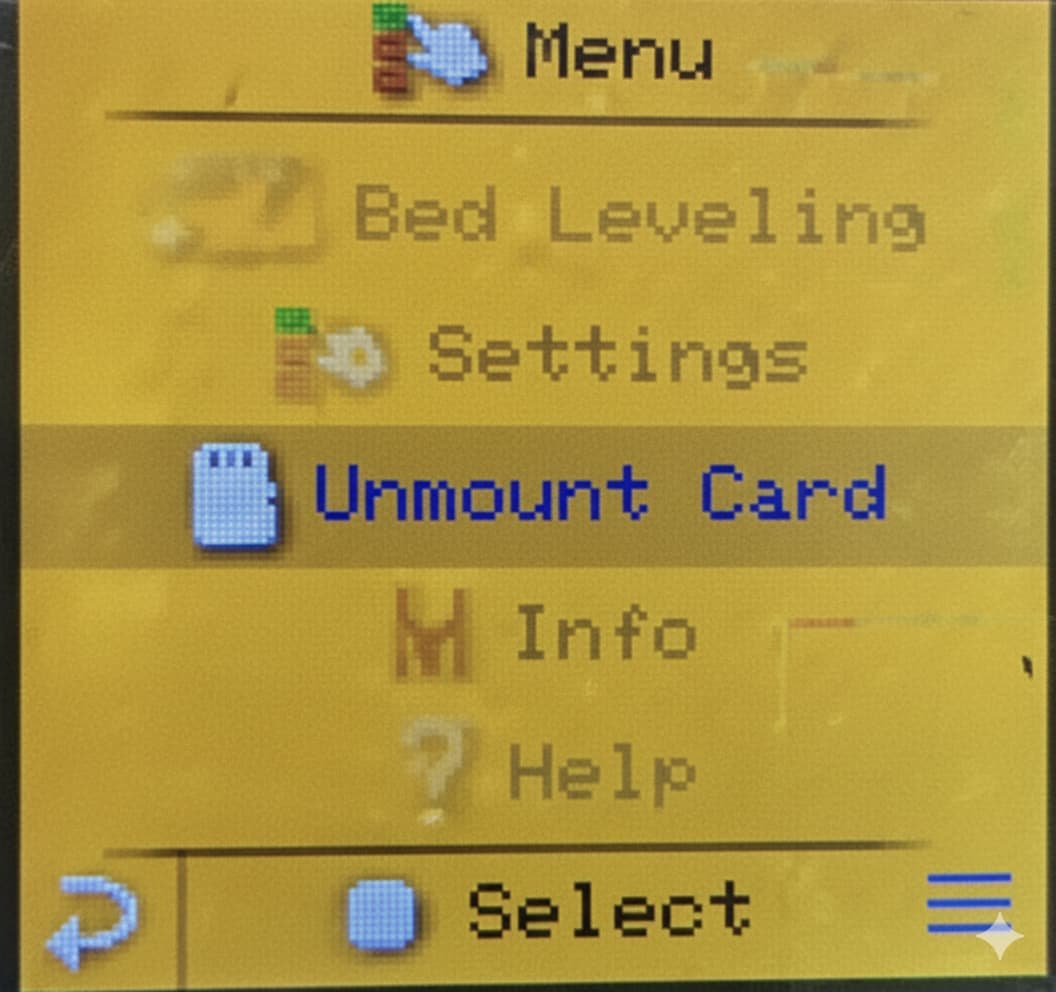
Unmount SD Card
Whenever you want to remove your SD card from your printer, you have to eject/unmount it first using this menu. When you press it, you will see a confirmation message when the SD card is safe to eject.
.
.
.

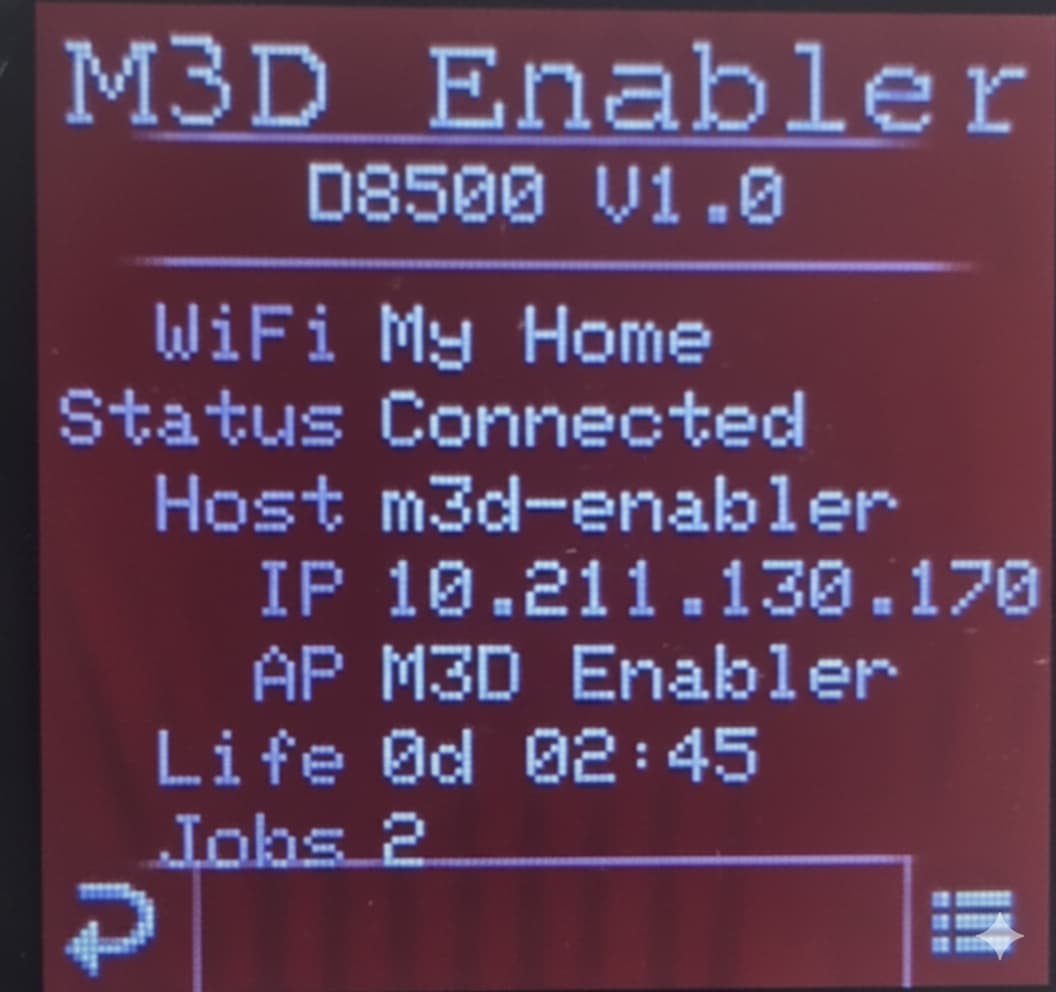
6. Info :
This menu provides a list of information about your printer including and most importantly the wifi network to which the printer is connected. This is the most important for you as the user since the printer needs to be connected to the correct WiFi for you to be able to use it online.
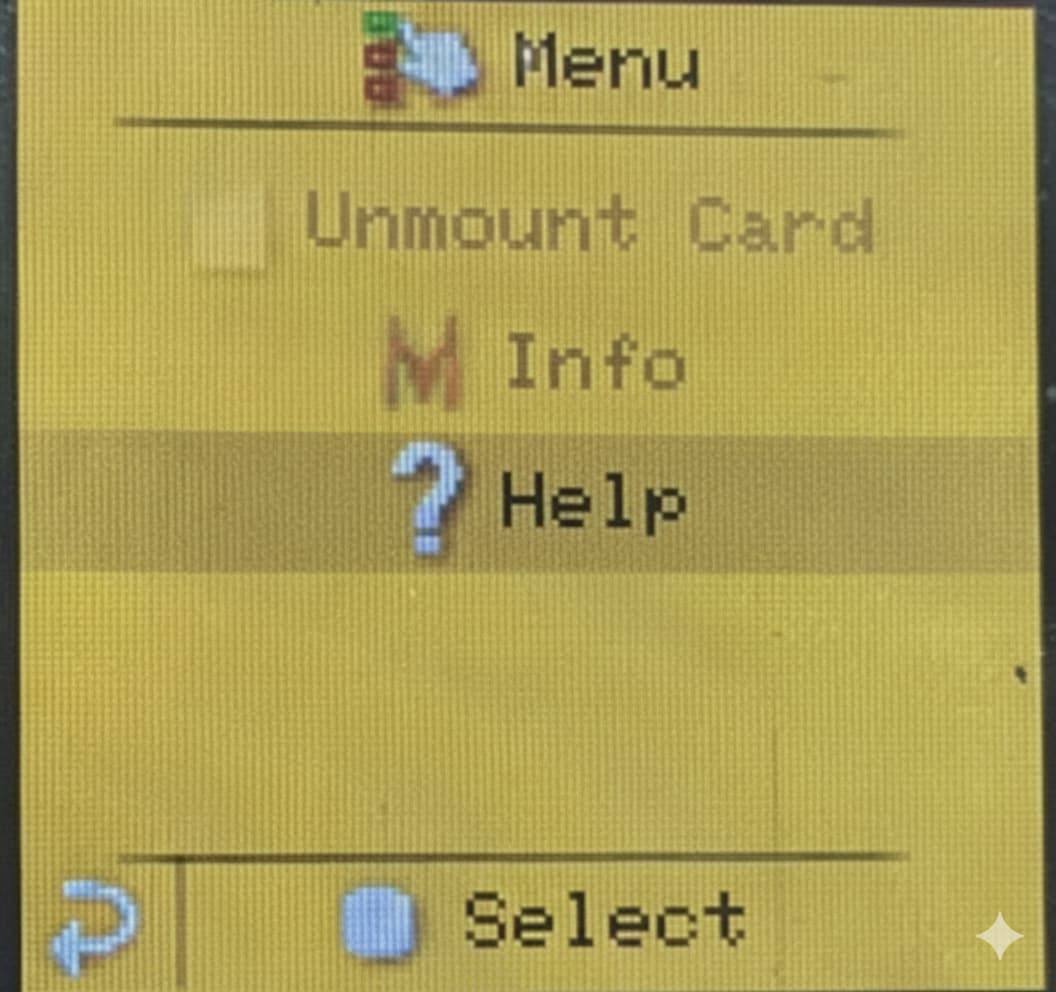
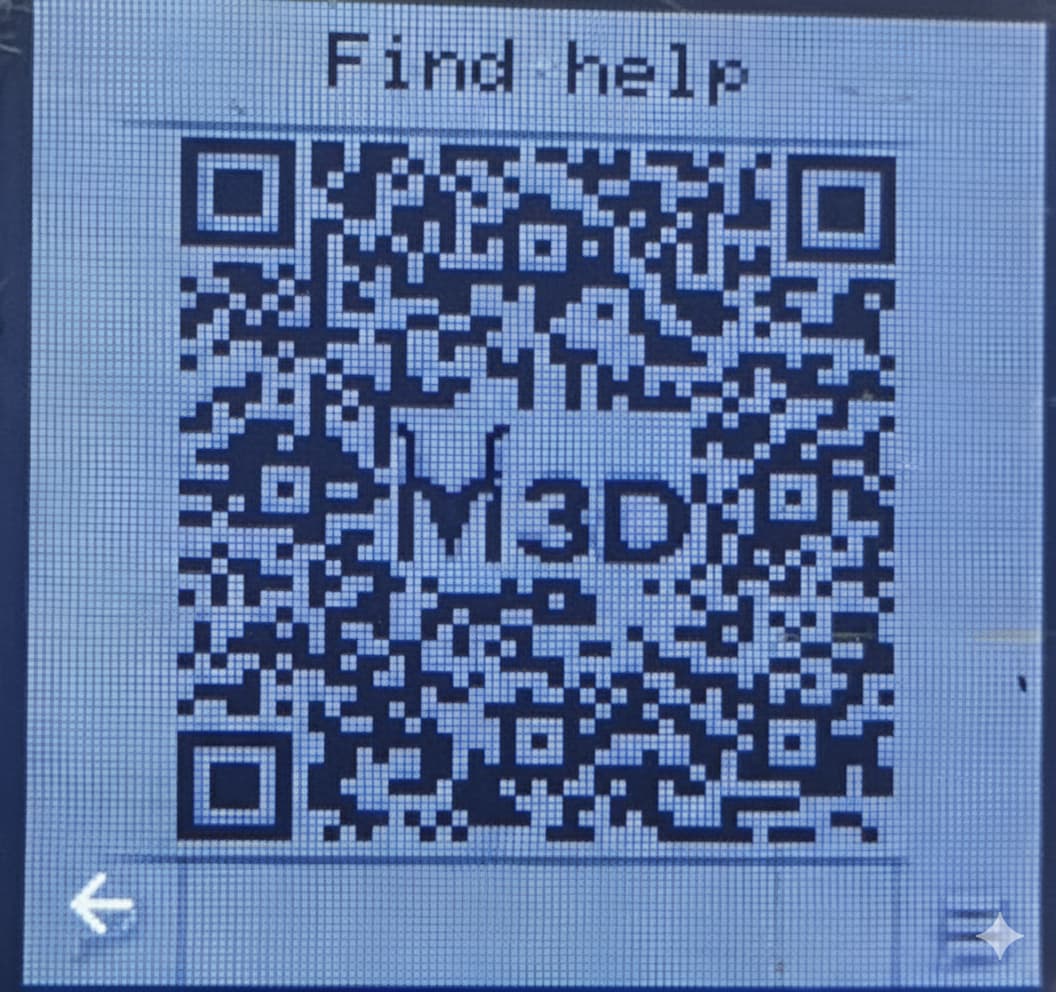
7. Help :
This menu provides you a QR code to scan which will redirect to our community page. On our community page, we have a list of guides available for you to help you understand how the printer works as well as troubleshoot any problems you are facing.
Additionally, you can also comment under the posts if you are still confused about any step or cannot troubleshoot your problem.
As you explore the menus and settings outlined in this guide, you’ll discover how much control and convenience M3D Smart UI truly offers. And remember — this is just the beginning. We’re constantly improving the system through firmware updates and community feedback to bring you an even better printing experience.
Thank you for choosing M3D. With the D8500 Enabler Series and Smart UI, you’re not just printing objects — you’re shaping ideas into reality.
Happy Printing! ![]()