Grade 5 – Session 5: “Energy Transformation—Solar to Electrical”
Session Architect: Aleeza Ayaz - Markhor3D
Session Length: 50-60 minutes
Session Overview
In this session, students explore how solar energy is converted into electrical energy using solar panels. They will work with MeasureLab to measure and optimize the power output of a solar panel by varying its angle, using reflective surfaces to increase light exposure, and observing how shading impacts efficiency. Through hands-on experimentation, they will analyze real-time data on voltage, current, and power, and investigate the relationship between light intensity and energy generation. Students will connect their findings to real-world applications, such as solar farms and rooftop panels, gaining an understanding of how engineers optimize solar systems for maximum efficiency. This session fosters collaboration, critical thinking, and an appreciation for sustainable energy solutions.
Equipment Required:
- MeasureLab (operating on battery) attached to a small solar panel.
- Aluminum foil or mirrors to reflect light onto the solar panel.
- Shading materials (e.g., paper, cloth).
- Protractor for measuring angles.
- Outdoor space with sunlight.
- Worksheet for recording power output.
- Pens, pencils, markers, etc.
Learning Objectives:
In this session, students will:
- Understand how solar energy converts into electrical energy using solar panels.
- Learn the relationship between voltage (V), current (A), and power (W).
- Investigate how angle, light intensity, and shading affect the power output of a solar panel.
- Experiment with reflective surfaces to increase power efficiency.
- Analyze real-time data on power and understand how solar panels generate electricity.
Teacher Resource:
Session File: ML55.plf (55.6 KB)
Preparation:
This step has to be done before the session on each workstation/apparatus by the teacher/session instructor:
- Make sure that each computer has Physlogger installed and can detect the Measrelab when connected to it using the provided cable.
- Each Measurelab should have access to a power outlet for sensors that require external power. For this session, we will use the solar panel attachment which requires external power source to be connected.
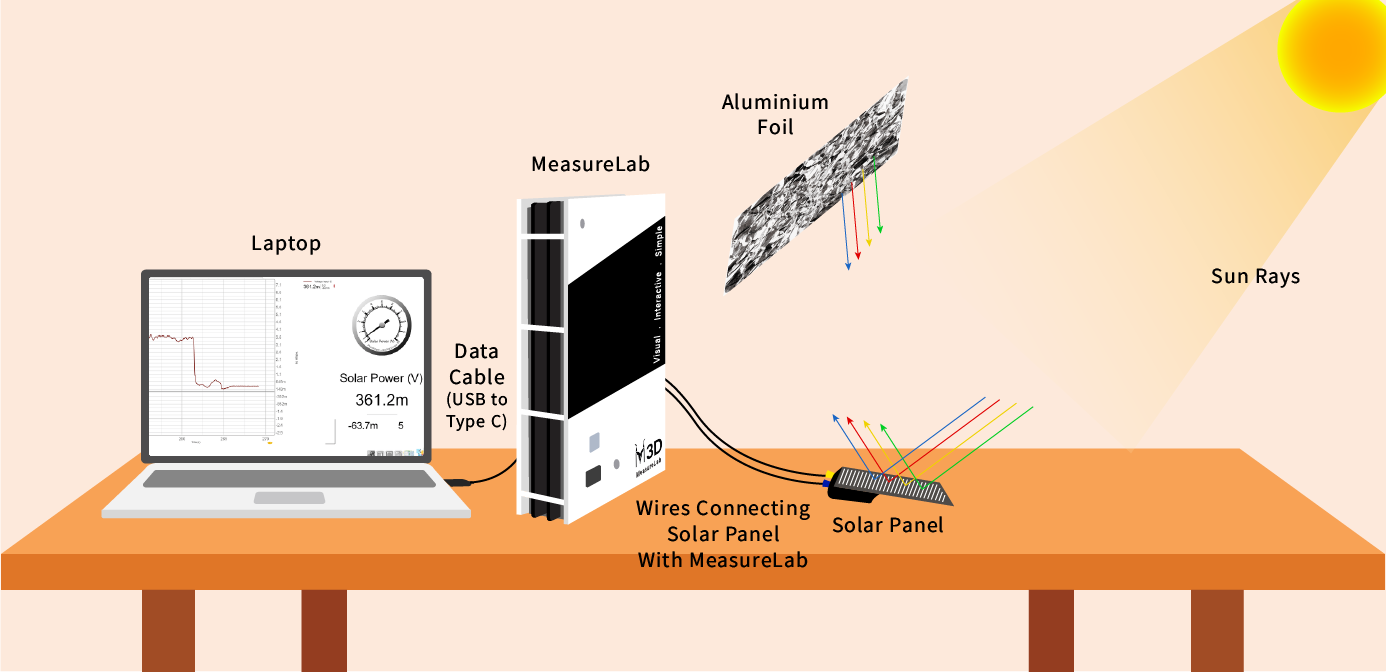
- Use the provided Banana-to-Banana cables to connect the Solar Panel to the Measurelab using the following analog port:

The red wire goes in the yellow terminal and the black wire goes in the blue terminal.
- Once connected, launch the Physlogger application and load the session file provided in the resources section.
Your setup will look something like this:
Introduction and Hands-On Exploration: (35-40 minutes)
Engaging Students with a Quick Demonstration:
- You may start by asking:
“Who has seen a solar panel before? Where do you think they are used?”
- Let students mention places like rooftops or calculators. Guide them to understand that solar panels convert sunlight into electricity.
- Introduce the Solar Panel and Power Output:
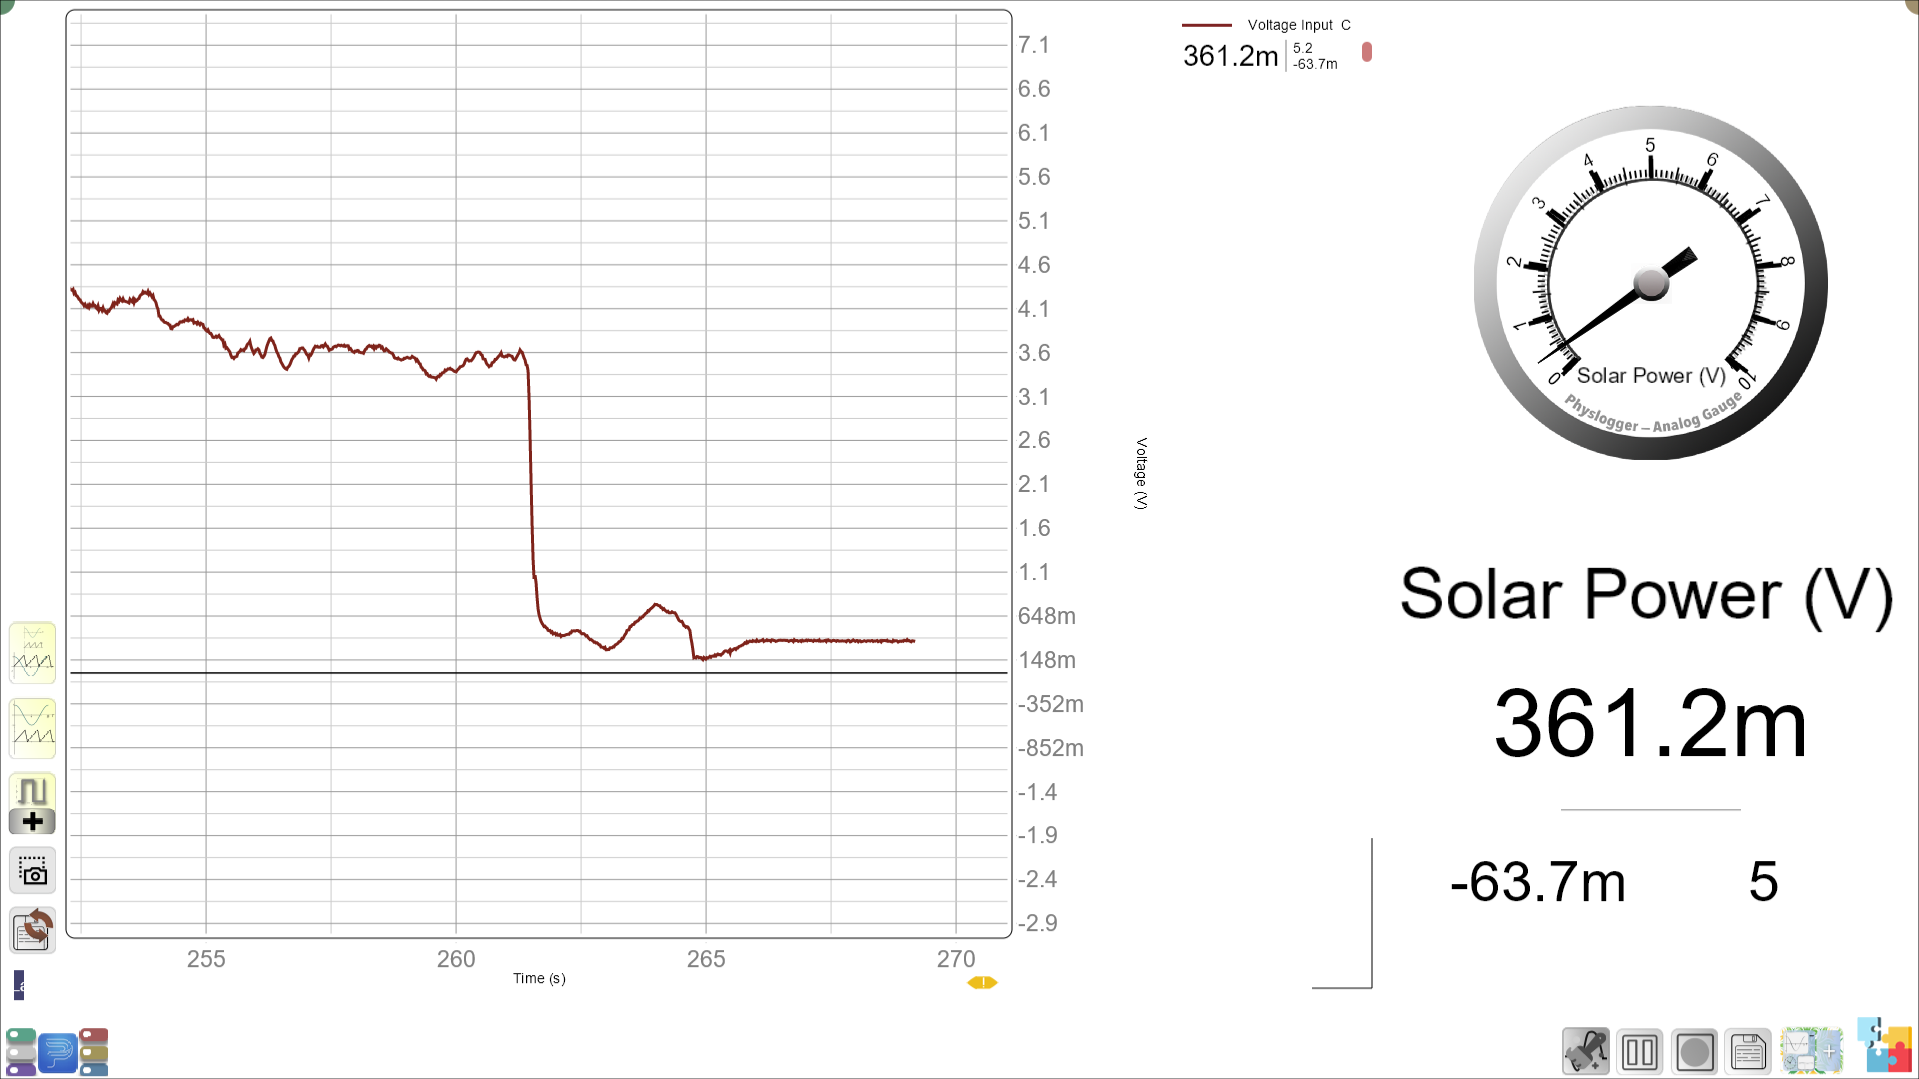
- Show the solar panel connected to MeasureLab, and explain that today they will measure power output.
- You may ask:
“Do you think changing how the solar panel faces the sun will change how much electricity we can get?”
- Introduce the term power:
“Power is how much electricity the solar panel makes. The higher the number, the more power we’re generating.”
Step 1: Experimenting with Solar Panel Angles
- You may ask:
“What happens if we tilt the solar panel toward the sun? Will it make more or less electricity?”
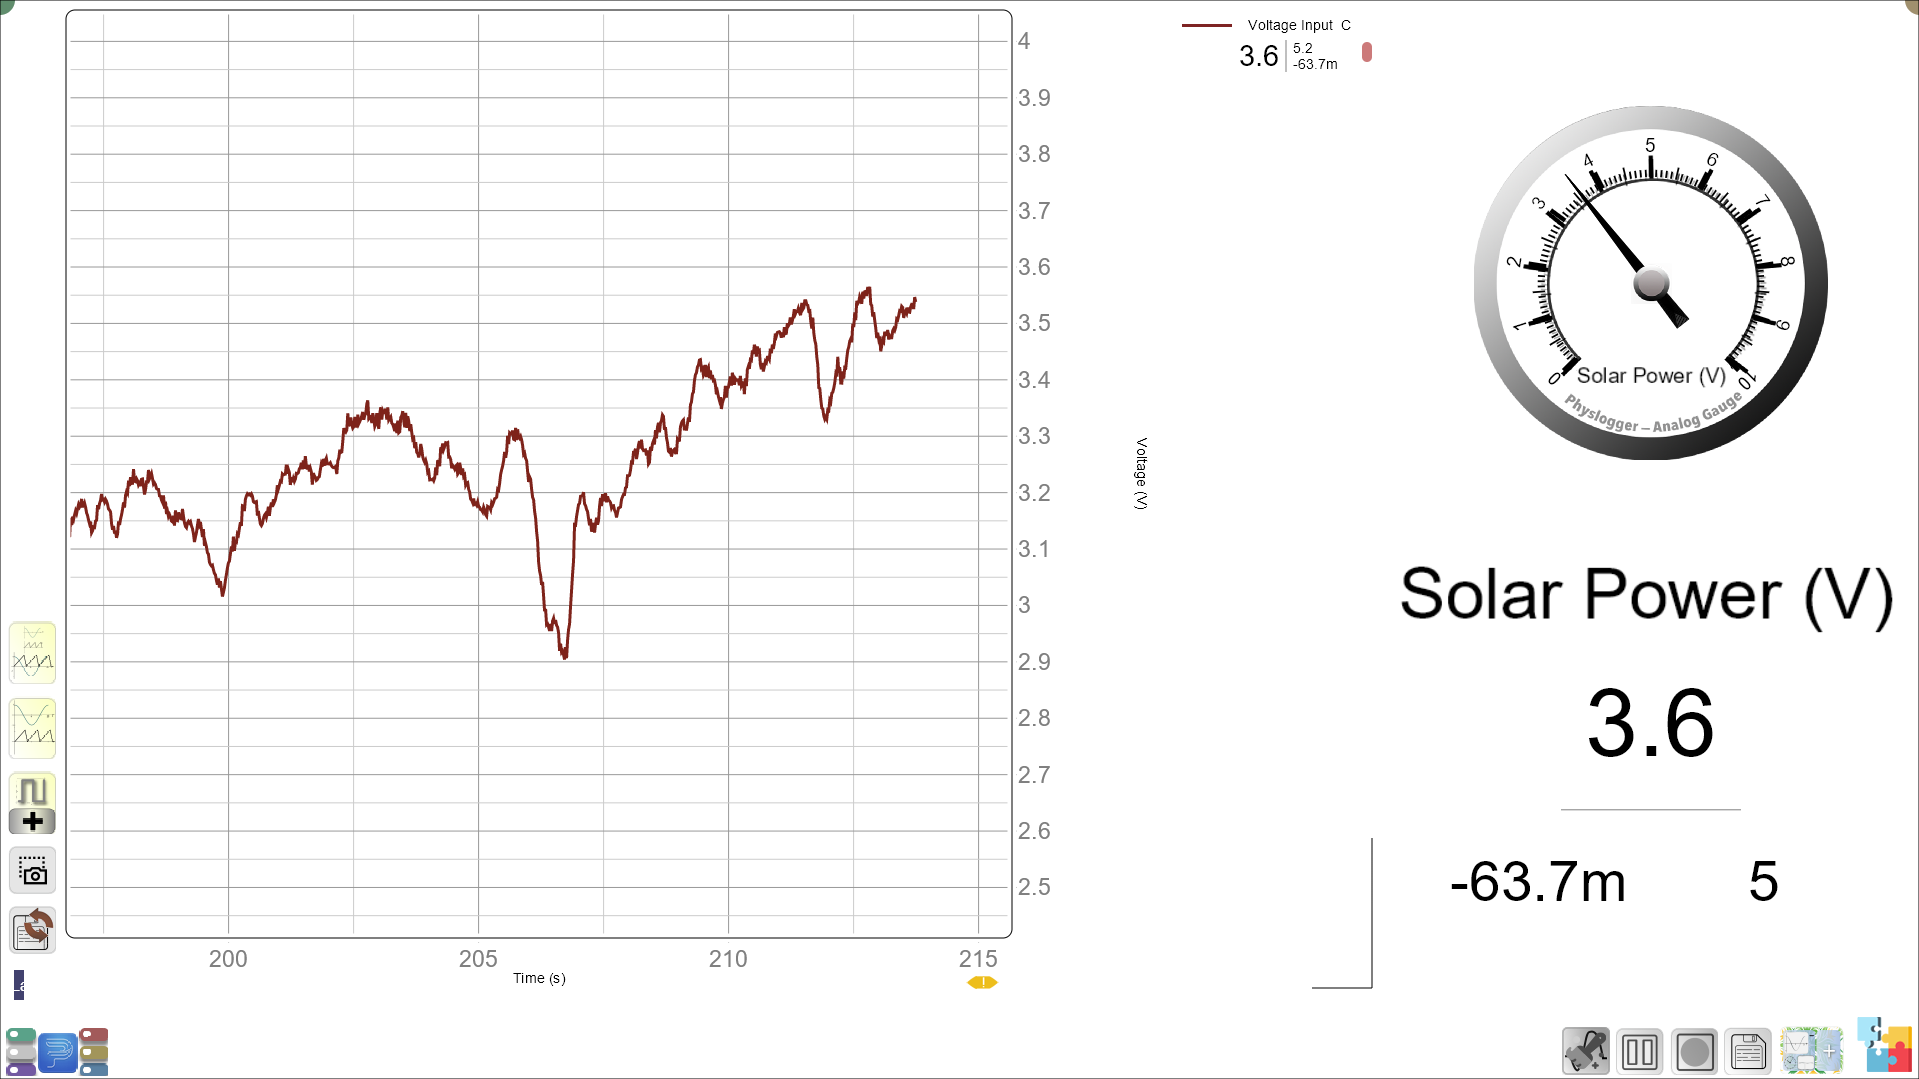
- Let students guess, then demonstrate by changing the angle of the solar panel and showing how the power output changes on MeasureLab.
-
Hands-On Group Activity:
- Divide students into groups, and give each group a solar panel and a protractor. Each group will experiment with adjusting the angle of the solar panel to get the highest power output.
- Worksheet Table:
Angle (Degrees) Power (W) 0° (Flat) 30° 45° 60° 90° (Vertical) -
Record and Compare Results:
- You may guide students:
“Write down your power output at each angle. What happens to the number when you change the angle? Does the power go up or down?”
Step 2: Using Reflective Surfaces to Maximize Power
- Introduce Reflective Surfaces:
- Hand out aluminum foil or mirrors.
- You may ask:
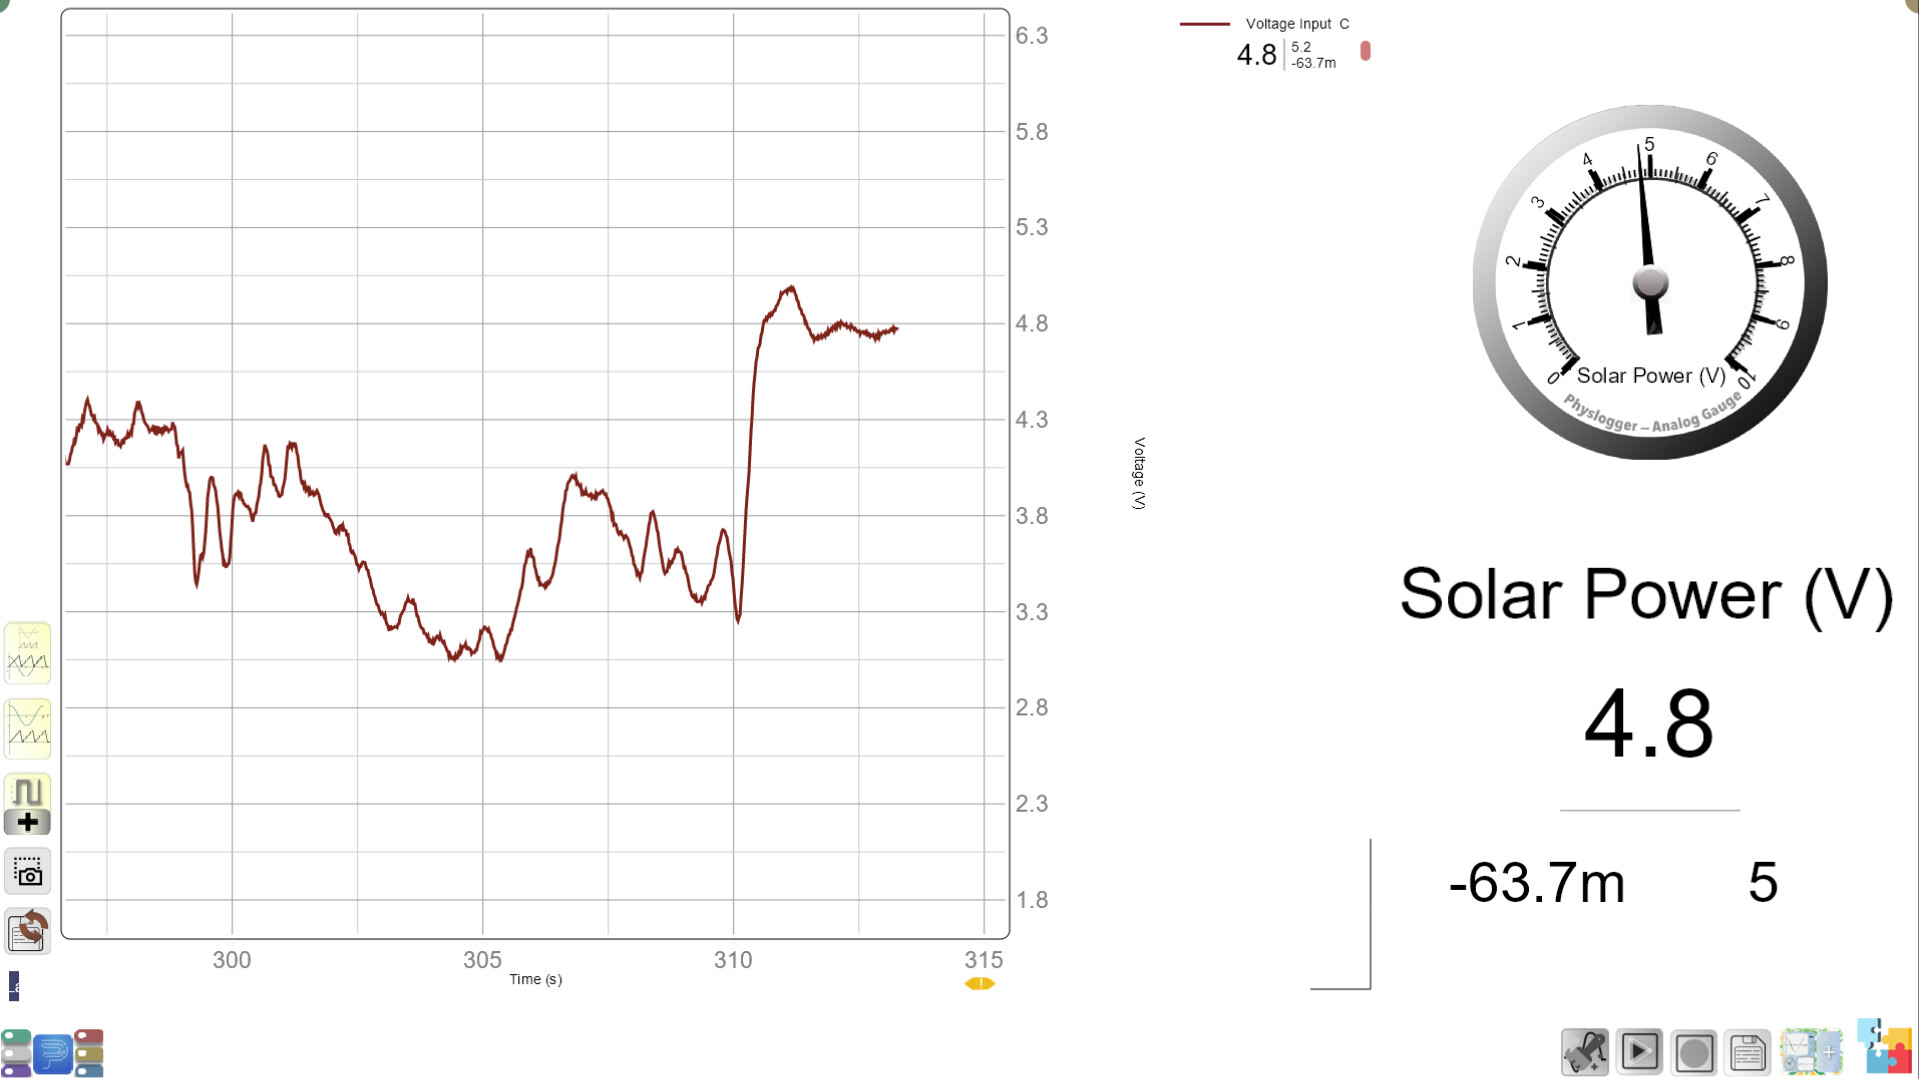
“What do you think happens when light bounces off a mirror or foil? Can we reflect more light onto the panel to make more power?”
-
Group Activity with Reflective Surfaces:
- Groups will experiment by positioning reflective surfaces to bounce more sunlight onto the solar panel, recording the power output.
-
Record and Compare Results:
- Worksheet Table:
Reflective Surface Used Power (W) No Reflection Aluminum Foil Mirror -
Discussion Questions:
- You may ask:
“Which reflective surface helped the solar panel generate the most power? How did using the foil or mirrors change the number on the screen?”
Step 3: Investigating the Effect of Shading
- Introduce Shading:
- Hand out shading materials (e.g., paper or cloth).
- You may ask:
“What happens when part of the solar panel is in the shade? Let’s test it!”
-
Group Activity with Shading:
- Groups will cover part of their solar panel with shading materials and observe the change in power output.
-
Record and Compare Results:
- Worksheet Table:
Shading Applied Power (W) No Shading 25% Shaded 50% Shaded 75% Shaded
Reflection and Discussion: (10-15 minutes)
- Sharing Group Results:
- Each group shares their results on the effect of angle, reflection, and shading on power output.
- You may ask:
“Which group got the highest power output? How did you do it?”
- Real-World Applications:
- You may explain:
“Solar panels on buildings don’t usually move, but solar farms use tracking systems that follow the sun to get the most sunlight all day. Engineers use the same ideas we tried today to make solar panels as efficient as possible.”
- Pique Their Curiosity:
- You may ask:
“Do you know how light turns into electricity in a solar panel? It’s amazing to think about! Maybe one of you will figure it out one day!”
- Encourage students to think and wonder about how sunlight becomes electricity without needing to explain it fully at this stage.
Summary and Wrap-Up: (5 minutes)
- You may summarize:
“Today, we learned how solar panels convert sunlight into electricity. We experimented with changing the angle, using reflective surfaces, and checking the effect of shading.”
- Reflection Questions:
- You may ask:
“What did you find interesting about changing the angles and using mirrors? How does shading affect power?”
Glossary:
- Solar Panel: A device that converts sunlight into electricity.
- Power (W): The amount of energy generated by the solar panel.
- Reflective Surface: A surface that bounces light onto another object.
- Shading: Blocking sunlight, which can reduce how much electricity a solar panel generates.
- Angle of Incidence: The angle between the sunlight and the surface of the solar panel.