Grade 8 - Session 5: “Thermal Conductivity with Insulators in Microclimates”
Session Architect: Aleeza Ayaz - Markhor3D
Session Length: 50-60 minutes
Learning Objectives:
In this session, students will:
- Observe how thermal conductivity changes in different microclimates (humid vs. dry).
- Understand concepts like latent heat and condensation as they impact heat retention.
- Conduct an experiment using MeasureLab to track heat retention in insulated containers within humid and dry environments.
- Connect findings to real-world applications, such as building insulation, weather patterns, and climate-responsive materials.
Teacher Resource:
Session File: ML85.plf (57.0 KB)
Equipment Required:
- MeasureLab with built-in temperature sensor attached to temperature probe.
- Two transparent containers with lids.
- Two small beakers to place upside down within each container.
- Silica gel for the dry environment.
- Lukewarm water for the humid environment.
- Slotted metal masses (chilled in a freezer or fridge overnight).
- MeasureLab’s timer or stopwatch.
- Worksheet/graph paper for observations.
- Pens, pencils, markers, etc.
- Lids or covers for the containers to maintain the microclimates.
Teaching Aids:
- Projector to display measurements and live plot (optional).
Preparation:
This step has to be done before the session on each workstation/apparatus by the teacher/session instructor:
- Make sure that each computer has Physlogger installed and can detect the Measrelab when connected to it using the provided cable.
- Each Measurelab should have access to a power outlet for sensors that require external power. For this session, Temperature Sensor Probe and the built-in Humidity Sensor will be used which require an external power source.
- Connect the Temperature Sensor to the Measurelab using the following port:

- Launch the Physlogger application and load the session file provided in the resources section.
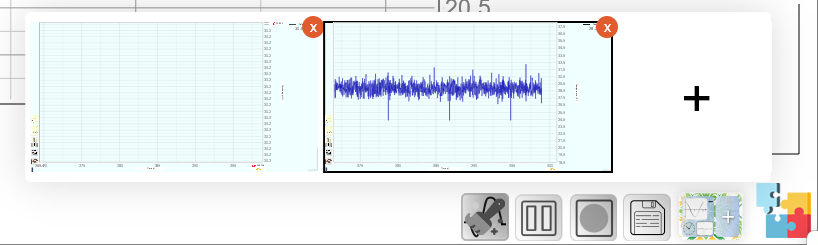
- This session using multiple workspaces for the different sensors being used in this. Make sure the students are familiar with switching between workspaces:
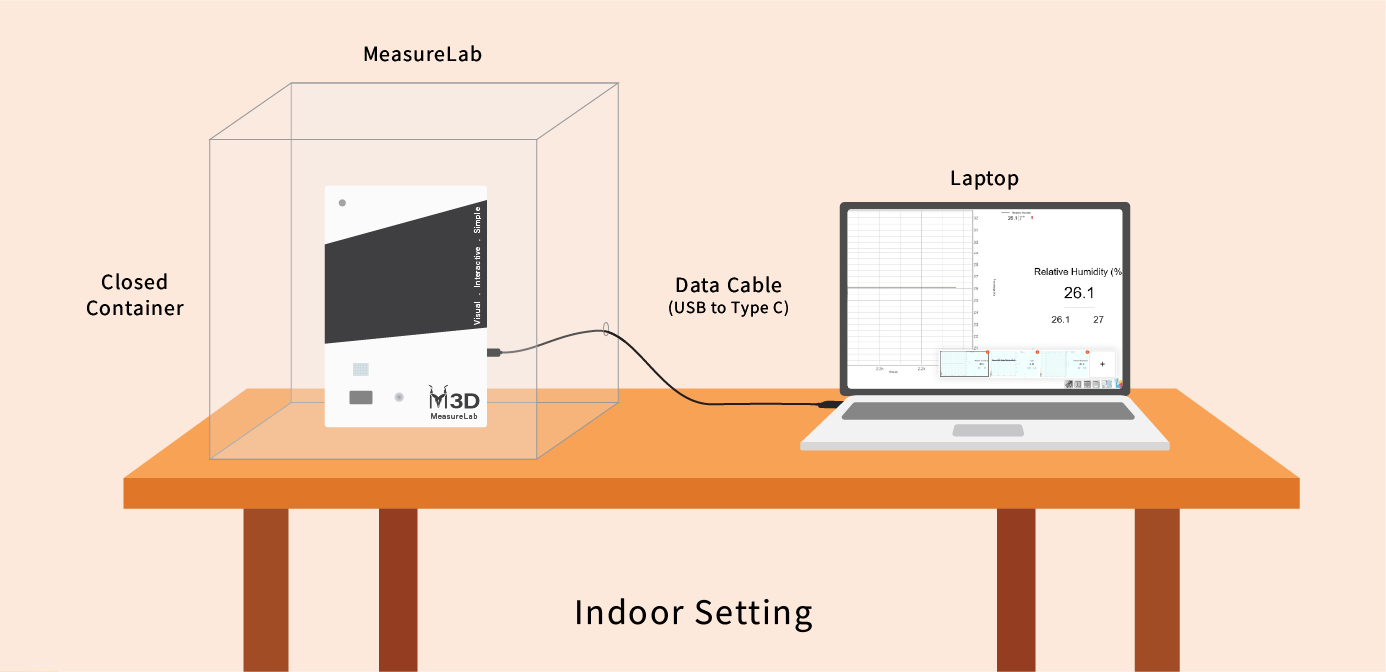
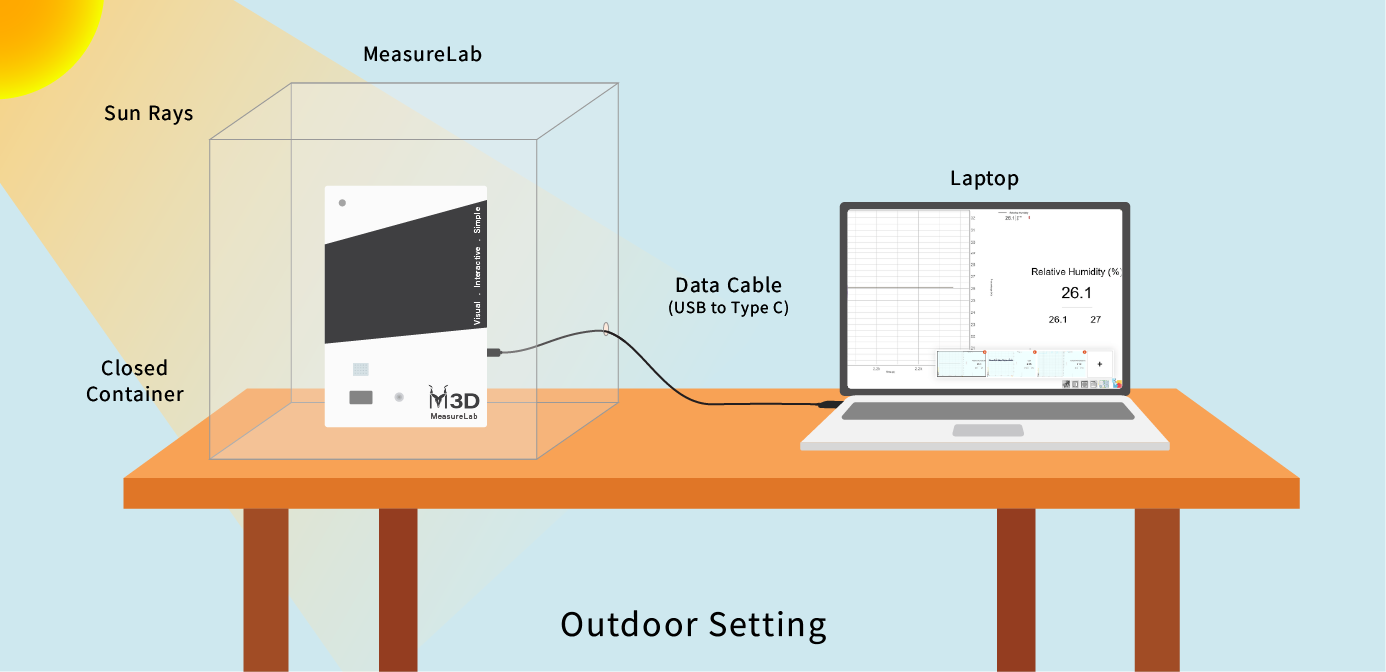
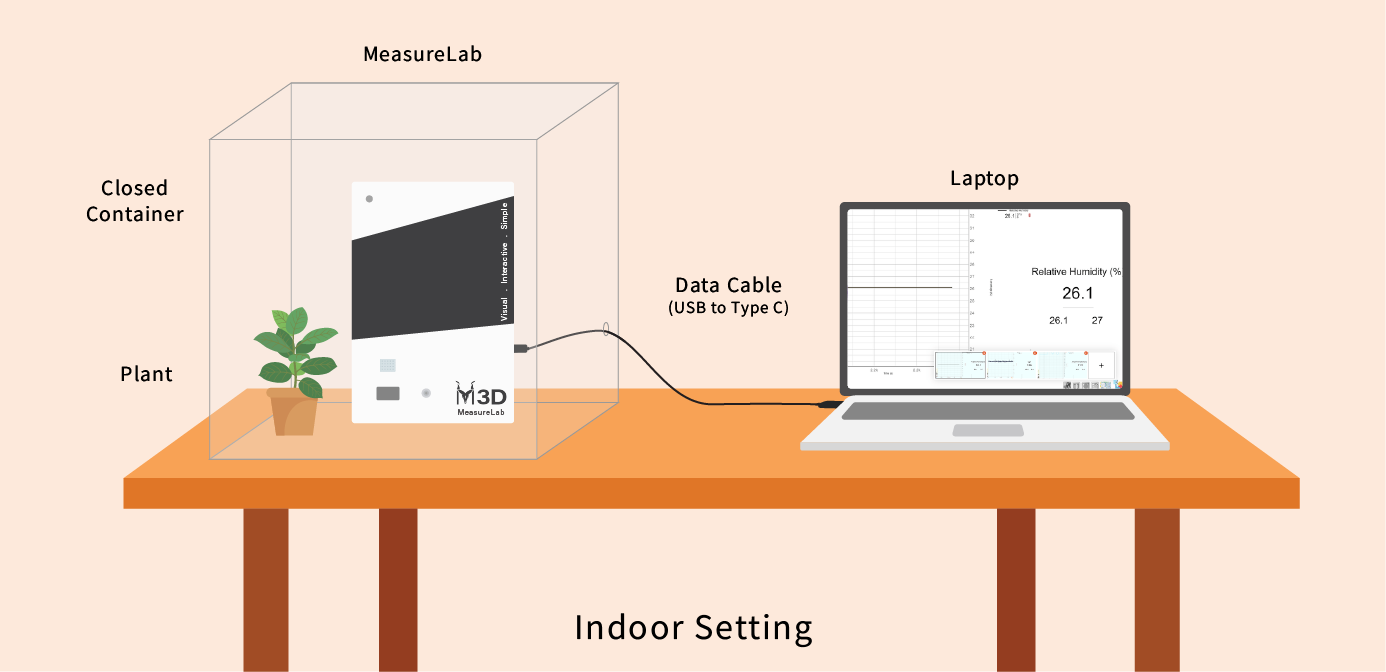
Your setup will look like this:
Introduction and Hands-On Exploration: (30-35 minutes)
Start with Relatable Experiences
- Experiencing Humidity Indoors
- You may ask:
“Have you ever been in a bathroom just after someone took a hot shower? How does the air feel?”
- Encourage students to share that the room often feels warmer and stickier.
- Comparing Dry and Humid Indoor Spaces
- You may ask:
“Now, imagine sitting in an air-conditioned room. How does that feel compared to the warm bathroom? Why do you think the room feels cooler?”
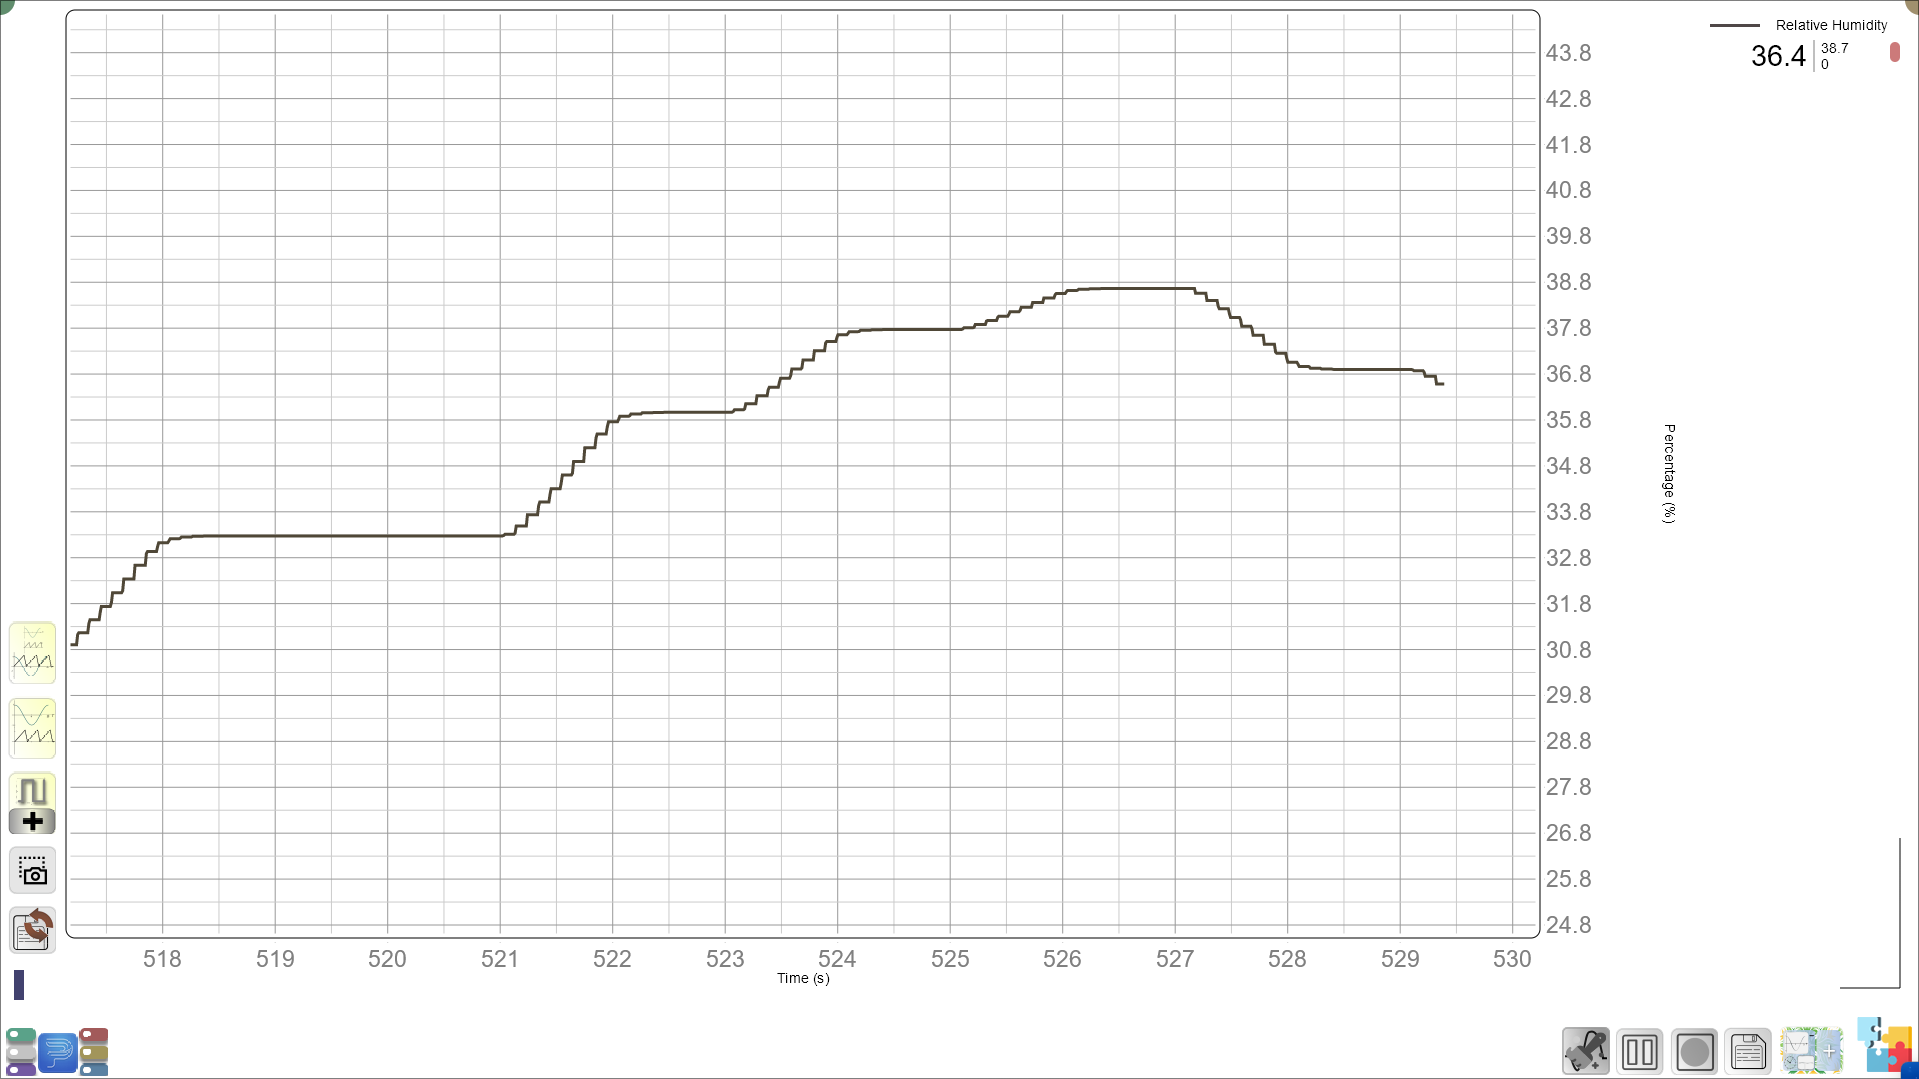
- Here, students can draw on their experience of cool, dry indoor air compared to warm, humid spaces. This sets the stage for understanding that humidity holds heat, while dry air allows heat to escape more easily. Students can also see how the humidity changes using the built-in humidity sensor.
- Transition to Experiment Setup with Microclimates
- You may say:
“Today, we’ll create two small ‘microclimates’—one humid like a steamy bathroom, and one dry like an air-conditioned room. We’ll put an insulated metal mass in each to see how they retain or lose heat differently.”
Recall Prior Knowledge by Building Connections
- Relating to Insulation and Heat Transfer Concepts
- You may ask:
“What do you remember about insulation? How does it help in keeping heat in, like a blanket on a chilly night?”
- Let students discuss, reinforcing that insulation slows down heat loss.
- Connecting to Condensation and Latent Heat
- You may ask:
“Now, let’s think about what happens to the heat surrounding the metal in a humid vs. dry environment. What do you think happens when water vapor in the humid air condenses on the cold metal surface?”
- Explain that condensation releases latent heat, which is like “hidden heat” that doesn’t show up as a temperature change but adds warmth around the metal. This extra heat in the humid chamber may cause the metal to heat up faster than in the dry environment.
Setting Up the Experiment:
Procedure
- Prepare the Microclimate Chambers
-
Humid Chamber: Place lukewarm water at the bottom of one transparent container and place a beaker upside down over it to create a humid environment.
-
Dry Chamber: Place silica gel at the bottom of the other transparent container with a beaker upside down over it to create a dry environment.
-
Allow the containers to sit briefly to stabilize the humid and dry conditions before proceeding.
-
Cover both containers with lids to maintain the humidity and dryness.
-
Prediction Prompt:
- You may ask:
-
“Which environment—humid or dry—do you think will cause the metal to warm up faster? Why?”
- Setting up the Metal Mass and Temperature Probe
- Carefully place a chilled slotted metal mass on top of each upside-down beaker within the containers. Position the MeasureLab temperature probe beneath the metal mass, using the weight of the metal to keep the probe in place.
- You may say:
“We’ll use MeasureLab to observe how the temperature changes over time in each environment. Our goal is to see if the humid or dry environment causes the metal to heat up faster.”
Running the Experiment Using MeasureLab:
-
Place Containers in Chambers and Begin Tracking
- Cover both containers immediately and begin tracking the temperature with MeasureLab, recording measurements every 10 minutes for 20-30 minutes.
-
Guide Observations with Targeted Explanations and Questions
- 10-Minute Mark: First Checkpoint
- Prompt Students to Observe Differences:
- 10-Minute Mark: First Checkpoint
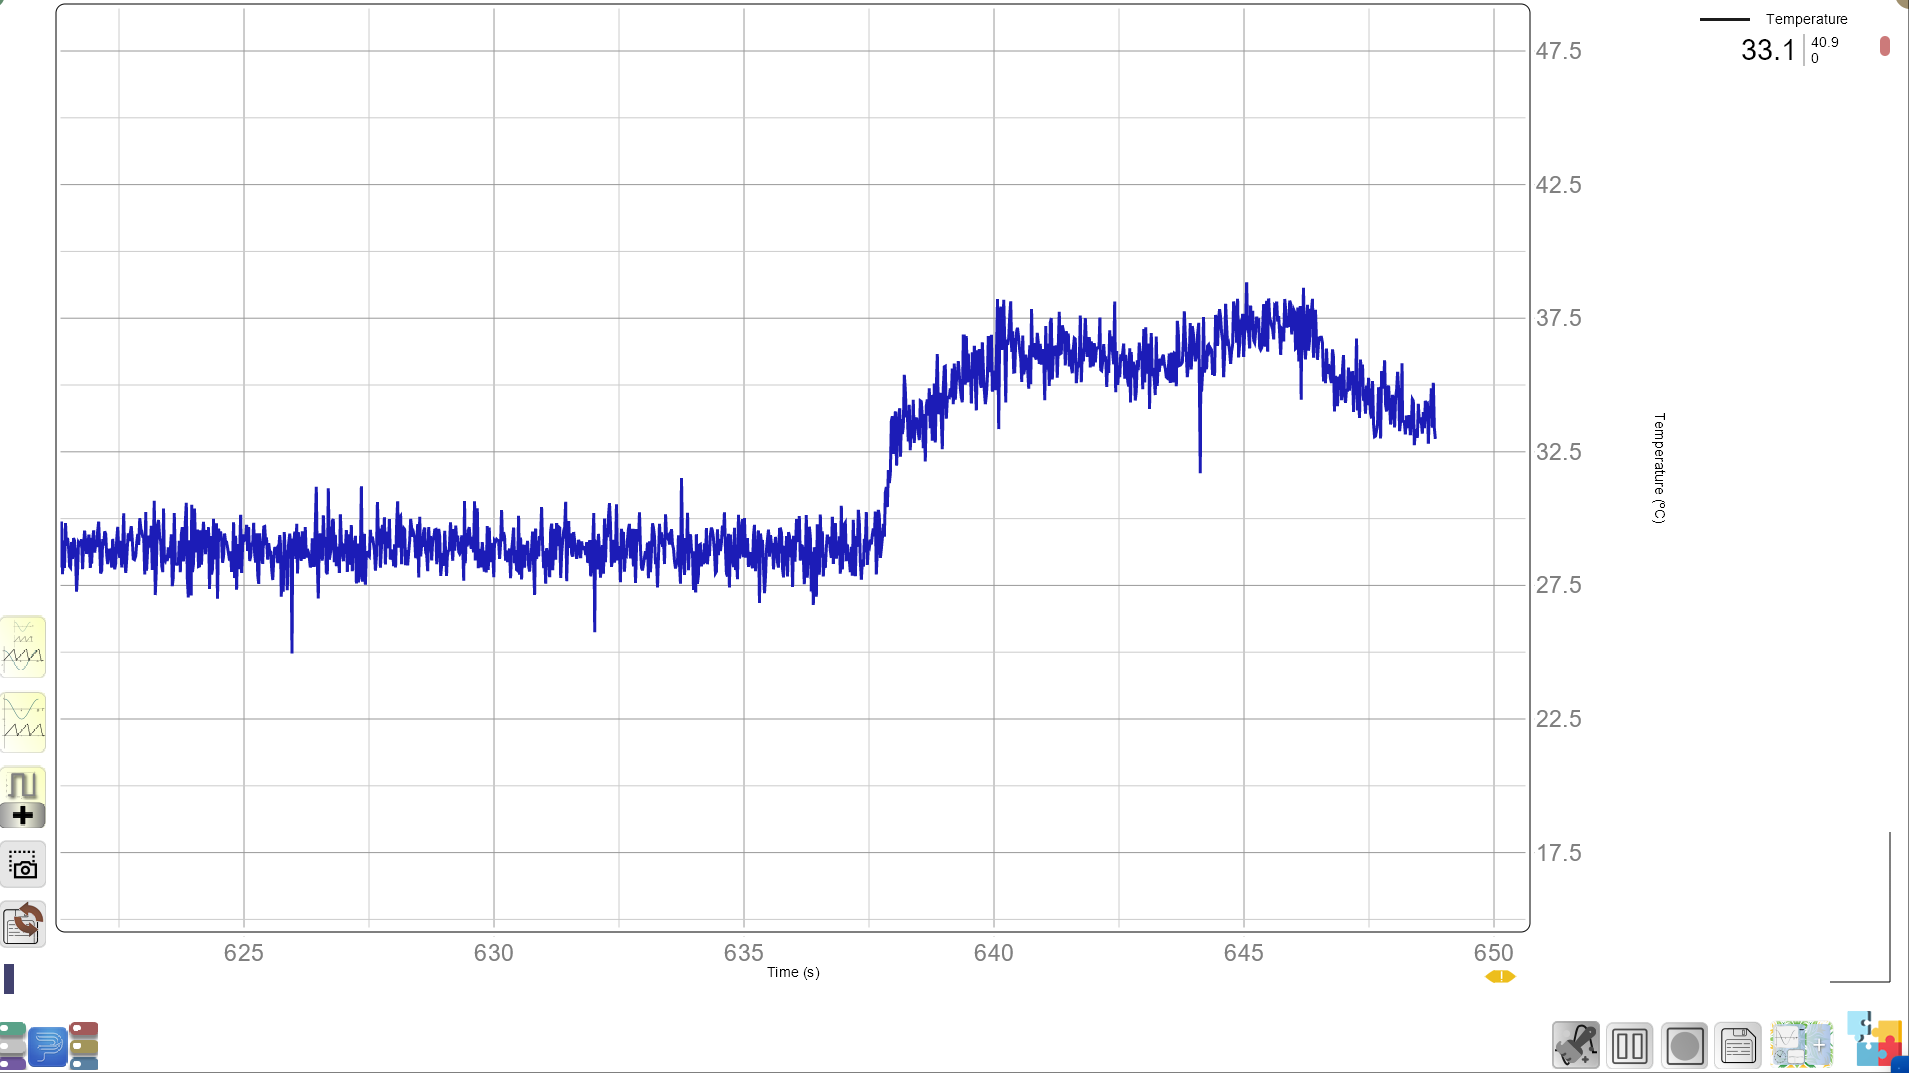
“What differences do you see in temperature between the humid and dry chambers so far? What changes have occurred on the live plot during this time? (Teacher may pause to show the trend in the live plot over the last 10 minutes) What might cause these differences?”
- 20-Minute Mark: Observing Condensation and Latent Heat Release
- Condensation on the Metal in the Humid Chamber
- You may ask:
- Condensation on the Metal in the Humid Chamber
“In the humid environment, water vapor might start condensing on the cold metal. What do you think happens when water vapor turns back into liquid droplets?”
- Explain Latent Heat in Simple Terms:
“When a gas, like water vapor, changes back into a liquid, it needs to cool down to make this change. To do this, it releases some heat. This released heat, called latent heat, doesn’t make the liquid itself hotter but adds warmth around the metal, slowing down how fast it cools.”
- Real-Life Example:
“Think about a cold drink on a warm day. When water droplets form on the outside, that’s condensation, and it releases a tiny bit of heat. This slows down how fast the drink gets cold.”
- How This Slows Cooling:
“So in our experiment, the condensation on the metal in the humid chamber releases latent heat, keeping the air around it slightly warmer. This acts like an invisible blanket that prevents the metal from cooling as quickly. In the dry chamber, there’s no extra moisture to release heat, so the metal cools faster.”
- 30-Minute Mark: Final Checkpoint and Observations
- Final Observations:
- You may ask:
“What patterns do we see in the temperature differences between the humid and dry chambers? Which environment held onto heat longer? What has been the general trend in the live plot? At what time did the temperature stabilize?”
Recording Data
Students should record temperature in each container at each interval:
| Time (Minutes) | Temperature in Humid Container | Temperature in Dry Container |
|---|---|---|
| 0 | ||
| 10 | ||
| 20 | ||
| 30 |
Guided Reflection and Discussion: (15-20 minutes)
Discussion of Results
- You may ask:
“What did you notice about the temperature changes in each environment? Which environment kept the metal warmer?”
- Explain as Needed:
“In the humid environment, water in the air condensed on the metal surface, releasing latent heat and slowing down heat loss. The dry environment allowed faster cooling because there was no extra heat from condensation.”
Post-Experiment Discussion Question
- You may ask:
“Why do you think we used insulation and the closed container setup for this experiment? How does this help us understand heat transfer in real-life environments like buildings or clothing?”
- Explain:
“By creating a controlled environment, we’re able to simulate real-world insulation scenarios, like winter jackets or insulated buildings. This lets us observe how humid and dry conditions affect heat retention over time, similar to what happens in different climates.”
Graphing the Data
- Plotting the Data:
- Students graph time (x-axis) vs. temperature (y-axis).
- You may ask:
“What does the graph show us about heat retention in humid vs. dry conditions? Which line shows faster cooling, and why?”
- Connecting to Real-World Applications
- You may explain:
“Understanding how humidity affects heat transfer helps us design materials that work well in different environments—like clothes or building materials for hot, humid climates.”
- You may ask:
“Think of a winter jacket or the walls of a house. Why would understanding the role of moisture and insulation be useful in designing these?”
- Guide students to consider insulation materials that suit both humid and dry conditions, like rain jackets, insulated walls, or electronics protection in various climates.
Conclusion and Summary: (5 minutes)
- Summarize Key Learnings:
“Today, we observed that heat escapes differently in humid and dry environments. Humidity traps some heat due to latent heat release from condensation, while dry environments allow for faster cooling.”
- Real-World Connection:
"Knowing how humidity impacts temperature helps us create better clothing, buildings, and technology that perform well in different climates.”
Glossary
- Thermal Conductivity: The ability of a material to transfer heat.
- Latent Heat: Heat released or absorbed during a phase change, like condensation.
- Microclimate: A small area with its own unique environmental conditions, like a humid or dry space.