Troubleshoot:
If you are facing issues either setting up your bot or with some specific component, follow these instructions to diagnose the problem.
1. Connecting the Bot:
When you turn on your bot, there are 2 indicators of a successful power-up:
- If you have connected the display attachment, the bot should display its Bluetooth name, e.g., “M3D GO 1.”
- A small white light should be blinking in the top corner of the GO Bot.
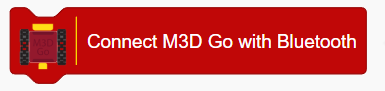
After power-up, you should be able to connect the bot using the following Scratch block:
Once pressed, you should be able to see your bot in the list of available devices:
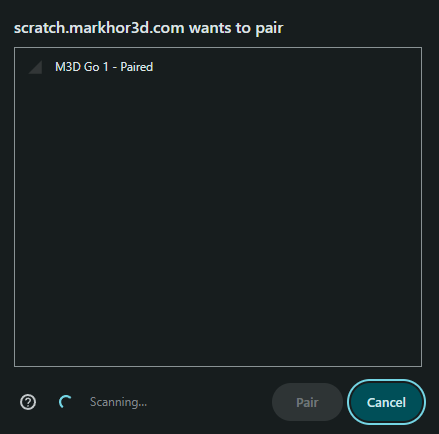
In case the Bot does not show up, try charging the bot properly and connecting it again.
2. Movement Motors:
In case you are facing some trouble with the motors, try using the Scratch blocks instead of pre-written Scratch codes to diagnose whether the problem is in the motor or the code. To do so, use the M3D GO Scratch movement blocks in the left pane:
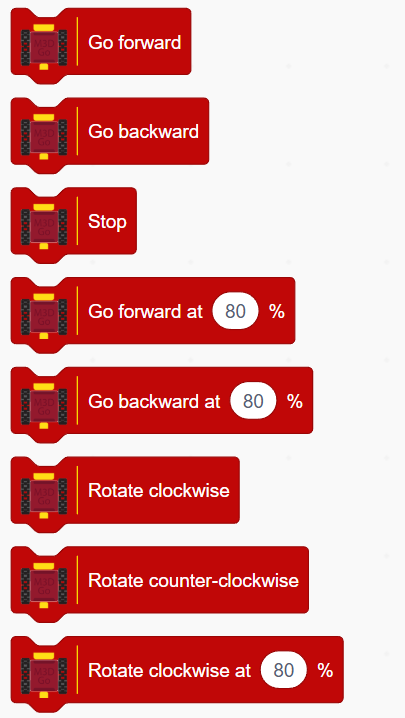
Try adjusting the speed of the motors by using the following blocks:

3. Servo:
If you are facing difficulties with the servo attachment, you can diagnose the problem the same way you did with the movement motors.
Firstly, when you connect the servo motor with the bot, it should go into its default closed position automatically. Before connecting, open the servo manually either halfway or completely. Then connect it to the Bot and turn on the Bot. It should go back into its closed position.
If the servo goes back, that means it is working. To further test the servo motors, connect it to your computer using Scratch and use the following blocks to control the movement of the servo motors:
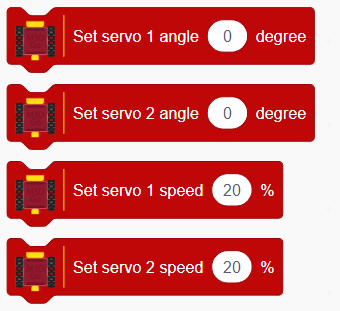
The servo motor moves from 0 to 90 degrees. You can also try adjusting the speed of the servo.
4. Sensors:
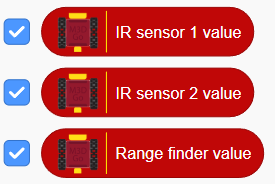
To test the sensors and diagnose if they are working correctly, connect the sensors to the bot before turning it on. Once you turn on the bot, connect it to your computer using Scratch. Once connected, go to the M3D GO Scratch blocks menu in the left pane and check the following three blocks:
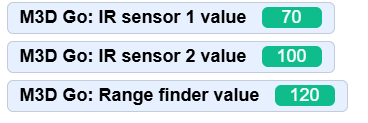
You should be able to see their value in the gamepad on the right side. The rangefinder shows the value of the Distance Sensor and the IR Sensor 1 and 2 show the value of the line sensor:
If the component behaves accordingly using these steps, then the problem is likely with the Scratch code and the logic being used in it.
If these steps do not help you diganose and resolve the issue, feel free to comment under this post. While commenting, try to describe your problem clearly along with the Bot’s behavior and the troubleshooting methods you have used.