To control M3D GO using Arduino, you need the following applications installed:
Once installed, open visual studio code. You will see the following screen:
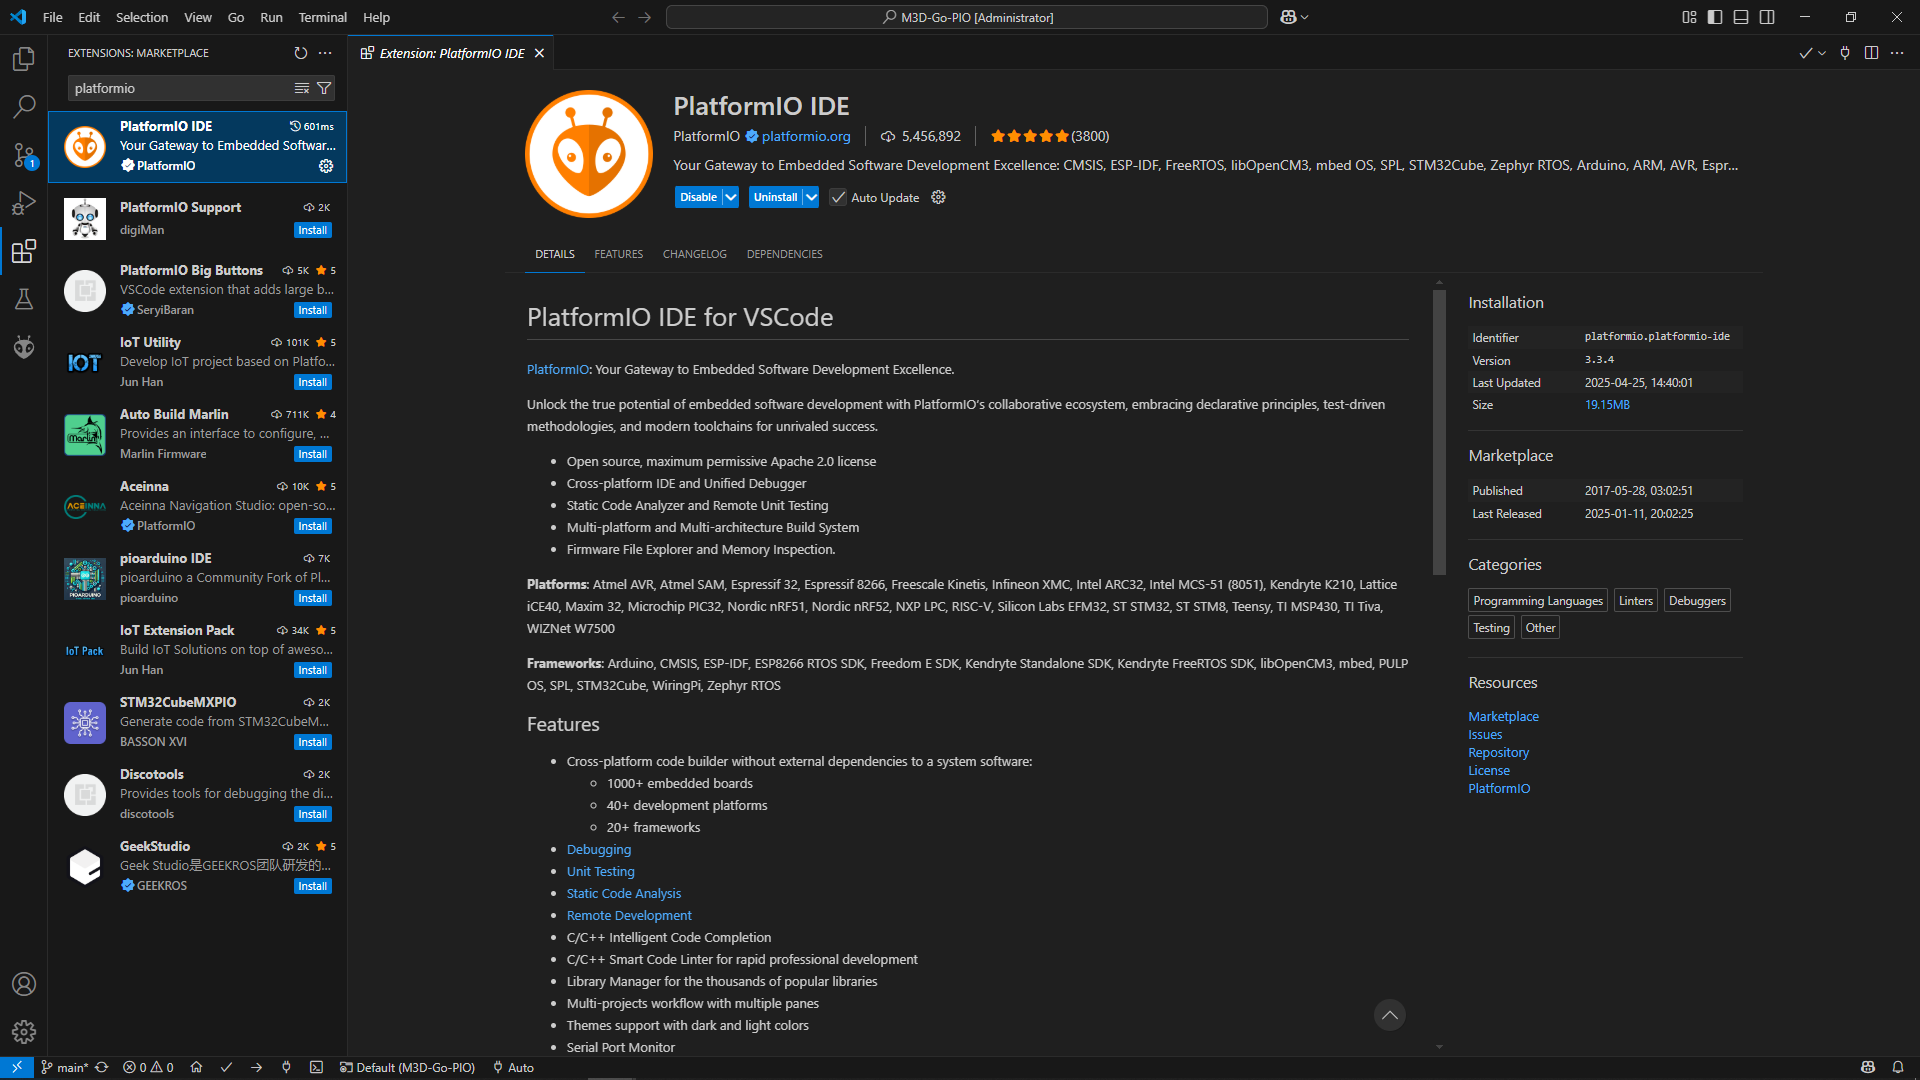
Head to the extensions tab in the left side bar and download the following PlatformIO IDE.
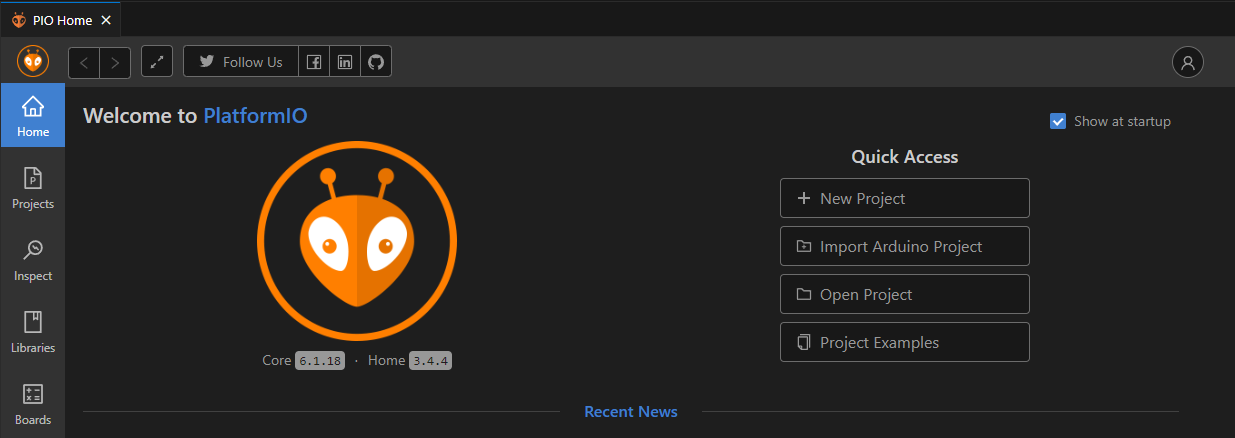
Once installed, create a new project:
Choose your project name and select DOIT ESP32 DEVKIT V1 in the board drop-menu.
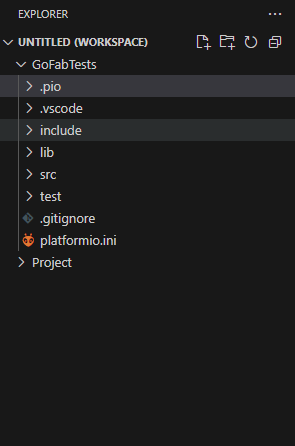
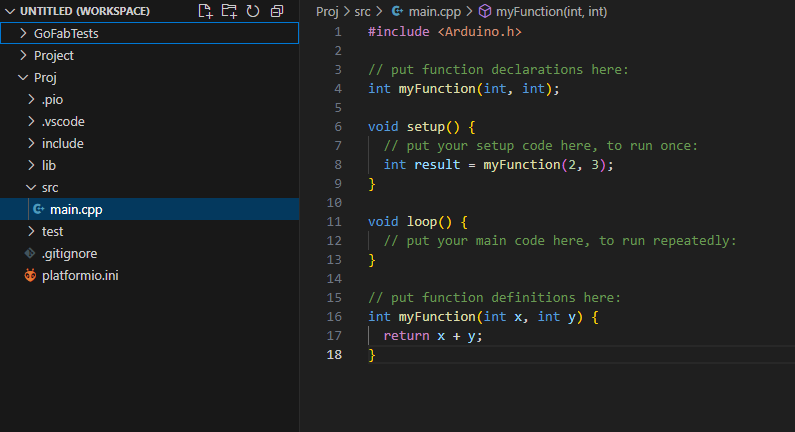
After selecting, it will take some time to create a project. Once the project is created, the project files in the left pane will look something like this:
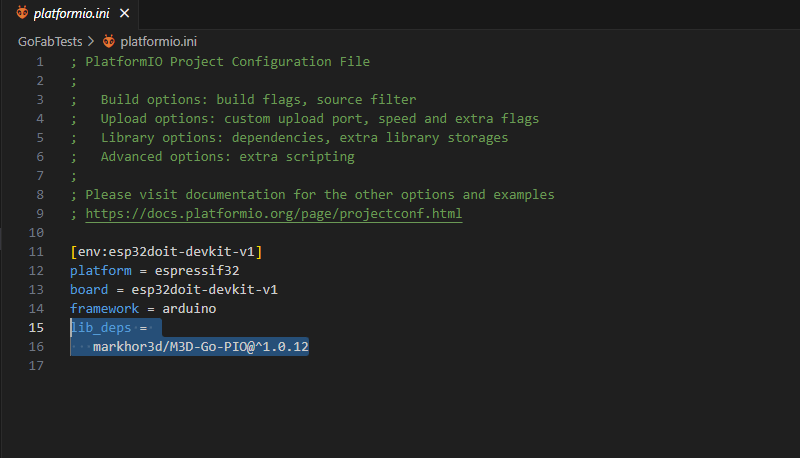
Go to platformio.ini and add the following line at the end of it:
lib_deps =
   markhor3d/M3D-Go-PIO@^1.0.12
You’re nearly there. Now you just need to open your code file. For that, go to src in the left pane and open main.cpp.
Import the M3D Go library in your file using the command
#include<M3DGo.h>
In the void setup() section, use the command go.begin() to set up the GO Bot and initialize it’s hardware functions at the start of each code you create. It will look as follows:
void setup()
{
          go.begin();
}
You’re good to go. You can start exploring your GO Bot using your own personalized code and functions. To upload your code to M3D GO, use upload button after connecting it to your computer using USB to Type-C cable:
![]()
Important Note:
DO NOT CONNECT THE BOT TO YOUR COMPUTER WHEN IT IS POWERED ON.
Whenever you are uploading your code using PlatformIO, make sure you turn off the bot before connecting it to your computer.