Session 3: “Make a Dream: Designing Personal Keychains”
Architect:
Syed Shayaan Haider - Markhor3D
Learning Objectives
In this session, Grade 2 students will:
- Use the Text Tool in TinkerCad: Learn how to add their names or initials to a design.
- Combine Shapes and Text: Create a personalized keychain by integrating different elements.
- Apply Basic TinkerCad Skills: Utilize placing, moving, resizing, and grouping shapes.
- Express Creativity: Personalize their work and explore design possibilities.
- Create their First Design on TinkerCad: This will be their first personalized object.
Teaching Aids
Required Equipment:
- Computers or Tablets: One per student or group, with internet access.
- TinkerCad Accounts: Set up accounts for students in advance.
- Projector and Screen (optional): For demonstrating steps in TinkerCad.
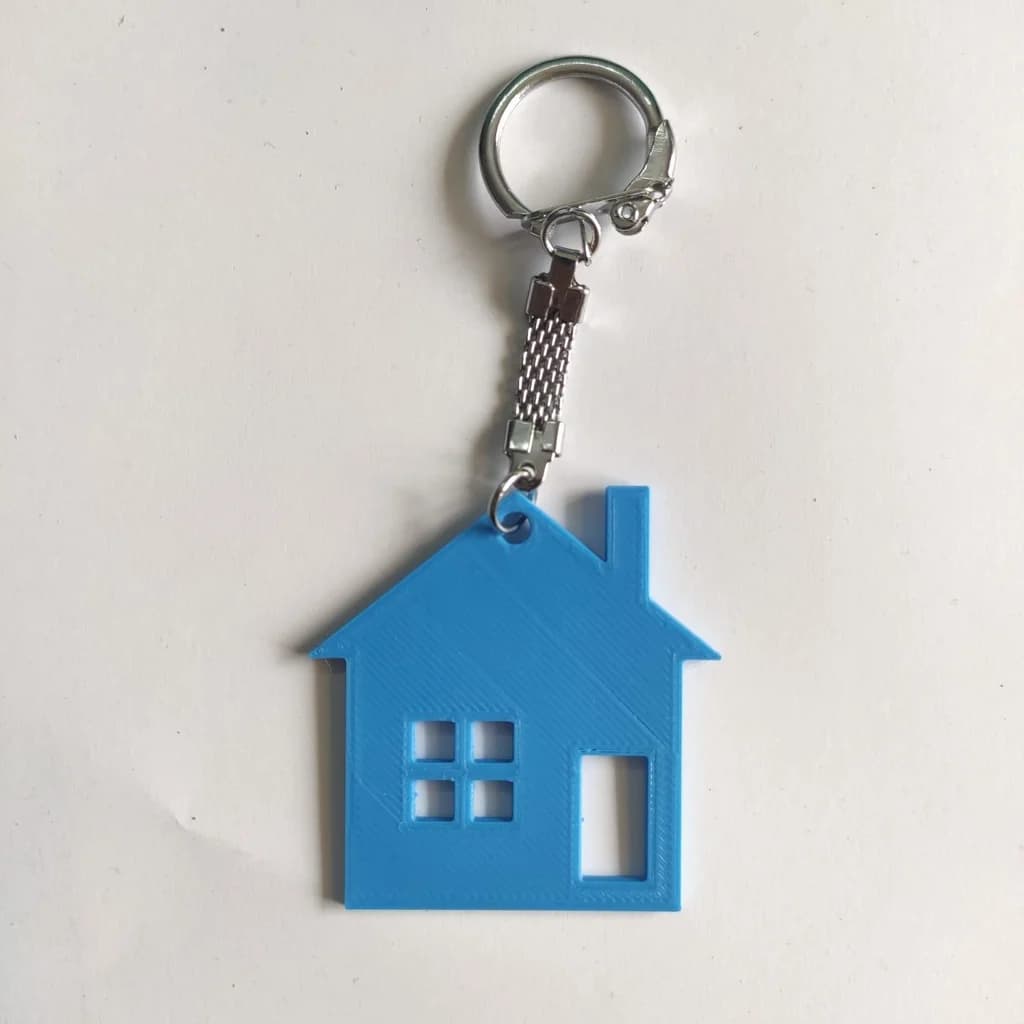
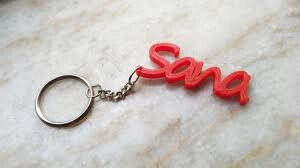
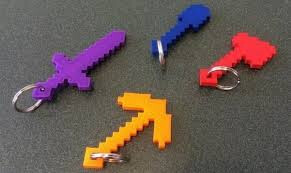
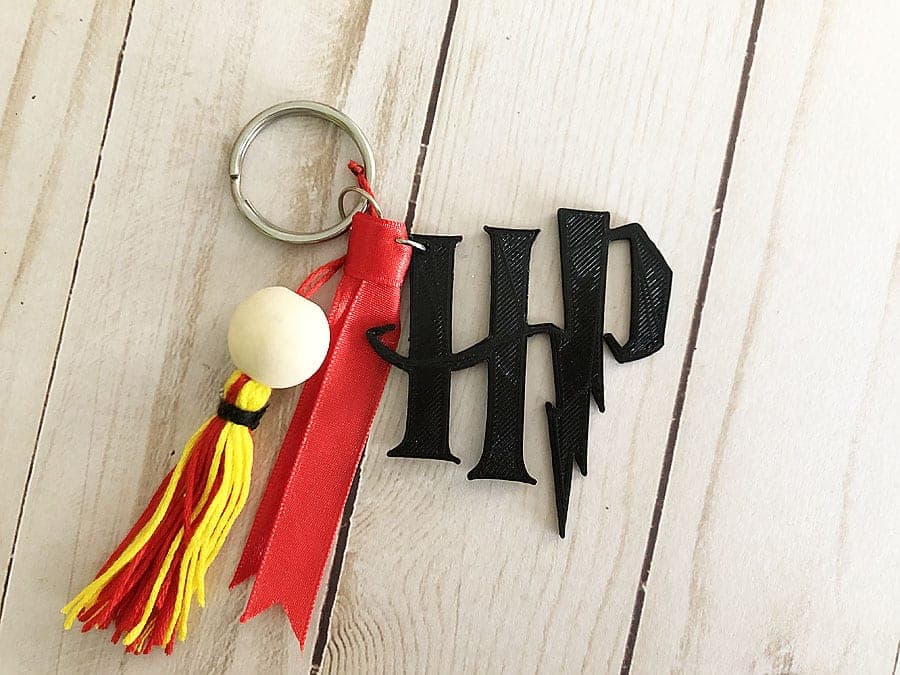
- Sample Keychains: Physical examples or images to inspire students. (Links to 3D printable keychains are shared in Teacher’s resources).
- Whiteboard and Markers: For explanations and highlighting key concepts.
Structure and Lesson Plan (Total Time: 50 minutes)
Introduction (5 minutes)
-
Welcome Students:
- “Hello, everyone! Today we’re going to design our very own keychains using TinkerCad. You’ll get to personalize them with your names or initials!”
-
Review Previous Skills:
- “Remember how we learned to place shapes, resize them, group them, and add text in TinkerCad? We’ll use all those skills today.”
-
Explain the Project:
- Show examples of keychains on the projector or hold up physical samples.
- “These are some examples of keychains. Notice how they have different shapes and some have names on them.”
Brainstorming and Creating Designs!:
1. Planning the Design (5 minutes)
-
Brainstorm Ideas:
- “Think about what shape you’d like your keychain to be. It could be a favorite shape like a heart or star, or something you love like a soccer ball or a pet.”
-
Optional Sketching:
- “If you’d like, you can sketch your idea on paper first.”
2. Demonstration: Creating a Keychain in TinkerCad (10 minutes)
-
Place a Base Shape:
-
Select a Shape:
- “Click and drag a shape from the ‘Basic Shapes’ menu onto the workplane. For example, let’s choose a rectangle for the base.”
-
-
Resize the Base Shape:
-
Adjust Size:
- “Use the white corner handles to resize your shape. Let’s make it about 60mm wide and 30mm tall. Adjust the height to about 5mm so it’s not too thick.”
-
-
Add Text to the Keychain:
-
Add Text Shape:
- “Scroll down to find the ‘Text’ shape and drag it onto the workplane.”
-
Enter Your Name or Initials:
- “In the ‘Shape’ panel on the right, type your name or initials into the text box.”
-
Resize and Position Text:
- “Resize the text using the corner handles so it fits nicely on your base shape.”
- “Move the text on top of your base shape.”
-
-
Combine Text and Base Shape:
-
Decide on Raised or Engraved Text:
- Raised Text:
- “If you want your name to stand out, keep the text as it is and align it on top of the base.”
- Engraved Text:
- “If you want your name carved into the base, select the text and click on ‘Hole’ to turn it into a hole.”
- Raised Text:
-
Group the Shapes:
- “Select both the base shape and the text.”
- “Click on the ‘Group’ button to combine them.”
-
-
Add a Hole for the Keyring:
-
Create the Keyring Hole:
- “Drag a cylinder shape onto the workplane and resize it to about 5mm in diameter.”
- “Turn the cylinder into a ‘Hole’ by selecting it and clicking ‘Hole’ in the inspector.”
- “Position the hole at the edge of your keychain where you want the keyring to attach.”
-
Group All Shapes:
- “Select all parts of your design and group them together.”
-
3. Student Work Time: Designing Their Keychains (25 minutes)
-
Start Designing:
- “Now it’s your turn! Use the steps we just went over to create your own keychain.”
-
Guided Assistance:
-
Circulate around the room to help students with:
- Placing and resizing shapes.
- Adding and editing text.
- Creating holes for the keyring.
- Grouping shapes together.
-
-
Encourage Creativity:
- “Feel free to add extra shapes or decorations to make your keychain special.”
-
Reminders:
- “Don’t forget to include a hole for the keyring!”
- “Make sure to group all your shapes when you’re done.”
Examples:
- Heart-shaped keychain with a small star.
- Keychain shaped like a soccer ball.
- An animal-shaped keychain, like a cat or dog.
- Keychain in the shape of a favorite fruit, like an apple.
- Keychain that looks like a car or truck.
- Keychain with a smiley face.
- Keychain shaped like a musical note.
- Keychain in the shape of a flower.
- Star-shaped keychain with a moon cutout.
- Keychain resembling a rocket ship.
4. Sharing Designs and Feedback (5 minutes)
-
Peer Sharing:
- “Turn to a classmate and show them your keychain design.”
-
Class Sharing (Optional):
- “Would anyone like to share their design with the whole class?”
-
Positive Feedback:
-
Encourage students to give compliments like:
- “I like how you added stars to your keychain!”
- “Your engraved name looks really cool!”
-
5. Saving and Submitting Designs (3 minutes)
-
Save Designs:
- “Make sure to save your work by clicking on ‘Save’ or ensuring it says ‘All changes saved’ at the top.”
-
Exporting Files:
- “I will collect your designs later so we can prepare them for printing.”
Conclusion and Recap (2 minutes)
-
Summarize Key Learnings:
- “Today, you used TinkerCad to create personalized keychains with your names or initials.”
-
Preview Next Session:
- “Next time, we’ll get your designs ready for 3D printing and watch them come to life!”
-
Closing Encouragement:
- “Great job today! Your creativity is amazing, and I can’t wait to see your keychains printed.”
Additional Notes for the Teacher
- Guide to TinkerCad (link to separate document)
-
Some Examples of keychains (links to .stls):
-
Preparation:
- Ensure all computers are set up and logged into TinkerCad.
- Have sample keychains ready to inspire students.
-
Assistance:
- Be prepared to help students with spelling their names and using the text tool.
-
Time Management:
- Keep the demonstration concise to allow ample time for students to work on their designs.
-
Formative Assessment:
-
For Advanced Students:
- Encourage them to add more complex elements or experiment with different shapes.
-
For Students Needing Extra Help:
- Focus on helping them complete the basic steps of adding a base shape and their name.
-
Key Vocabulary
- Base Shape: The main shape forming the body of the keychain.
- Text Tool: A feature in TinkerCad to add letters and words.
- Engrave: To carve text or designs into a surface.
- Group: Combining multiple shapes into one object.
- Personalize: To make something uniquely your own.
Previous Session.
Next Session.
For suggestions, improvements, and corrections, feel free to reach out at shayaanhaider@gmail.com