Teacher’s Guide to Tinkercad
Introduction to Tinkercad
What is Tinkercad?
Tinkercad is a free, user-friendly, online 3D design and modeling tool. It’s ideal for introducing young learners to the basics of 3D design, allowing them to create simple to complex models through an intuitive interface.
Why Use Tinkercad in the Classroom?
- Accessibility: Being web-based, it requires no software installation.
- Ease of Use: Designed for beginners, it simplifies complex 3D concepts.
- Engagement: Interactive and fun, it keeps students interested.
- Educational Value: Enhances spatial reasoning, creativity, and problem-solving skills.
Setting Up Accounts
-
Visit: www.tinkercad.com
-
Sign Up: Click on “Join Now” and select “Educators Start Here.” After loging in:
-
Create a Class: Use Tinkercad’s “Classroom” feature to manage student accounts without the need for individual emails.
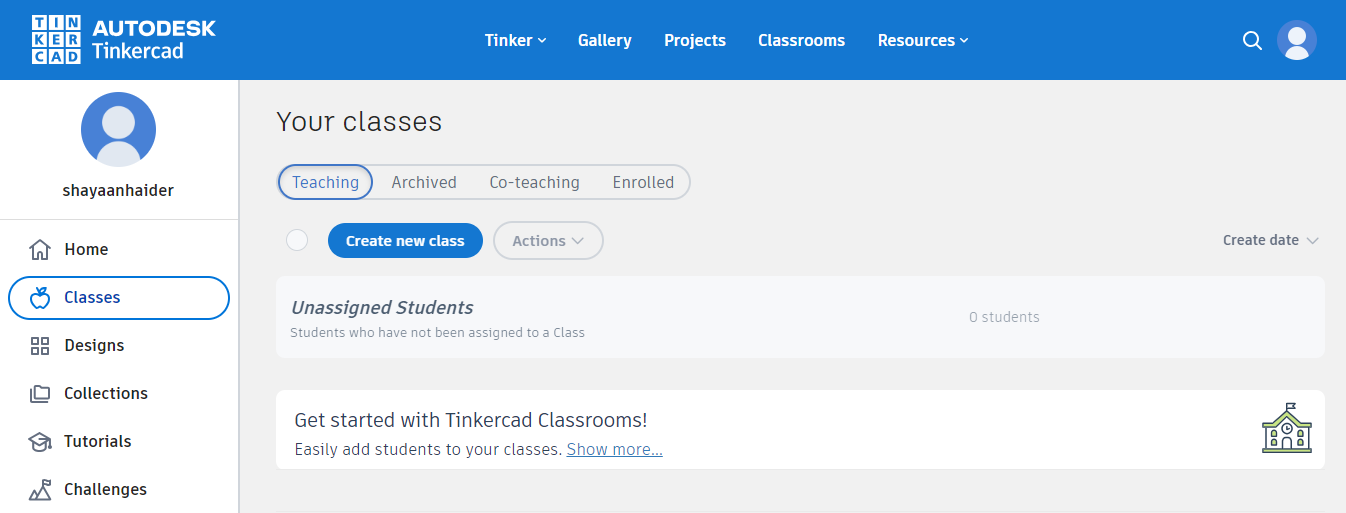
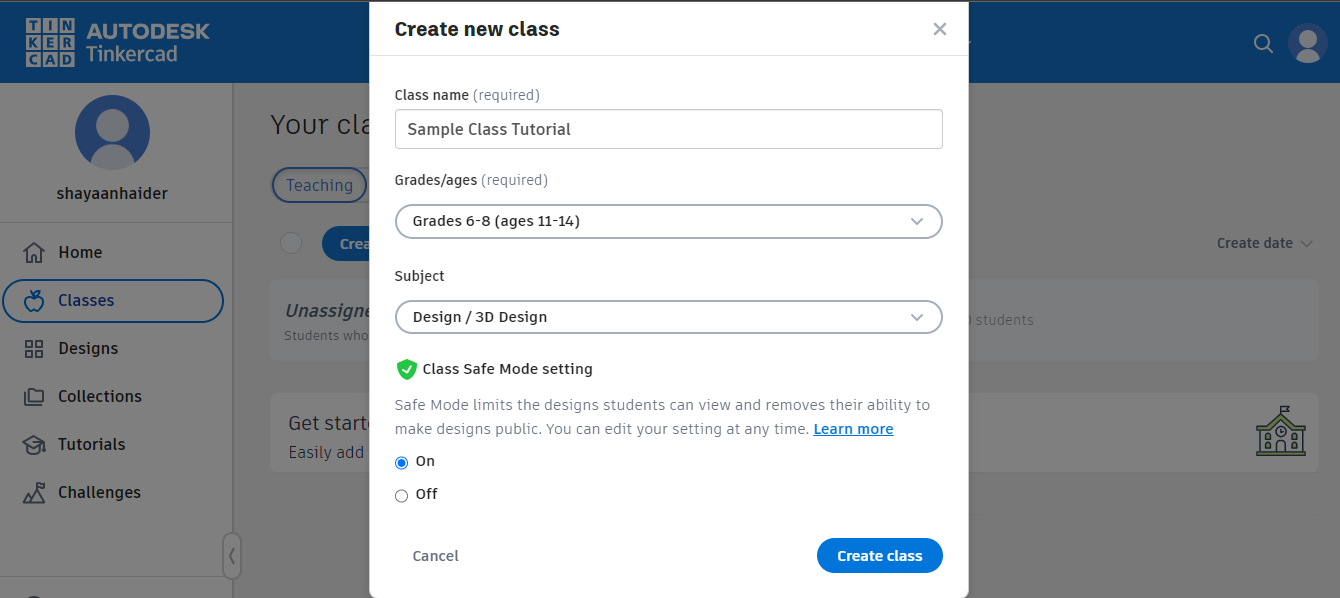
- Go to the classes tab beneath the home tab and click Create New Class
- Fill in the Specifics for the class and create class.
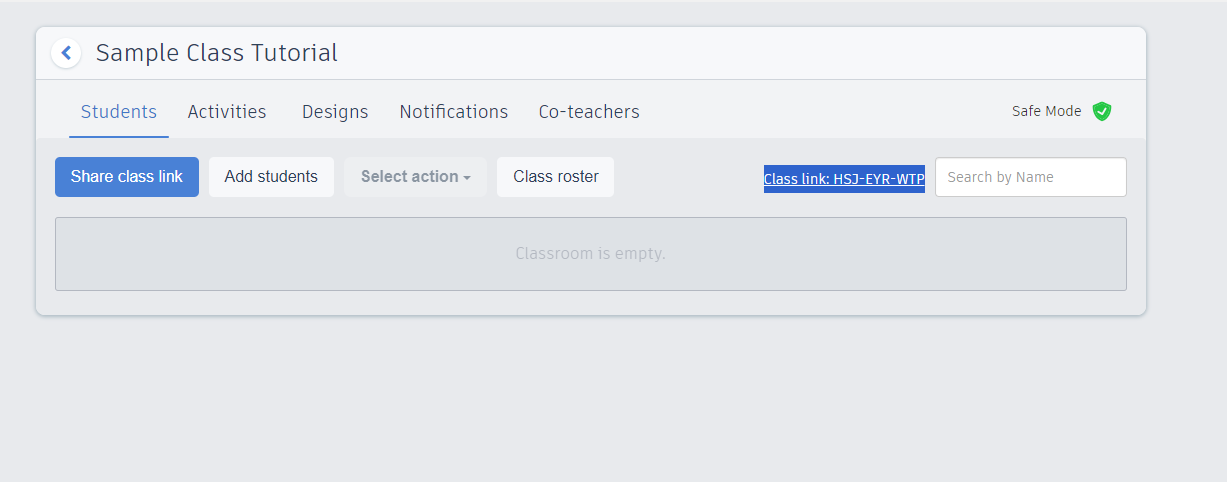
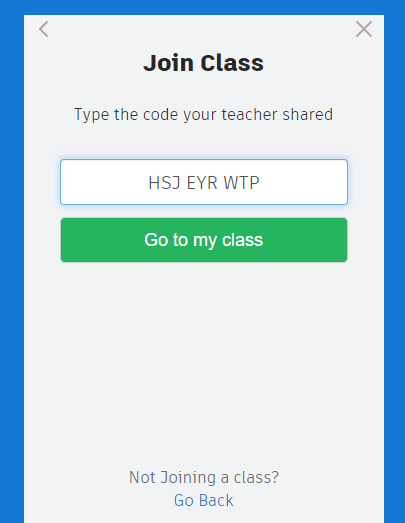
- On the Class Dashboard- You will find Class Link and Class Code for example HSJ-EYR-WTP. Share this with the students on the projector or the whiteboard.
- Go to the classes tab beneath the home tab and click Create New Class
-
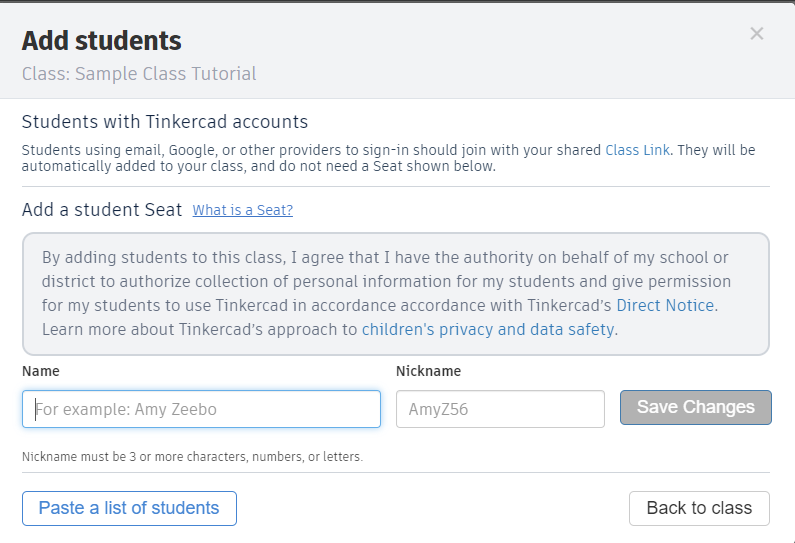
Add Students to Class. Go to the Add Students to class and add names and nicknames (should be easy to remember will be used to login)
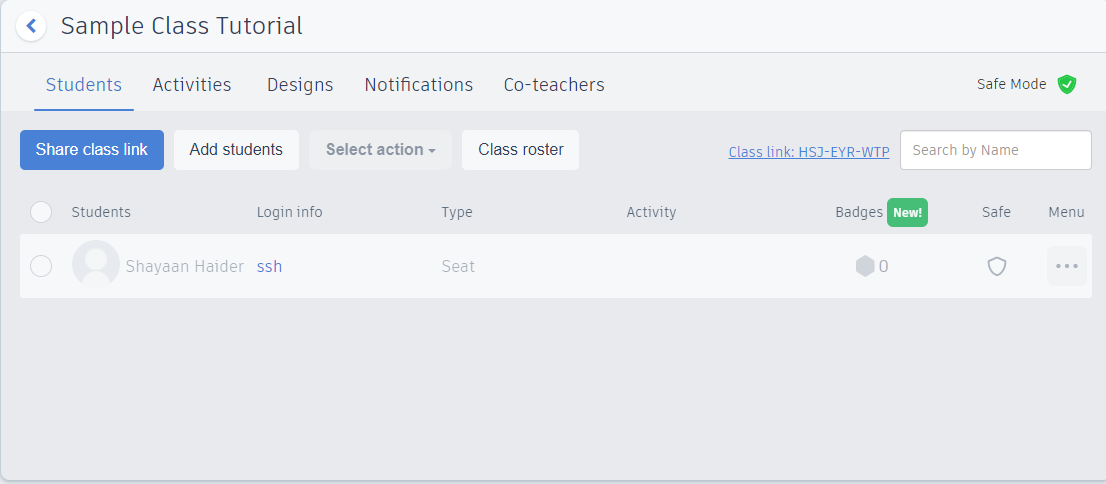
Ensure Student is added to class
Students log-in:
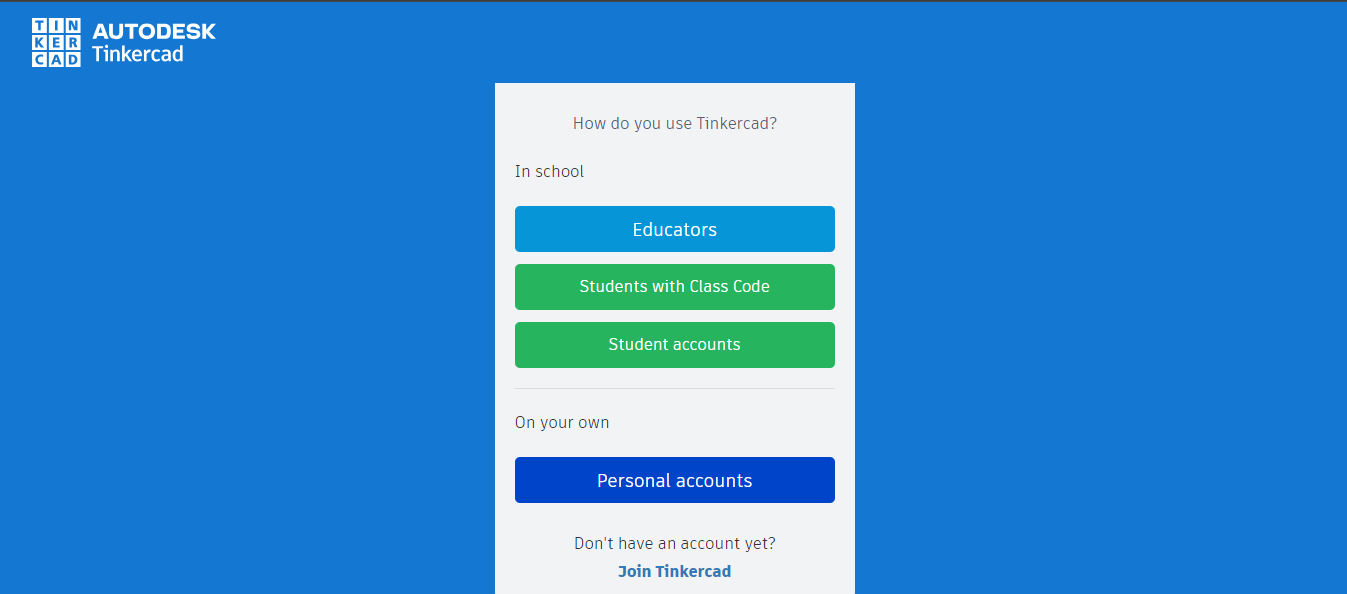
- Students go to www.tinkercad.com .
- On the log in Page select Students with Class Code.
- Students Enter Class Code.
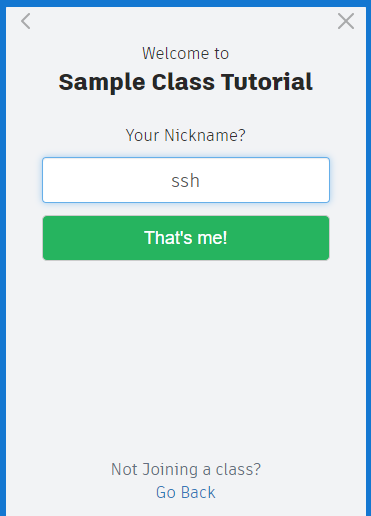
- Students enter their login info (nicknames as saved by teacher) and confirm.
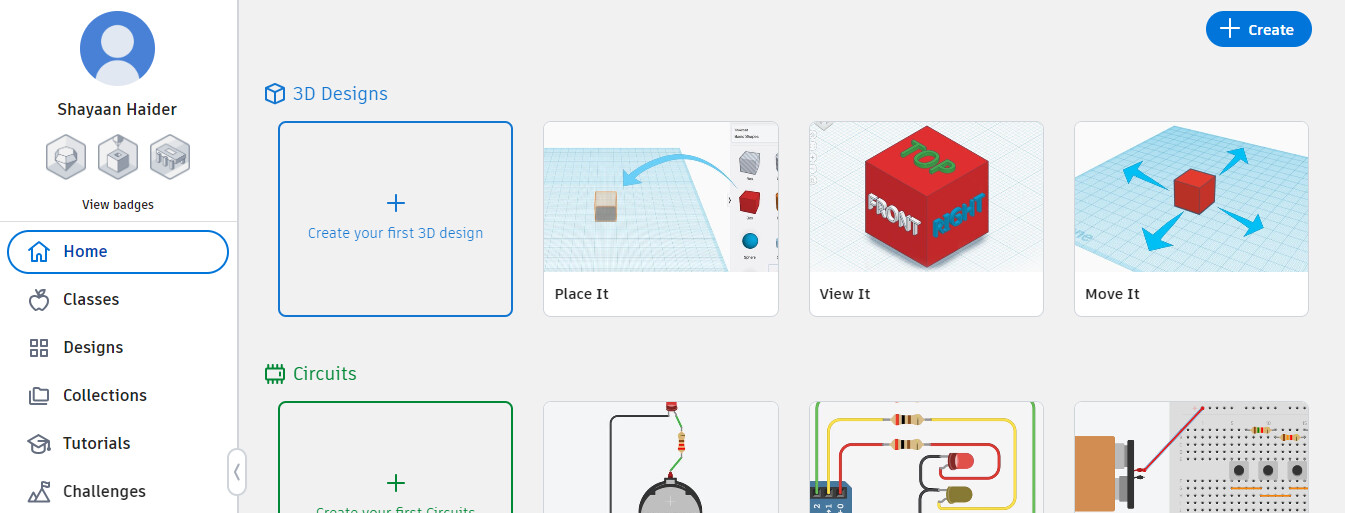
- This will open the student’s Dashboard after which they can start designing.
Navigating the Tinkercad Interface
Dashboard Overview
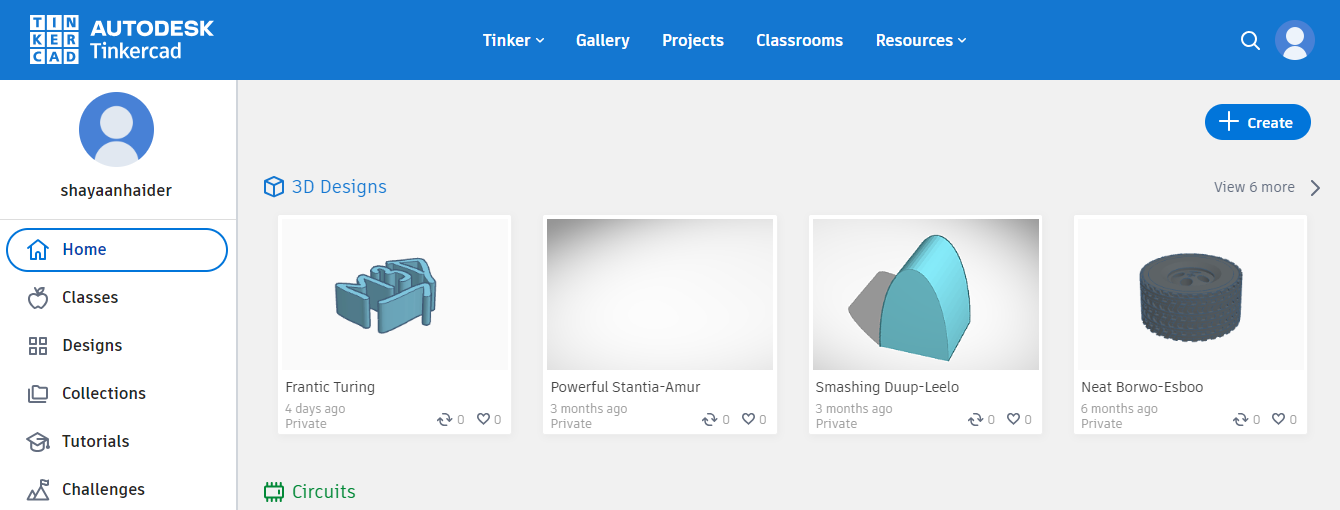
Upon logging in, you’ll see the dashboard where all your designs are stored.
- Gallery: Access public designs for inspiration.
- Classes: Manage student accounts and assignments.
- Create New Design: Start a new project.
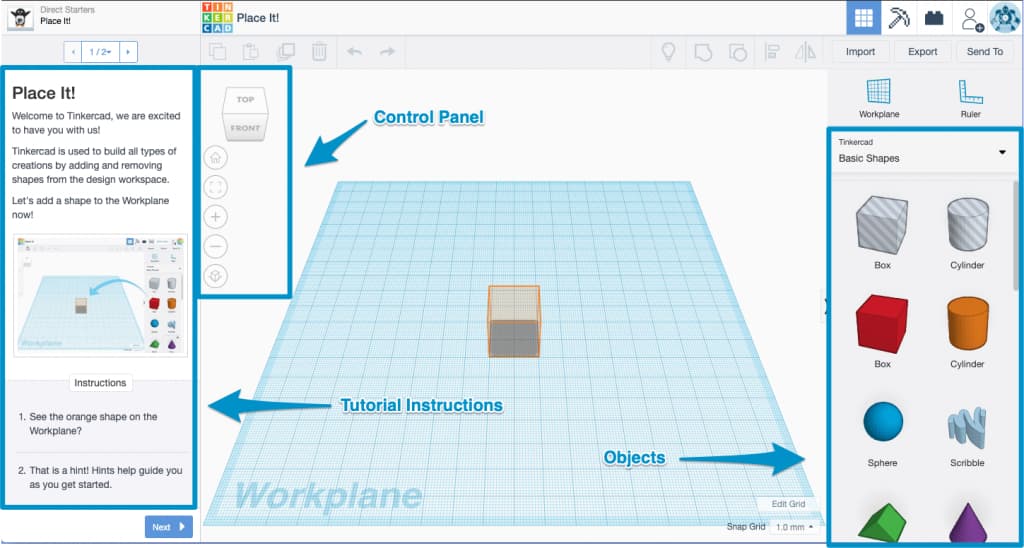
Creating a New Design
- Click on “Create new design.”
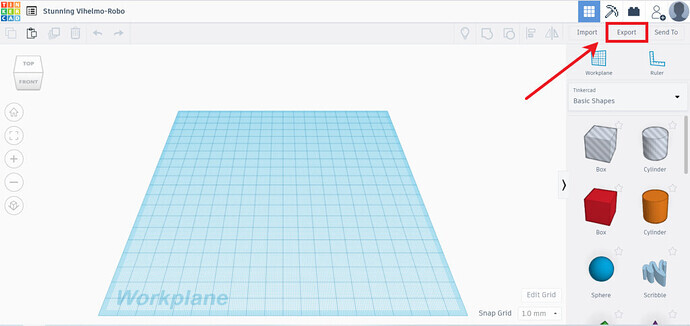
- You’ll be taken to the workplane where designing happens.
[Add picture of a blank workplane]
Basic Tools and Features
Workplane
The blue grid area where you place and manipulate objects.
- Represents the surface where your design sits.
- Can be adjusted to different planes for complex designs.
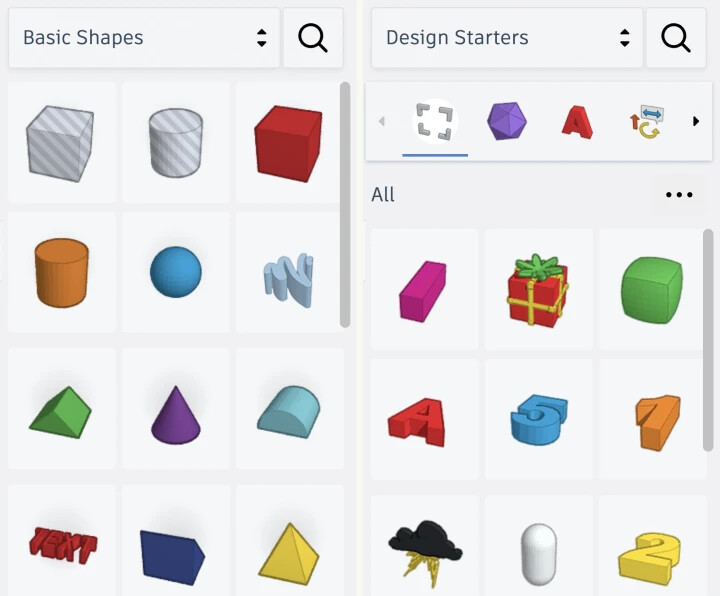
Basic Shapes
- Found on the right sidebar.
- Includes shapes like boxes, cylinders, spheres, and text.
- Drag and drop onto the workplane.
View Controls
- Zoom: Scroll wheel or zoom buttons.
- Pan: Right-click and drag or use the pan tool.
- Orbit: Right-click and drag to rotate the view.
Designing in Tinkercad
Adding Shapes
- Drag shapes from the sidebar to the workplane.
- Adjust size by dragging corner handles.
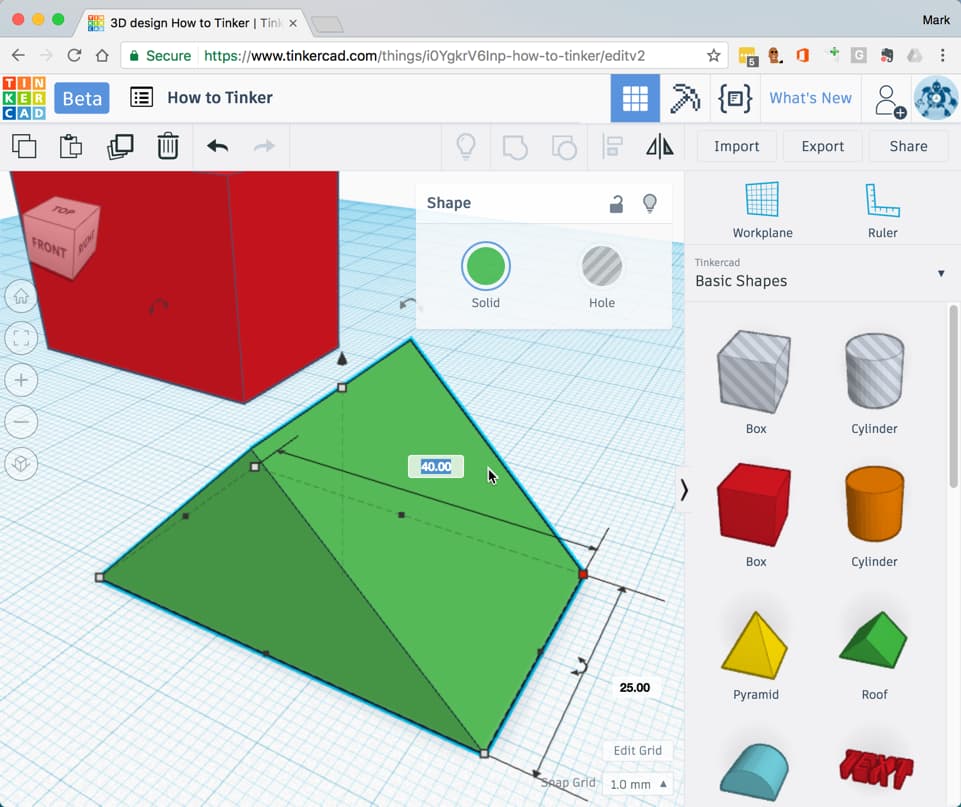
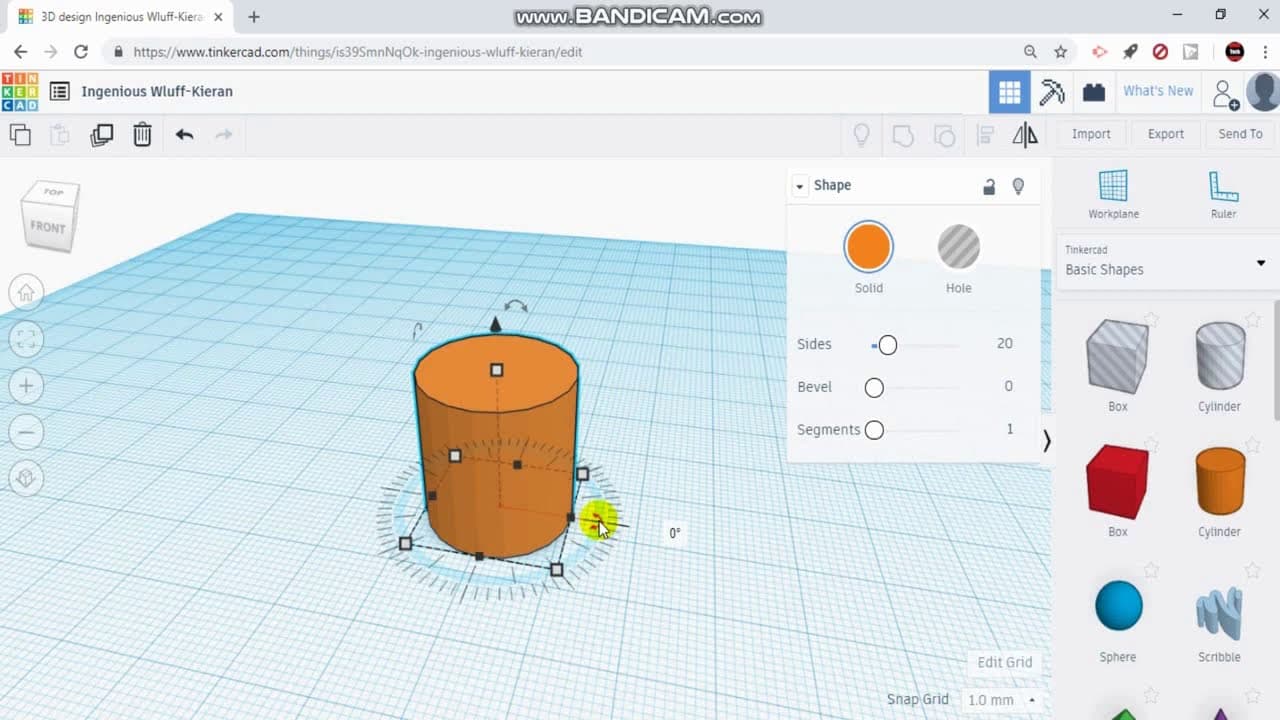
Moving, Rotating, and Scaling Objects
- Move: Click and drag the object.
- Rotate: Use the rotation arrows around the object.
- Scale: Drag the white squares to adjust dimensions.
Aligning Objects
- Select multiple objects by holding the Shift key and clicking.
- Click on the “Align” button.
- Alignment guides appear—choose how to align the objects.
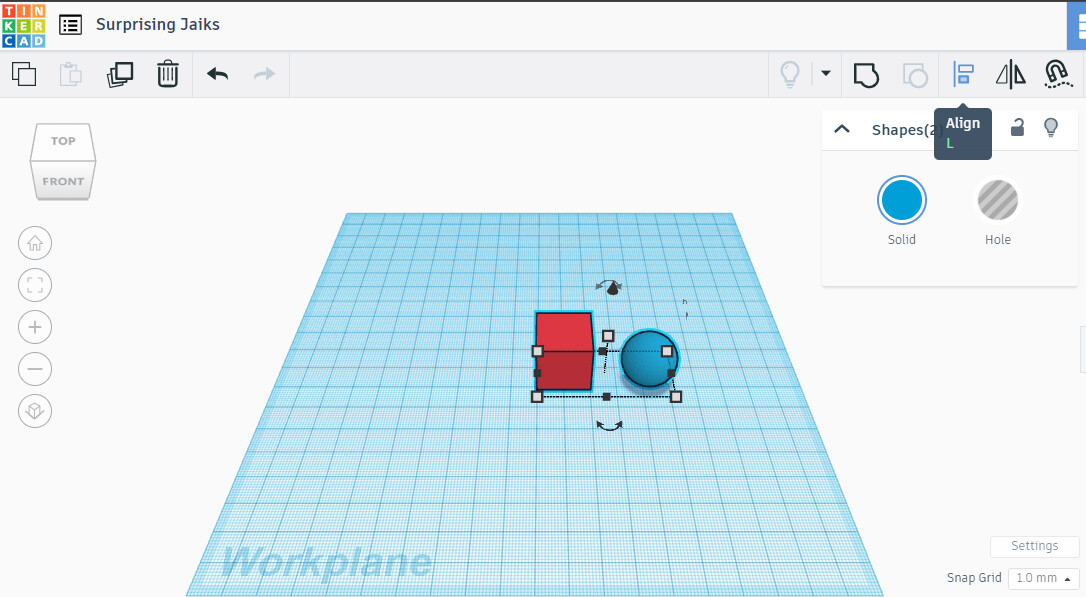
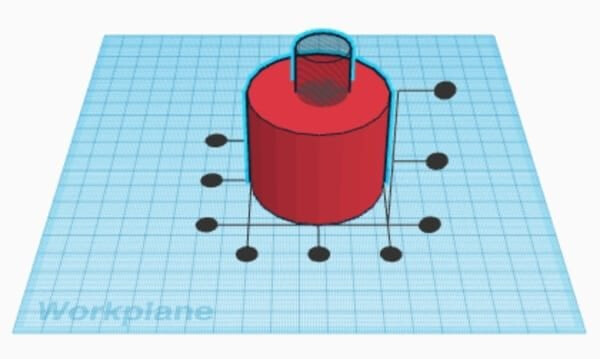
Grouping and Ungrouping
- Group: Select objects and click “Group” to combine them into one shape.
- Ungroup: Select the grouped object and click “Ungroup” to separate them.
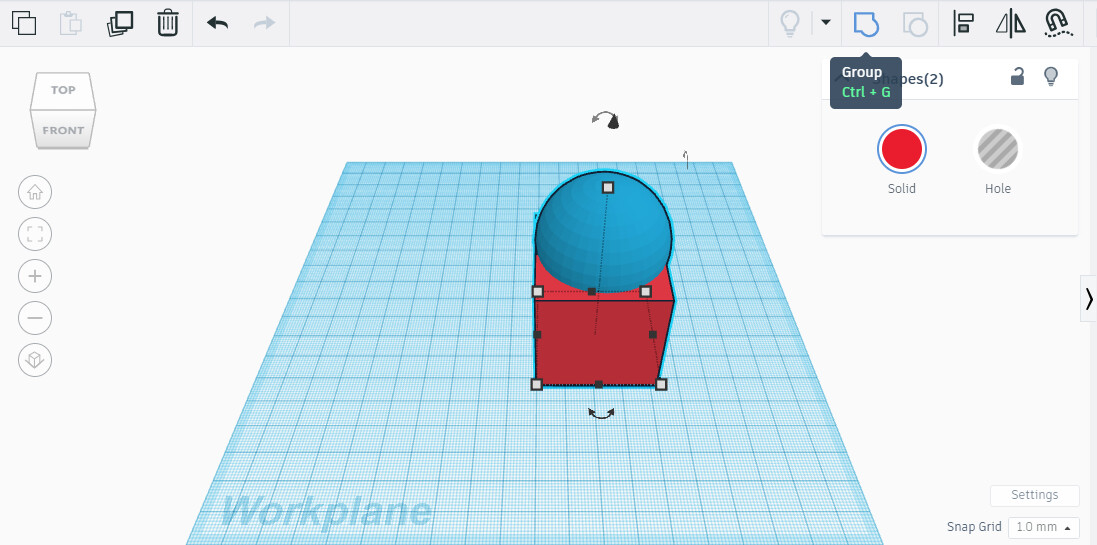
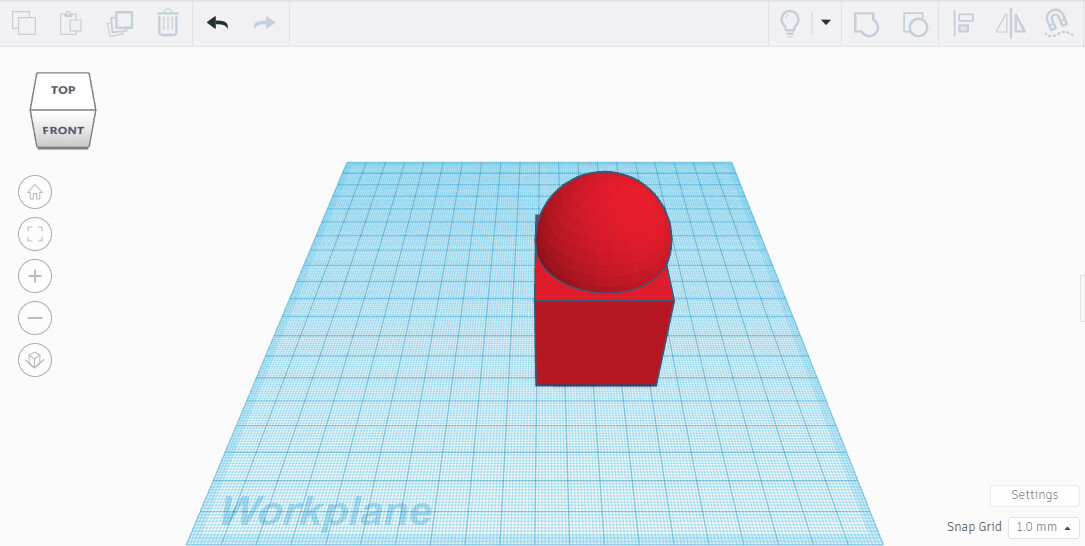
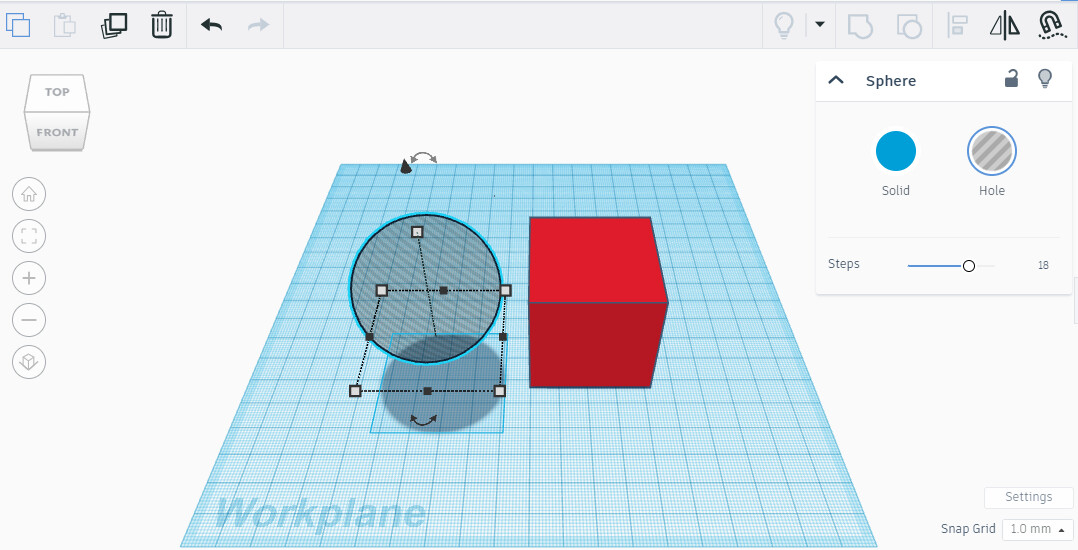
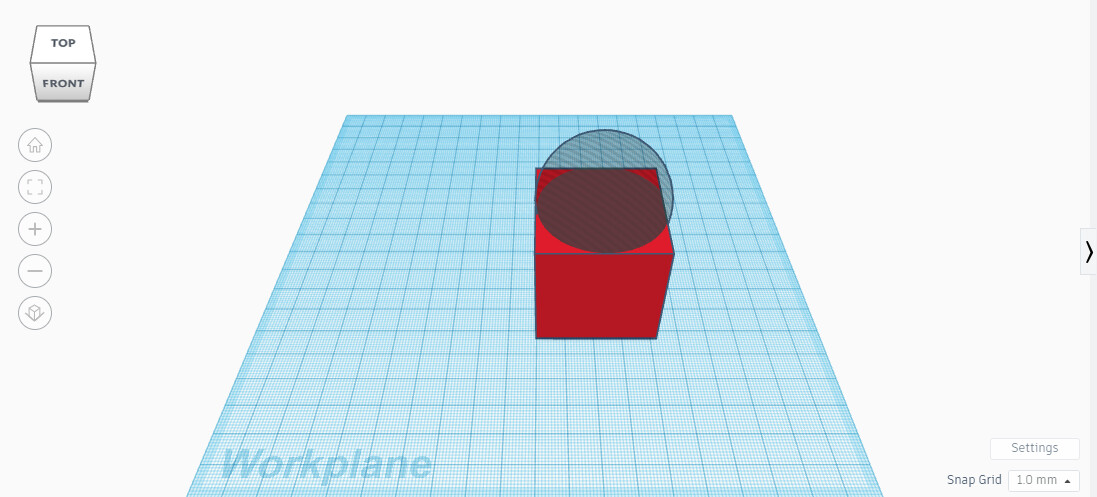
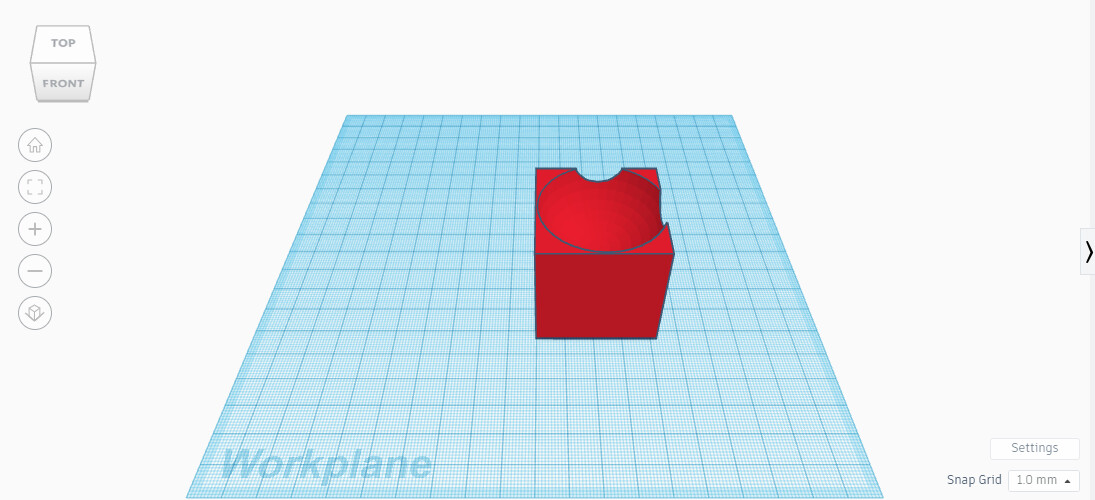
Using Holes to Subtract Material
- Turn any shape into a hole by selecting it and clicking “Hole.”
- Position the hole shape where you want to subtract material.
- Group it with another shape to cut out that section.
Advanced Features
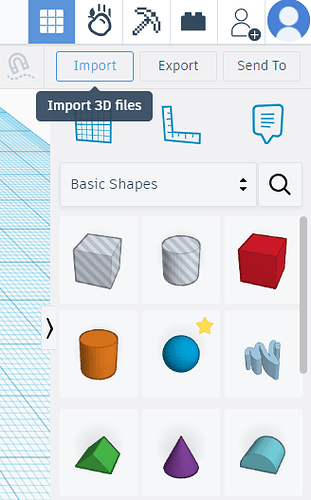
Importing 2D and 3D Files
- 2D Files: Import SVG files to create custom shapes.
- 3D Files: Import STL or OBJ files to modify existing models.
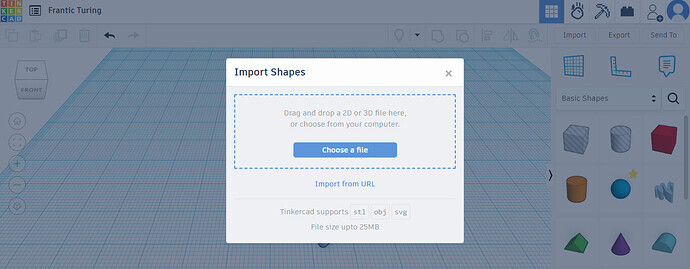
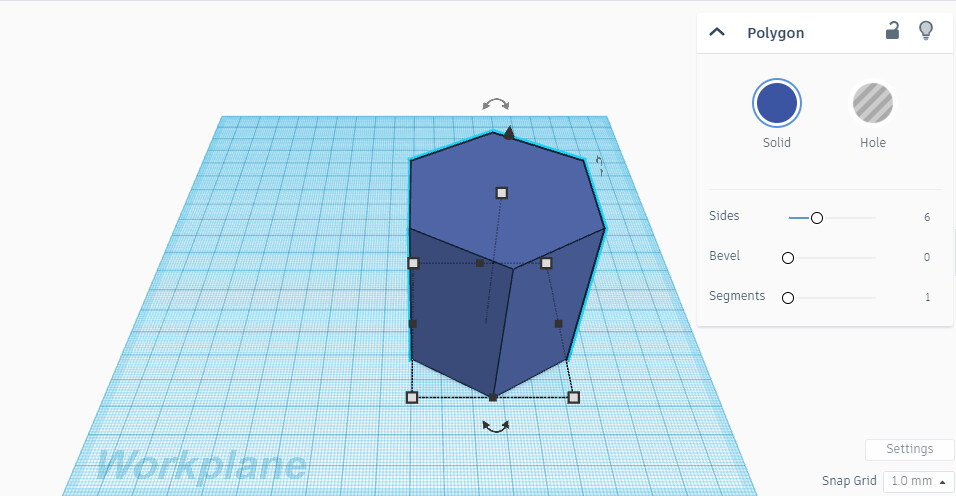
Using Shape Generators
- Access pre-made complex shapes.
- Customize parameters for unique designs.
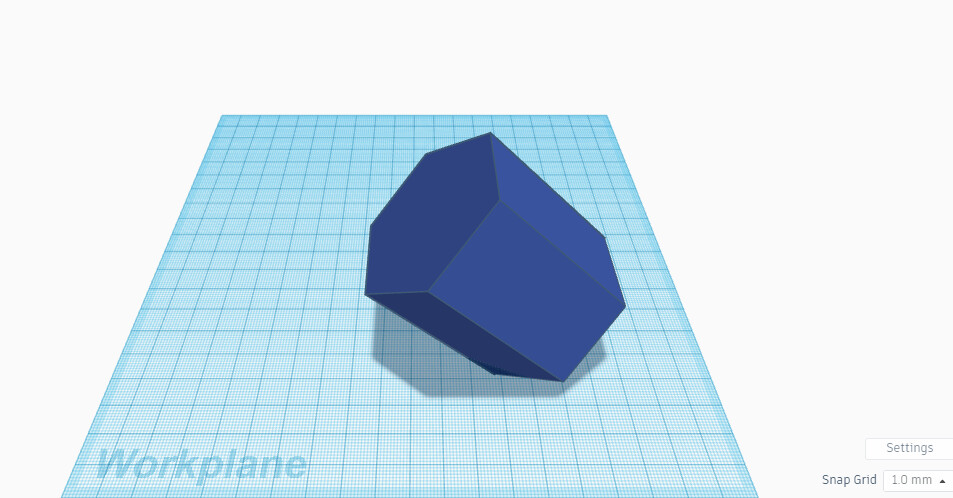
Duplicating and Mirroring Objects
- Duplicate: Select an object and press Ctrl+D (Cmd+D on Mac).
- Mirror: Use the “Mirror” tool to flip objects along an axis.
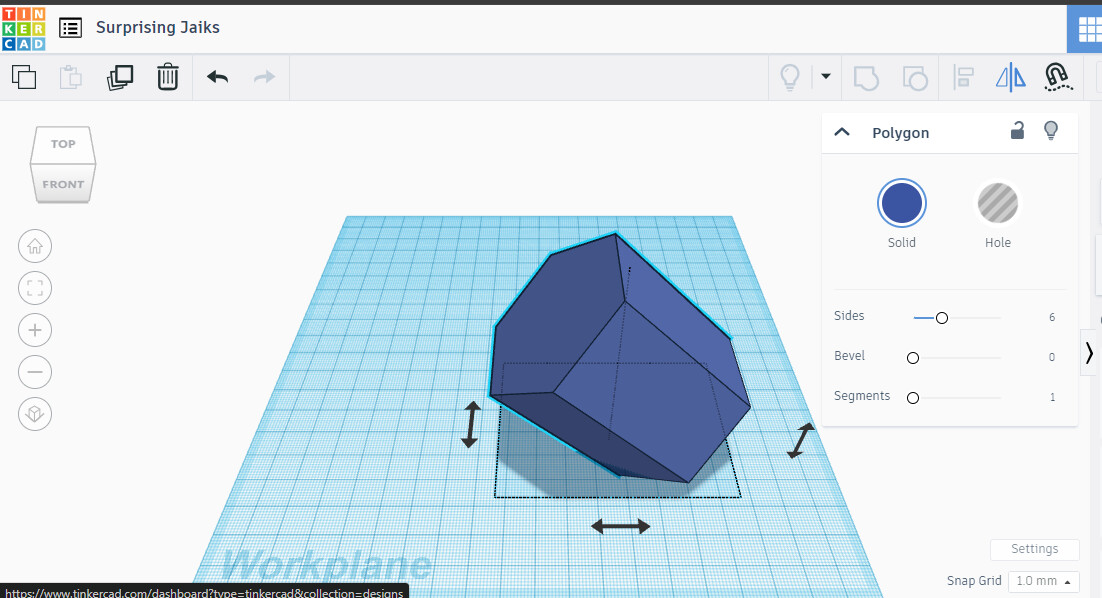
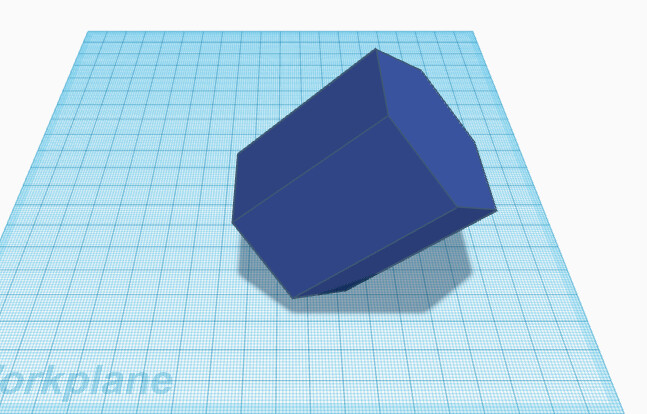
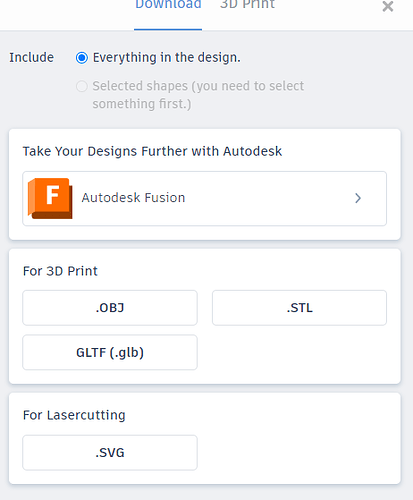
Exporting For 3D printing:
- Go to the export tab on the main dashboard
- Select .stl file and click on export. The file will be downloaded.