Session 7: “Designing Our Own Tools: Creating Simple 3D Printed Instruments”
Architect:
Syed Shayaan Haider - Markhor3D
Learning Objectives
In this session, students will:
- Learn how to design basic 3D-printable tools.
- Consider functionality and measurements when creating a tool.
- Start designing a tool in TinkerCad using creativity and problem-solving.
- Collaborate and share ideas to improve teamwork and communication skills.
Teaching Aids
Required Equipment:
- Computers or tablets with TinkerCad access.
- Projector and screen for demonstrations.
- Rulers and measuring tapes.
- Examples of simple tools (e.g., plastic set square, small organizers) or images if physical items are unavailable.
- Whiteboard and markers for brainstorming sessions.
- Printed idea sheets for students.
Visual Aids as Examples:
- [Google Image Search “3D printed test tube holder”]
- [Google Image Search “Simple 3D printed set square”]
- [Google Image Search “3D printed tool organizer for kids”]
Recap basic features of TinkerCad:
(optional; gauge skill level and confidence of students in TinkerCad, you might need to manage time.)
- Ask students to drag and drop a shape into the build area.
- Encourage them to manipulate the view around the shape. Move, pan, orbit, zoom using mouse.
- Make the students move the object after clicking on it and draging the arrows (attatched to the center).
- Make the students manipulate and resize the object after clicking on it and draging the arrows (attatched to the corner).
- Recap Grouping objects by selecting all of them and using the group command (Ctrl+G).
- Recap creating holes in the object.
1 .Create the shape of the hole to be cut.
2 .Change the shape type to solid to hole.
3 .Place it within the area to cut the hole.
4 .Select both objects and Group.
Structure and Lesson Plan (Total Time: 50 minutes)
Introduction (5 minutes)
Encouragement:
“Today, we’re going to become inventors and create our very own tools! Imagine making something that you and your friends can use in class or the lab. Let’s use our creativity to design useful items.”
Real-World Example Discussion:
-
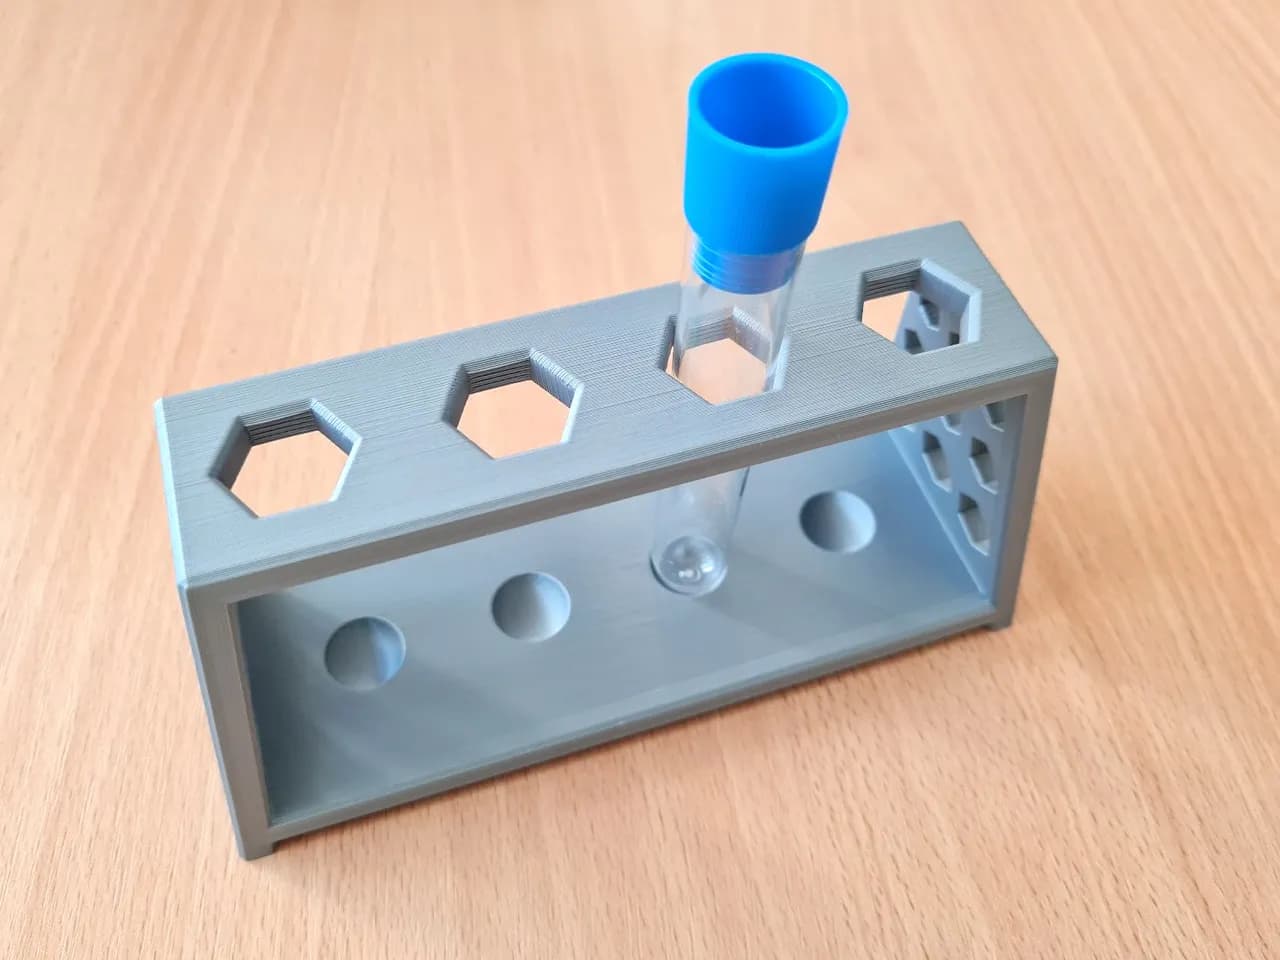
Example 1: Show an image of a 3D printed test tube holder.
- Question: “How does a test tube holder help scientists in the lab?”
-
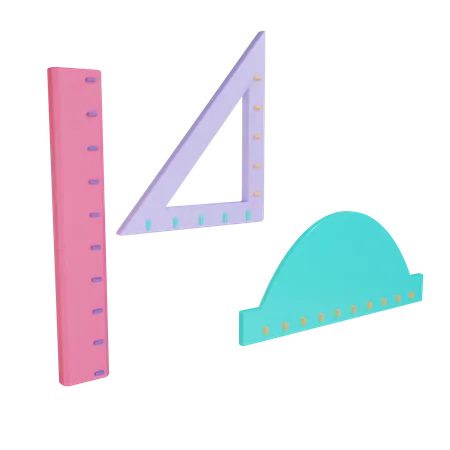
Example 2: Display a simple 3D printed set square.
- Question: “How do we use a set square in math or art class?”
-
Example 3: Show a tool organizer designed for kids.
- Question: “Why is it helpful to have a special place for our tools or supplies?”
[Google Image Search “Simple 3D printed tools for kids”]
Brainstorming Session (10 minutes)
Action Steps:
-
Divide Students into Small Groups:
- Action: Organize students into groups of 3-4.
-
Facilitate Brainstorming:
Think about tools or items that would help us in class or the lab. Let’s come up with ideas we can design and 3D print!
-
Provide Examples:
-
Test Tube Holder: A stand to hold test tubes during experiments.
- -
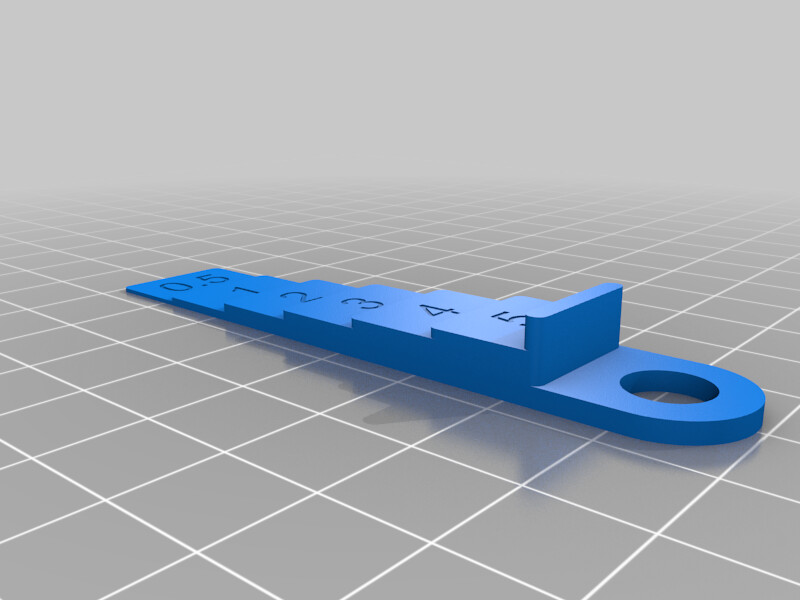
Simple Feeler Gauge: A tool to measure small gaps (simplified for our use).
-
Set Square: A triangle-shaped tool to help draw straight lines and angles.
-
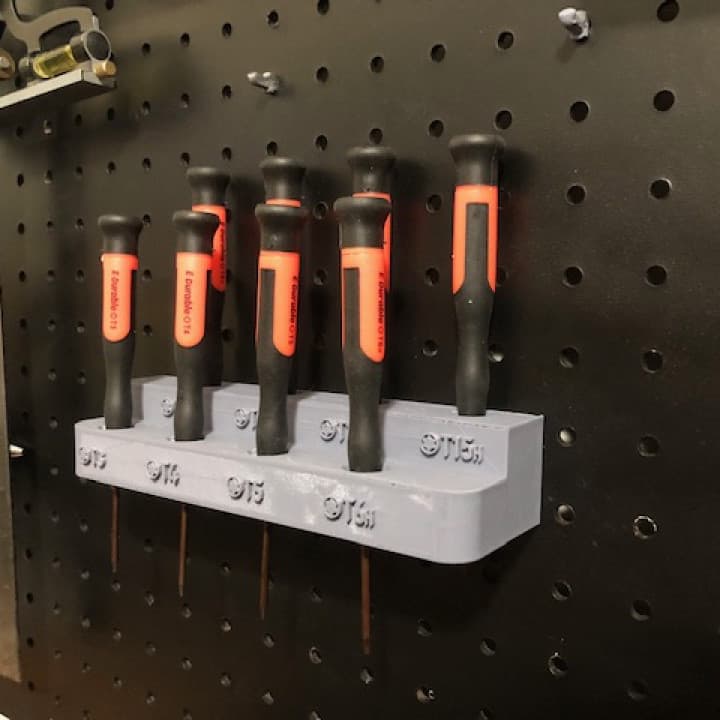
Screwdriver Holder: A small organizer to keep screwdrivers or pencils.
-
Tape Holder: A stand to hold tape rolls for easy use.
-
Question: “What tools do we use often that we could make ourselves?”
-
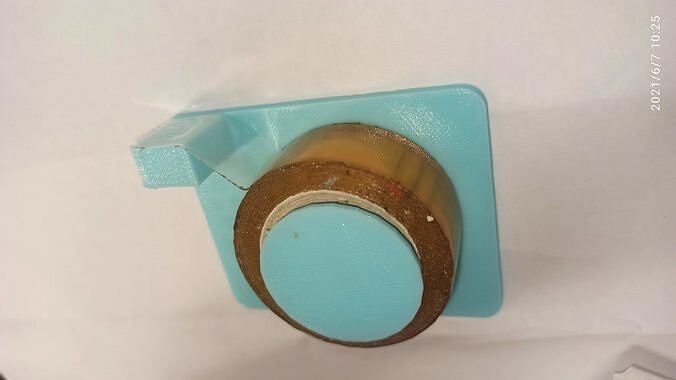
-
Encourage Idea Sharing:
-
Action: Have each group write down their ideas on the idea sheets.
-
Suggestion: “Remember, your tool doesn’t have to be complicated. Simple ideas can be very useful!”
-
Action Steps:
-
Guide Students to Choose an Idea. (Ideas disussed in teachers resource).
-
Considerations:
-
Question: “Can we design this tool using the shapes we know in TinkerCad?”
-
Question: “Do we need to measure anything to make sure it works properly?”
-
Choose something you’re excited about and feel confident designing!
Designing in TinkerCad (20 minutes)
-
Review Key Concepts:
-
Action: Briefly revisit how to use basic shapes and tools in TinkerCad.
-
Question: “Which shapes will help us create our tool?”
-
Question : “Can we print it easily?”
-
-
Measuring for Functionality:
-
Action: Show how to measure items relevant to their tool.
- Example: For a pencil holder, measure the diameter of a pencil to make sure holes are the right size.
-
Measure twice Create Once!
-
Begin Designing:
-
Allow Students to Work Independently:
-
Action: Let students explore and build their designs, offering assistance as needed.
-
Encouragement: “Experiment with different ideas and see how they come together!”
-
-
Reflection and Setting up Print (15 minutes)
- Invite Students to Share:
- Ask a few students to present their designs to the class.
- Question: “What tool did you design, and how will it help us?”
- Question: “Did you encounter any challenges while designing? How did you overcome them?”
Discussion on Printability:
- Question: “Now that we’ve designed our tools, let’s think about how we can make them easy to print. Are there any features in your design that might make printing difficult?”
- Encouragement: “It’s important to ensure our designs are printer-friendly so they turn out just the way we want!”
Identifying Potential Problems:
- Action: Guide students to examine their designs for any potential printing issues.
- Sample Questions:
- “Does your design have parts that stick out without support (overhangs)?”
- “Are there any thin pieces that might break easily during printing?”
- “Is the overall size appropriate for our printer’s build area?”
- Suggestion: “If you notice any of these issues, think about how you might adjust your design to solve them.”
Homework:
- Ask students to think about any improvements or additions they might want to make to their tools.
- “Draw or write down any new ideas to bring to our next class.”
Glossary
I. Tool: An object used to carry out a particular function.
II. Functionality: How well something performs its intended purpose.
III. Measurement: Determining the size, length, or amount of something using standard units.
IV. Design: The process of planning and creating something.
References:
Ideas for Students and Basic Implementation:
- Polygon Drawing Guide.
- Implementation: Subtract various polygons from a thin reectangular box.
- Test Tube Holder
- Implementation: Use rectangular prisms to create a base and vertical supports; subtract cylindrical holes (using cylinders as holes) where the test tubes will fit.
- Set Square
- Implementation: Create a right-angled triangle by combining box shapes; adjust dimensions to form precise angles, then extrude to add thickness.
- Pencil Holder
- Implementation: Make a rectangular base; add cylinders on top and use hole shapes to create slots where pencils can be placed.
- Tape Holder
- Implementation: Design a U-shaped base with boxes; add a central cylindrical rod for the tape roll and a serrated edge using tiny triangular prisms.
- Screwdriver Holder
- Implementation: Start with a flat rectangular base; subtract holes using cylinders where the screwdrivers will fit, varying sizes as needed.
- Feeler Gauge (Simplified)
- Implementation: Create thin rectangular strips of varying thicknesses using boxes; add a small hole at one end for stacking them together with a pin.
- Fillet Gauge
- Implementation: Use quarter-circle shapes to create gauges of different radii; label each one using the text tool for identification.
- Measuring Spoon
- Implementation: Combine a half-sphere for the spoon using a sphere cut in half and a rectangular prism for the handle; merge them together. - Cable Organizer
- Implementation: Design a flat strip; add multiple U-shaped clips using half-cylinders to hold cables in place.
- Plant Label Stakes
- Implementation: Make a long, thin rectangle for the stake; add a flat area on top using a box where plant names can be added with the text tool.
Search “3D printed tools for Inspiration”
Teacher’s Resources
- Guide to TinkerCad (link to separate document)
For suggestions, improvements, and corrections, feel free to reach out at shayaanhaider@gmail.com