Session 4: “From Screen to Reality: Printing Our Creations”
Architect:
Syed Shayaan Haider - Markhor3D
Learning Objectives
In this session, Grade 2 students will:
- Understand the 3D Printing Process: Review how digital designs become physical objects.
- Learn Basic Concepts of 3D Printing Preparation: Introduction to Cura software for slicing.
- Observe a Live 3D Print: Watch a simple cube being printed to maintain engagement.
- Prepare Their Keychain Designs for Printing: See how their own designs are set up for printing.
- Connect Digital Work to Physical Outcomes: Reinforce the link between their TinkerCad designs and the final printed objects.
Teaching Aids
Required Equipment:
- M3D Enabler 3D Printer: Set up and ready for demonstration.
- Computer with Cura Installed: Connected to a projector for demonstration.
- Projector and Screen (recommended): To display Cura and other visuals.
- Sample 3D Printed Items: A variety of premade objects to show students.
- Prepared Model in the printer: A simple cube file ready for printing.
- Student Keychain Designs: Collected from previous session.
- Whiteboard and Markers: For explanations and highlighting key concepts.
Structure and Lesson Plan (Total Time: 50 minutes)
Introduction and Show & Tell (10 minutes)
-
Welcome Students:
- “Good morning, everyone! Today is the day we start turning your amazing keychain designs into real objects!”
-
Show & Tell of 3D Printed Items:
-
Display Premade Items:
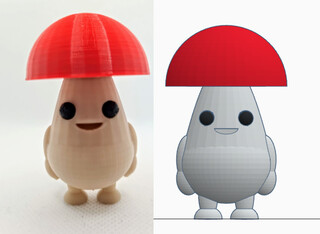
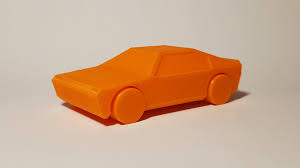
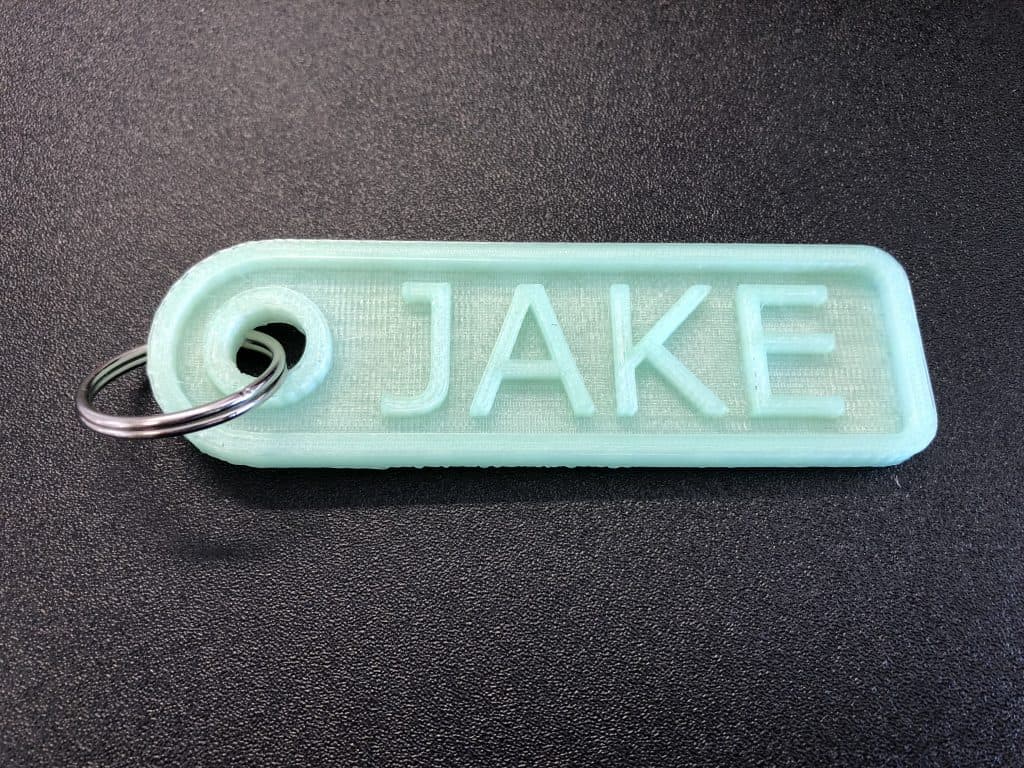
- Show a variety of 3D printed objects, such as small toys, models, and practical items.
- Pass around objects (if appropriate) for students to see and touch.
-
Explain Each Item Briefly:
- “This is a small car we printed. See how the wheels can move?”
- “Here’s a 3D printed bracelet. It’s made from the same material we’ll use for your keychains.”
-
-
Engage Students with Questions:
- “What do you think about these objects?”
- “Can you imagine making something like this yourself one day?”
-
Introduce Today’s Goal:
- “Today, we’ll see how we turn your keychain designs from the computer into real-life objects using our 3D printer!”
Live 3D Printing Demonstration - Printing a Cube (5 minutes)
-
Set Up a Simple Print:
-
Start Printing a Cube:
- Begin the print of a simple cube model on the 3D printer at the beginning of the session.
-
-
Explain the Process:
- “While we learn today, our 3D printer will be printing this cube. We’ll check on it later to see how it’s doing!”
-
Maintain Engagement:
- Position the printer where students can see it working without being distracted.
Introduction to Cura and Preparing Designs for Printing (20 minutes)
Note: Keep explanations simple and visual, focusing on the main concepts suitable for Grade 2 students.
-
Explain the Role of Cura:
- “Cura is a special program that helps us get your designs ready for the 3D printer. It tells the printer how to make your keychains.”
-
Demonstrate Importing a Design:
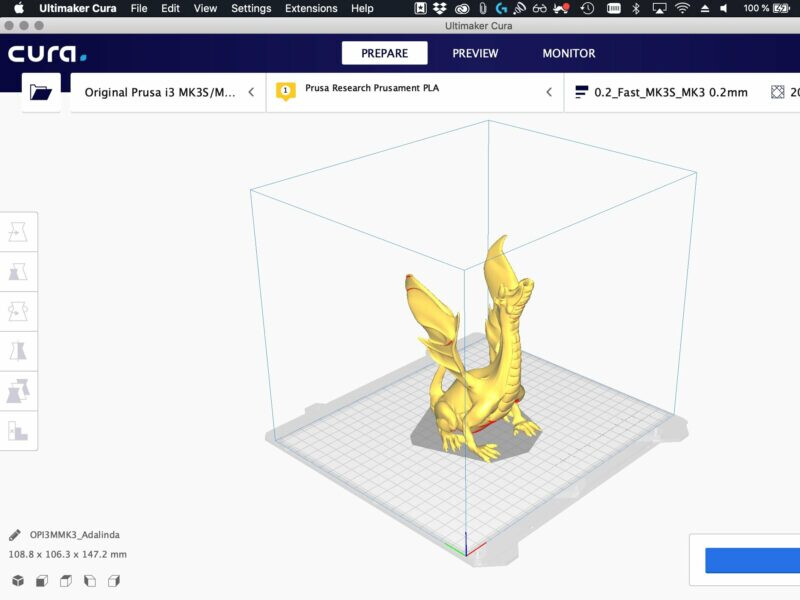
- Open Cura:
- Launch Cura on the computer connected to the projector.
- Import a Keychain Design:
- Click on “File” > “Open” and select one of the students’ keychain designs.
- Show the Keychain in Cura:
- Point out how the design appears on the virtual print bed.
- Open Cura:
-
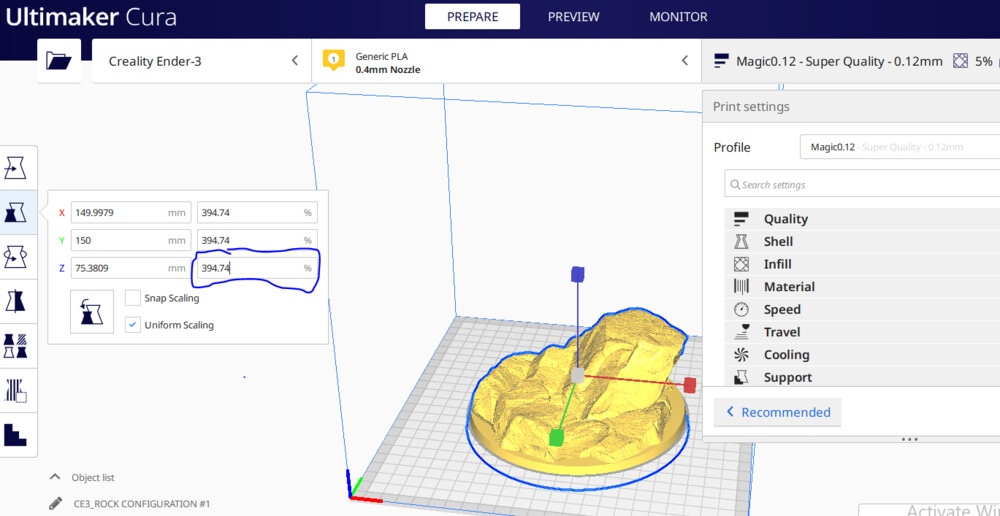
Explain Scaling and Positioning:
- Scaling:
- “Sometimes we need to make sure your keychain is the right size.”
- “In Cura, we can check the size and make it bigger or smaller if needed.”
- Scaling:
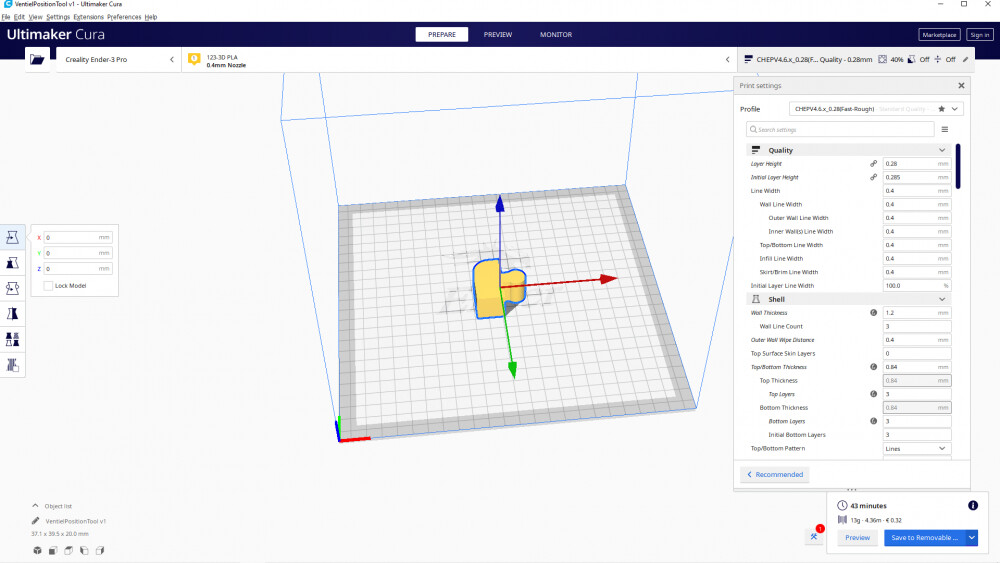
- Positioning:
- “We need to place your keychain in the right spot on the print bed.”
- “See how we can move it around to make sure it fits and prints well.”
-
Demonstrate Moving the Object:
- Use the move tool to show how the keychain can be repositioned.
-
Emphasize the Preview and Toolpath:
-
Slicing the Model:
-
“Now, we’ll slice the model. This means we’re telling the printer how to build your keychain layer by layer.”
-
Click on “Slice” to process the model.
-
-
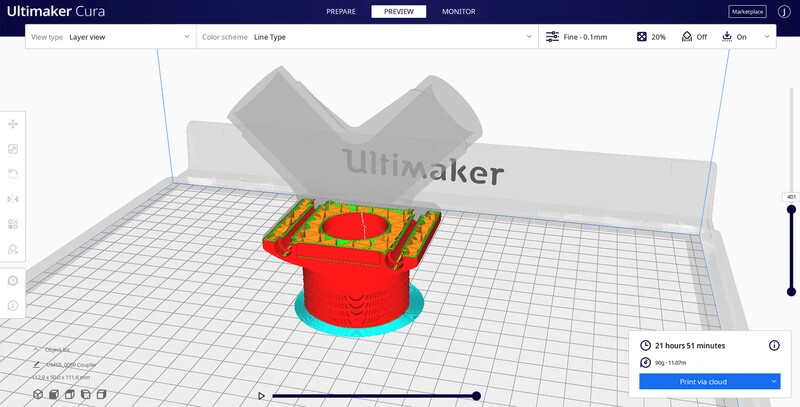
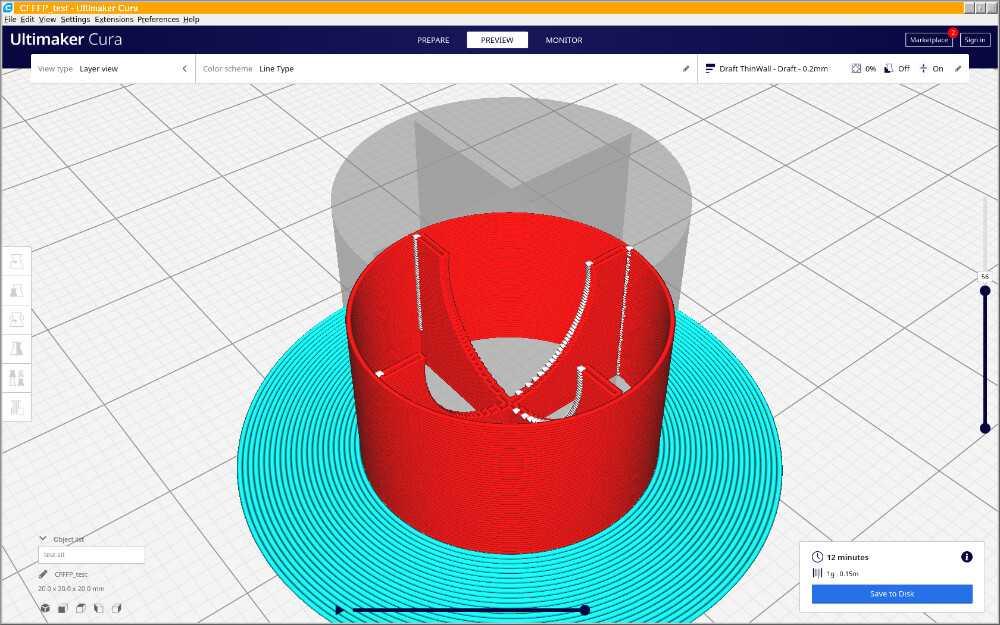
Preview Mode:
- Switch to the “Preview” tab.
- “In the preview, we can see exactly how the printer will make your keychain.”
-
Observing the Toolpath:
- Use the slider to show different layers.
- “Look at these lines. They show the path the printer’s nozzle will follow.”
-
-
Simplify Technical Terms:
- Avoid getting too technical; focus on the visual aspects.
- “Think of it like building with tiny layers of plastic, one on top of the other.”
- For example, when we place liquid glue on our hands it has a thickness, similarly- if we repeat this process it will start to get higher and higher!
-
Repeat with Another Design (if time allows):
- Import another student’s keychain and go through the same steps.
Sending Designs to the Printer (5 minutes)
-
Prepare Files for Printing:
- “Now that we’ve sliced the designs, we’ll save them in the computer to put into the printer.”
- Show how to save the sliced file.
-
Load Designs into the Printer:
- Transfer the files to the printer.
- “We’ll start printing some of your keychains now!”
-
Select a Student’s Keychain to Print:
- Choose one or two designs to start printing (prioritize designs that will print quickly).
Observing the 3D Printer in Action (10 minutes)
-
Check on the Cube Print:
- “Let’s see how our cube is doing.”
- Show the progress of the cube print (the cube should have been completed in the middle of the class/ if time allows restart the same print).
-
Begin Printing Student Designs:
- Start the print of a student’s keychain.
-
Allow Students to Watch:
- Bring the class closer to the printer (while maintaining safety).
- “See how the printer is creating your design layer by layer?”
-
Explain What’s Happening:
- “The printer is following the instructions we made in Cura to build your keychain.”
-
Safety Reminders:
- “Remember, we must not touch the printer while it’s working because it gets very hot.”
Recap and Q&A (5 minutes)
-
Summarize the Steps:
- “Today, we learned how to prepare your designs for printing using Cura.”
- “We saw how the printer turns those designs into real objects.”
-
Ask Questions:
- “What was the most interesting thing you saw today?”
- “Do you have any questions about how the printer works?”
Conclusion and Next Steps (5 minutes)
- Explain When They Will Receive Their Keychains:
- Help Students recall print times for each of their prints.
“It takes some time to print each keychain, so over the next few days, we’ll print all of them.”
“Once your keychain is ready, we’ll decorate them in our next session!”
Additional Notes for the Teacher
- Guide to TinkerCad (link to separate document)
- Guide to Cura (link to separate document)
- Getting Started with M3D Enabler (link to separate document)
-
Preparation:
-
Set Up Printer:
- Ensure the 3D printer is functioning properly before the class.
- Have the cube model ready to print at the start of the session.
-
Cura Software:
- Install and test Cura on the demonstration computer.
- Preload a few student designs to avoid delays.
-
Key Vocabulary
-
3D Printing: Making a physical object from a digital design by laying down thin layers of material.
-
Cura: A software program that prepares 3D models for printing by slicing them into layers.
-
Print Bed: The surface on which the 3D printer builds the object.
-
Slicing: The process of converting a 3D model into layers that the printer can build.
-
Toolpath: The path that the printer’s nozzle follows to create each layer.
Previous Session.
Next Session.
For suggestions, improvements, and corrections, feel free to reach out at shayaanhaider@gmail.com