Session 5: “Colorful Finishes: Decorating Our Keychains”
Architect:
Syed Shayaan Haider - Markhor3D
Learning Objectives
In this session, Grade 2 students will:
- Safely Handle 3D Printed Objects: Learn how to remove supports carefully and understand basic features of their keychains.
- Identify Features of 3D Prints: Recognize layer lines, top and bottom layers, and discuss the strength and weight of their keychains.
- Express Creativity Through Decoration: Use paints or markers to personalize their keychains.
- Enhance Fine Motor Skills: Improve hand-eye coordination through painting and detailing.
- Build Pride in Their Creations: Develop a sense of accomplishment by completing their keychains.
Teaching Aids
Required Equipment:
- Printed Keychains: All student keychains printed and ready.
- Safety Equipment: Safety goggles, gloves (if necessary).
- Tools for Support Removal:
- Small pliers or tweezers (teacher-assisted).
- Magnifying Glasses (Optional): To observe fine details like layer lines.
- Painting Supplies:
- Acrylic paints in various colors.
- Paintbrushes of different sizes.
- Permanent markers or paint markers.
- Palettes or paper plates for mixing colors.
- Cups of water and paper towels for cleaning brushes.
- Protective Table Covers: Newspaper or plastic sheets to protect tables.
- Aprons or Smocks: To protect students’ clothing.
- Drying Area: Space to let painted keychains dry.
- Whiteboard and Markers: For explanations and highlighting key concepts.
Structure and Lesson Plan (Total Time: 50 minutes)
Introduction and Distribution of Keychains (5 minutes)
-
Welcome Students:
- “Good morning, everyone! Today is the exciting day you’ve been waiting for—you get to see your very own keychains printed and ready!”
-
Distribute Keychains:
- Hand out each student’s keychain individually.
- Encourage them to look closely at their creation.
-
Initial Observation:
- “Take a moment to look at your keychain. Isn’t it amazing to see your design come to life?”
Exploring Features of 3D Printed Objects (10 minutes)
-
Discussion of Key Features:
-
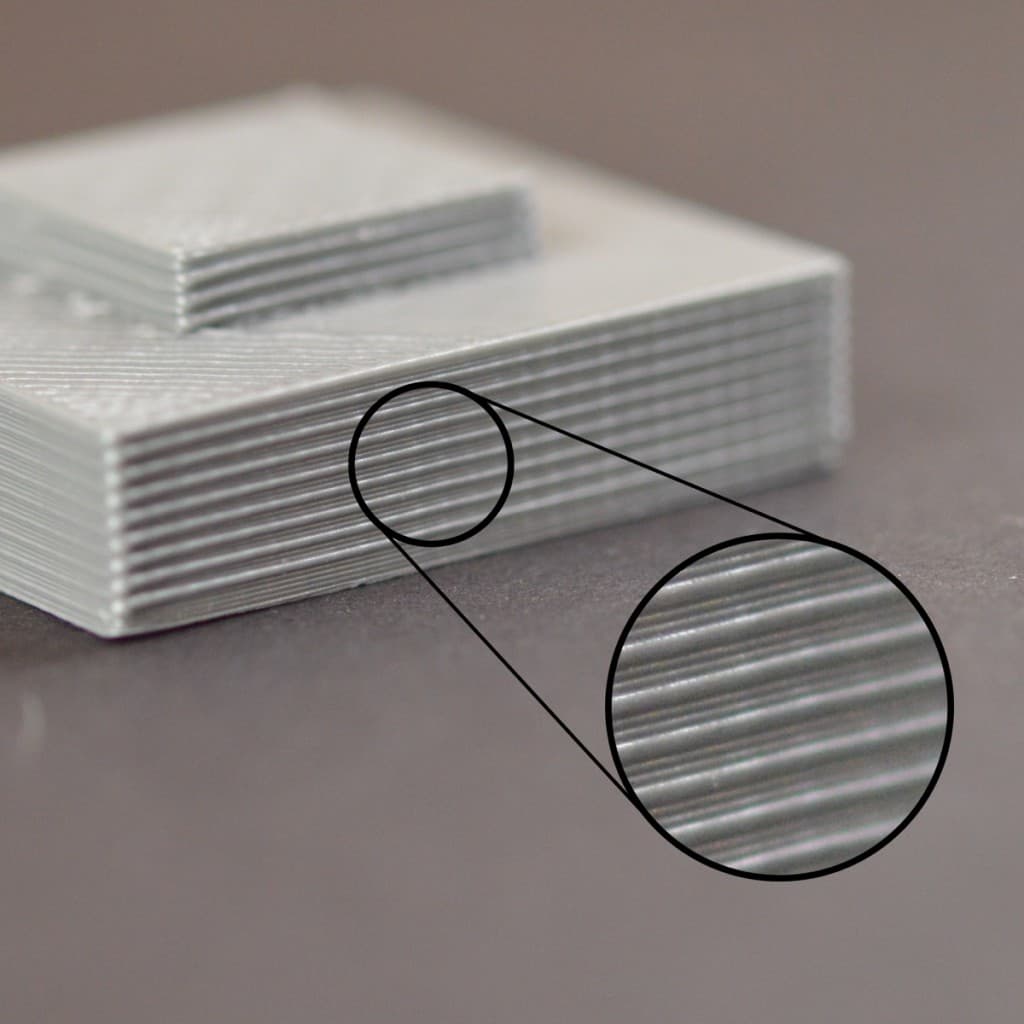
Layer Lines:
- Show and Explain:
- “Notice the thin lines on your keychain. These are called layer lines.”
- “The 3D printer builds your keychain by stacking many thin layers of plastic on top of each other.”
- Analogy:
- “It’s like building with very tiny blocks, one layer at a time.”
- “It’s like building with very tiny blocks, one layer at a time.”
- Show and Explain:
-
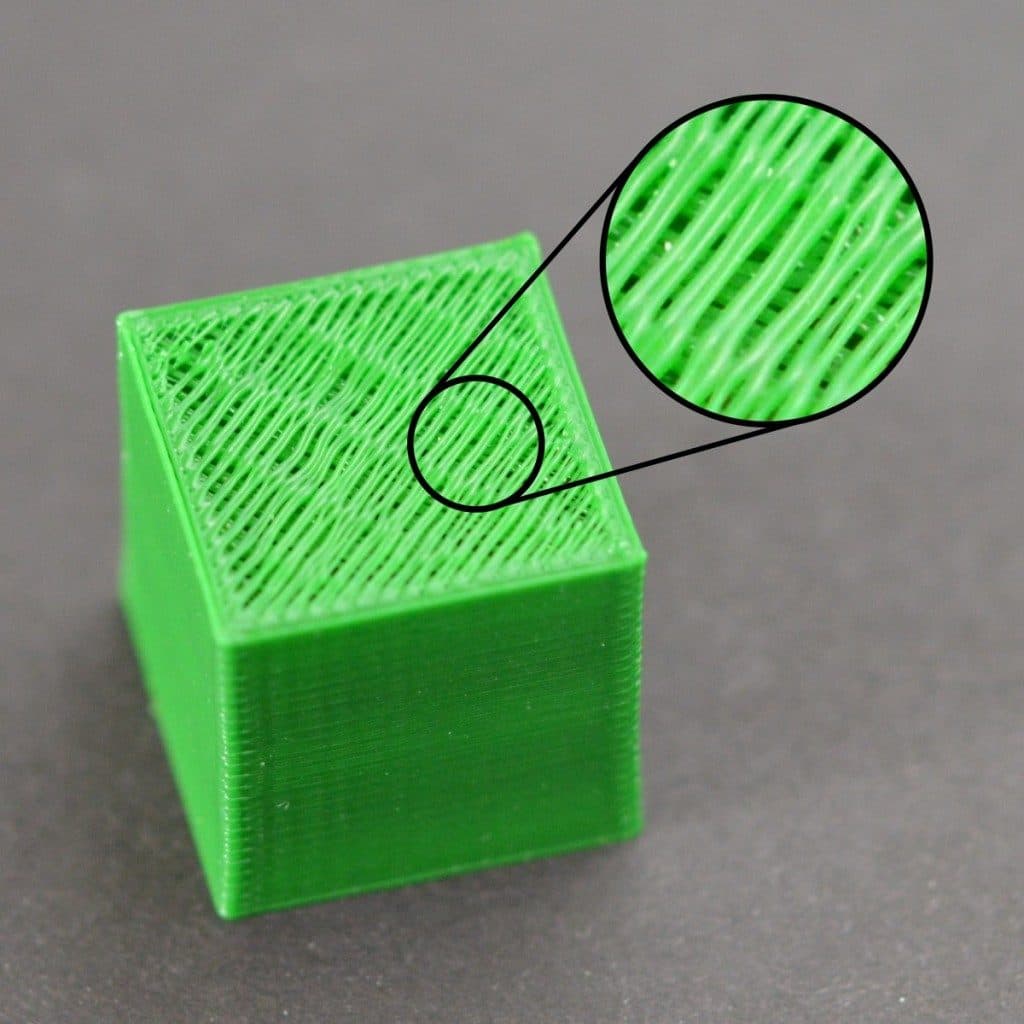
Top and Bottom Layers:
- Point Out:
- “Look at the top and bottom of your keychain.”
- “The bottom layer is the first layer the printer made, and the top layer is the last.”
- Touch and Feel:
- “Can you feel any differences between them?”
- Point Out:
-
-
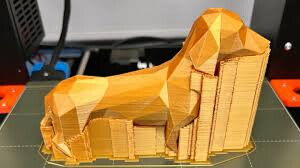
Supports (if any):
- Explain:
- “Some keychains might have extra bits of plastic called supports.”
- “Supports help hold up parts of your design while it’s being printed.”
- Explain:
-
Strength and Weight:
- Discuss:
- “Feel how light your keychain is!”
- “Even though it’s light, it’s strong because of the way the layers are built.”
- Discuss:
-
Engage Students with Questions:
- “What do you think about the way your keychain feels?”
- “Can you see the patterns the printer made?”
Safely Removing Supports (5 minutes/ optional)
-
Safety First:
- “Before we decorate, we need to remove any supports carefully.”
-
Demonstrate Support Removal:
- Teacher Demonstration:
- Show how to gently remove supports using small pliers or tweezers.
- “Watch how I carefully remove this support without breaking the keychain.”
- Teacher Demonstration:
-
Assist Students:
- Teacher-Assisted Removal:
- For safety, the teacher should handle the support removal.
- “If your keychain has supports, bring it to me, and I’ll help you remove them.”
- Teacher-Assisted Removal:
-
Safety Reminders:
- “Please do not try to remove supports on your own to avoid any accidents.”
Preparing for Decoration (5 minutes)
-
Set Up Workstations:
- Protect Surfaces:
- Cover tables with newspaper or plastic sheets.
- Distribute Supplies:
- Provide paints, brushes, markers, water cups, and paper towels.
- Wear Protective Gear:
- Have students put on aprons or smocks.
- Protect Surfaces:
-
Instructions for Painting:
- “We’re going to decorate our keychains to make them even more special!”
-
Demonstrate Painting Techniques:
- Basic Painting:
- “You can use brushes to paint large areas.”
- Detail Work:
- “Use thinner brushes or markers for smaller details.”
- Mixing Colors:
- “You can mix paints on your palette to create new colors.”
- Basic Painting:
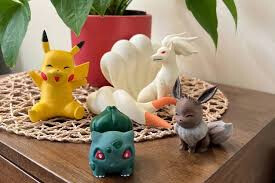
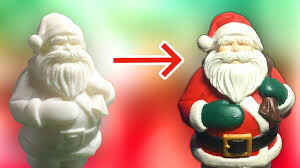
Decorating the Keychains (20 minutes)
-
Begin Decoration:
- “Let your creativity shine! You can paint your keychain any way you like.”
-
Guided Assistance:
- Circulate the room to:
- Help students with painting techniques.
- Encourage them to try different colors and designs.
- Remind them to be gentle to avoid breaking their keychains.
- Circulate the room to:
-
Conversation Starters:
- “What colors are you choosing, and why?”
- “Tell me about the design you’re creating.”
-
Safety and Cleanliness Reminders:
- “Be careful with the paints and brushes.”
- “If you need to clean your brush, use the water cup and dry it with a paper towel.”
Sharing and Discussing Their Work (5 minutes)
-
Allow Time for Drying:
- “Place your keychain on the drying area when you’re finished.”
-
Group Discussion:
- “Let’s take a moment to share our creations.”
-
Invite Students to Share:
- “Who would like to show us their keychain and tell us about how they decorated it?”
-
Positive Feedback:
- Encourage students to compliment each other’s work.
- “I love how you used those bright colors!”
Clean-Up (3 minutes)
-
Organize Materials:
- “Please help clean up by washing your brushes and putting away the paints.”
-
Dispose of Waste Properly:
- “Throw away any used paper towels and make sure your area is tidy.”
Conclusion and Reflection (2 minutes)
-
Reflect on the Experience:
- “How did it feel to see and decorate your own keychain?”
-
Reinforce Learning:
- “Remember how we saw the layer lines and how the printer built your keychain layer by layer.”
-
Closing Encouragement:
“You all did a fantastic job! Your keychains are unique and wonderful, just like each of you.”
Additional Notes for the Teacher
-
Preparation:
- Ensure all keychains are printed and ready before the session.
- Set up the room with painting stations in advance.
-
Safety Considerations:
- Supervise the use of paints and small tools.
- Keep sharp tools like pliers out of students’ reach unless directly supervised.
-
Formative Assessment:
-
For Advanced Students:
- Encourage more detailed decorations or patterns.
-
For Students Needing Extra Help:
- Provide assistance with painting techniques or ideas.
-
Key Vocabulary
-
Layer Lines: The visible lines on a 3D print showing where each layer of plastic was added.
-
Supports: Temporary structures printed to hold up parts of a model during printing.
-
Top Layer: The final layer printed on the top surface of the object.
-
Bottom Layer: The first layer printed, forming the base of the object.
-
Strength and Weight: Characteristics of the printed object; despite being lightweight, it’s strong due to the layered construction.
For suggestions, improvements, and corrections, feel free to reach out at shayaanhaider@gmail.com