Grade 2 – Session 9: “Wind Warriors: Stand Strong!”
Architect: Aleeza Ayaz – Markhor3D
Session Length: 50–60 minutes
Session Overview
In this hands-on session, students investigate how wind strength and object design affect stability. Using a fan connected to MeasureLab—with three clearly marked speed levels (Low, Medium, High)—they test how different paper shapes behave when placed at varying distances. Through playful exploration, they discover how both wind and structure matter, and how simple design changes can make objects stand stronger. This session introduces early ideas of force, resistance, and design, encouraging curiosity and iteration.
Learning Objectives
Students will:
- Observe how wind acts as a force and can topple objects.
- Explore how shape and base size affect an object’s ability to stay standing.
- Change and test wind strength using the Low, Medium, and High settings on the slider.
- Record and compare results across trials to identify patterns.
- Reflect on how design choices can help objects withstand stronger wind.
Equipment Required
- MeasureLab with connected fan
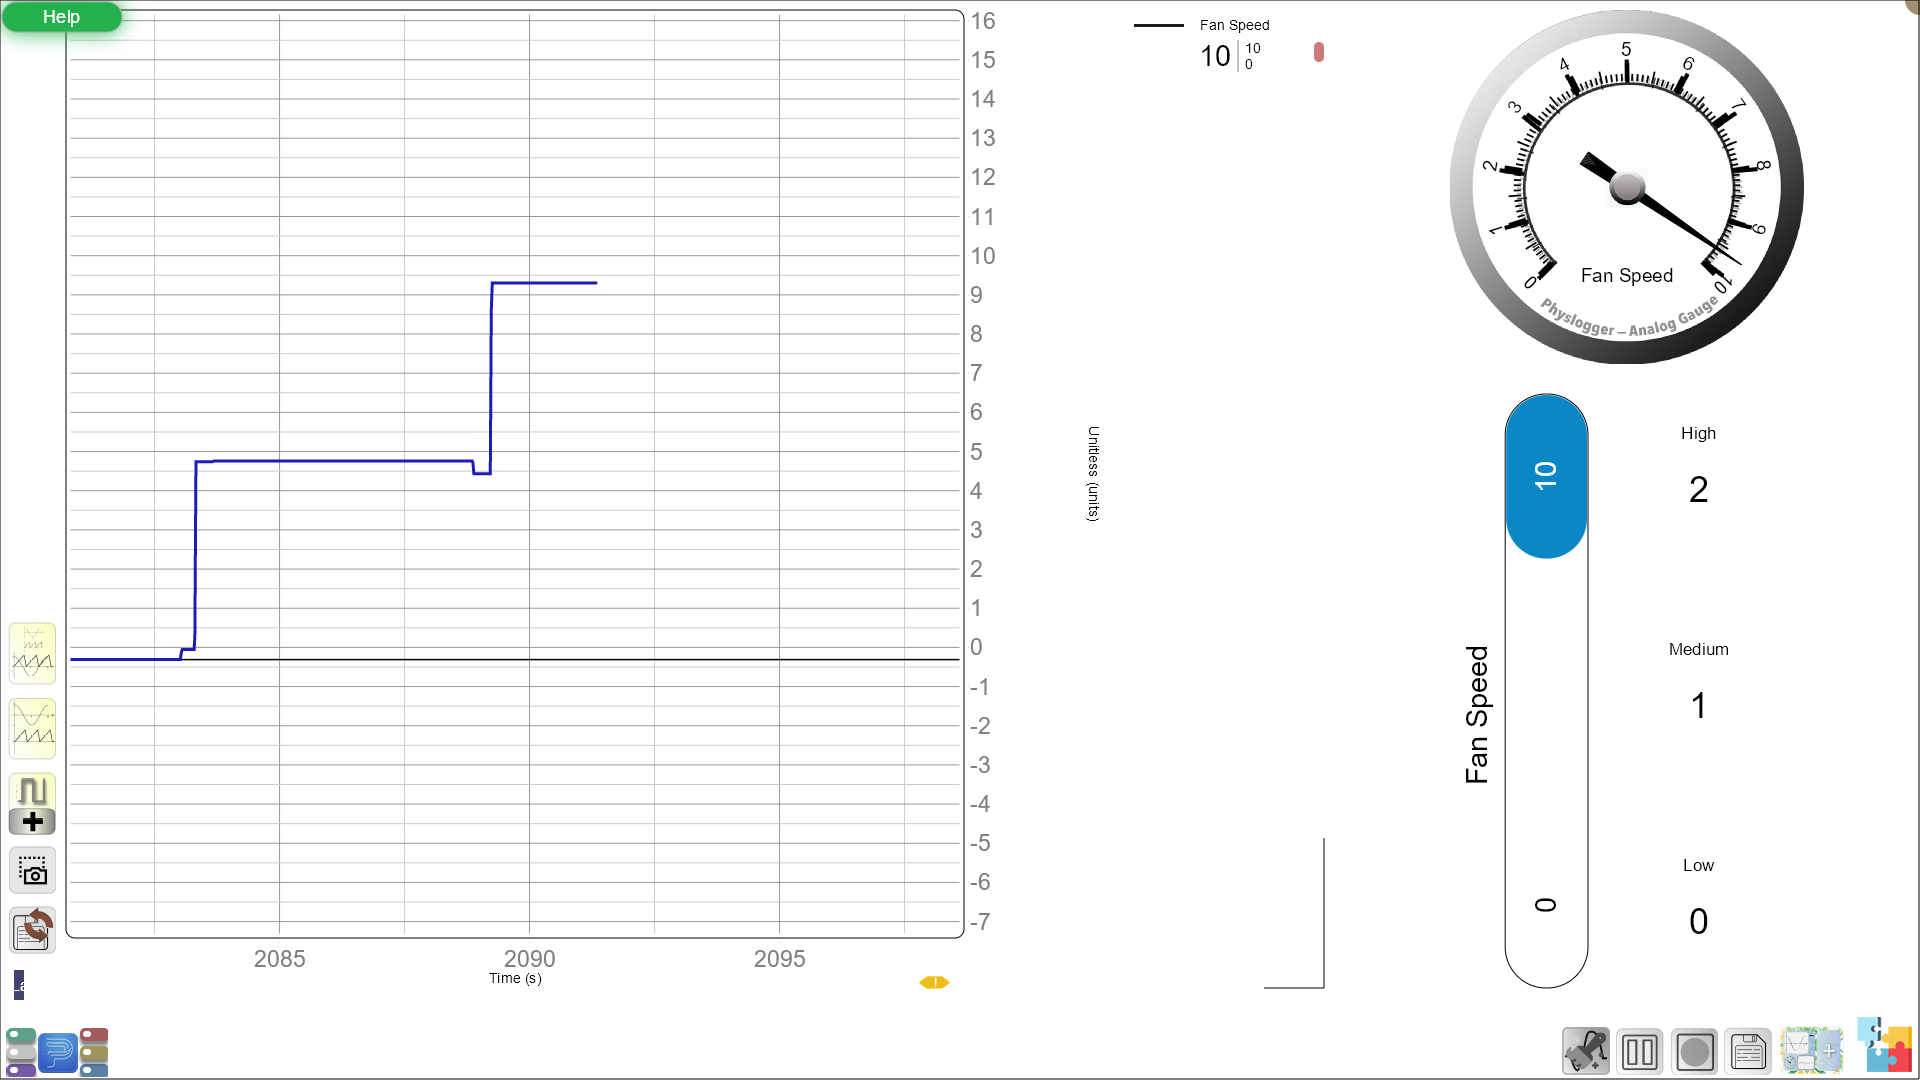
- Fan speed slider on-screen with Low, Medium, and High levels clearly marked
- Paper for building test objects
- Ruler or measuring tape
- Markers, pencils, scissors, tape
- Worksheets for recording trials and observations
Teacher Resource:
Session File: ML29.plf (58.2 KB)
Teaching Aids
- Visuals of real-world wind-exposed structures (e.g., tents, signs, kites)
- Projector to show live fan slider and student designs (optional)
Session Plan
Preparation:
This step has to be done before the session on each workstation/apparatus by the teacher/session instructor:
- Make sure that each computer has Physlogger installed and can detect the Measrelab when connected to it using the provided cable.
- Each Measurelab should have access to a power outlet for sensors that require external power.
- Connect the Fan attachment to the Measurelab using the following port:
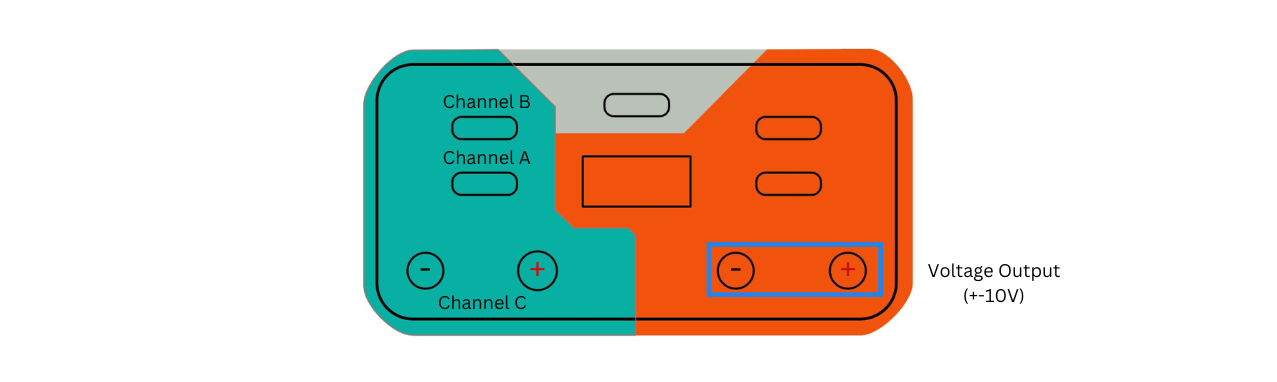
- The fan will be connected using the provided Banana-to-Crocodile cable:
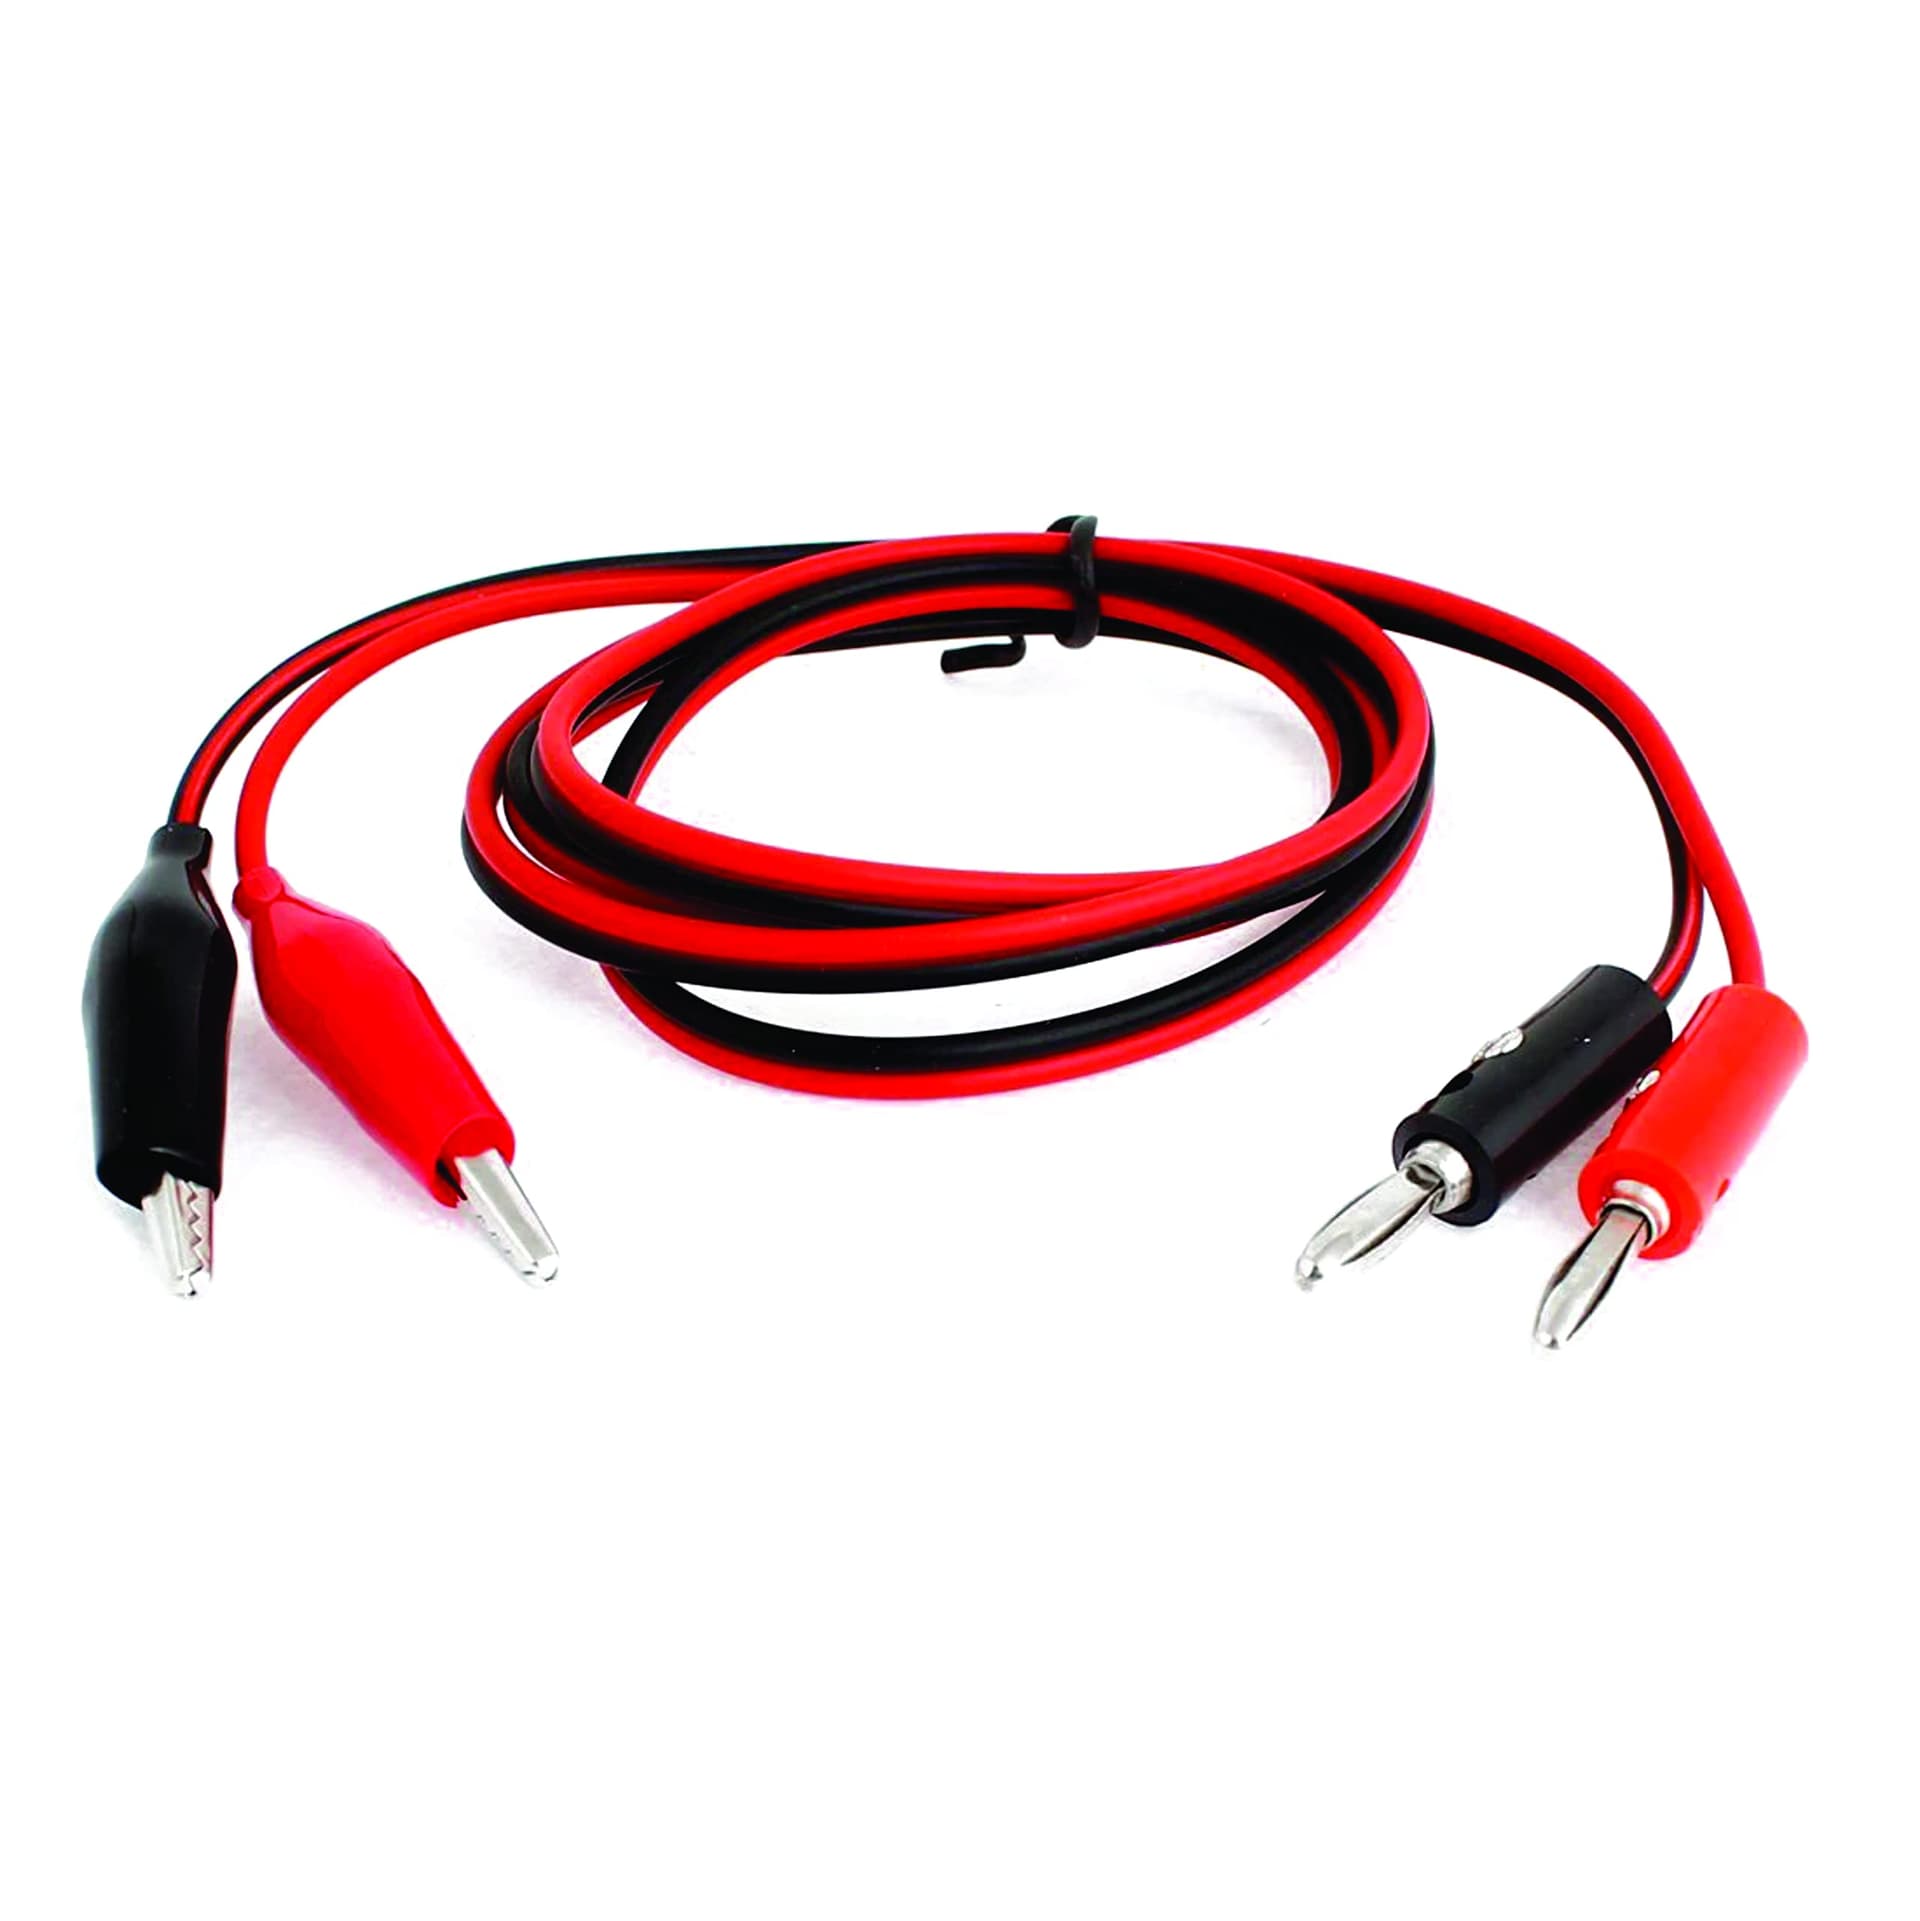
- Launch the Physlogger application and load the session file provided in the resources section.
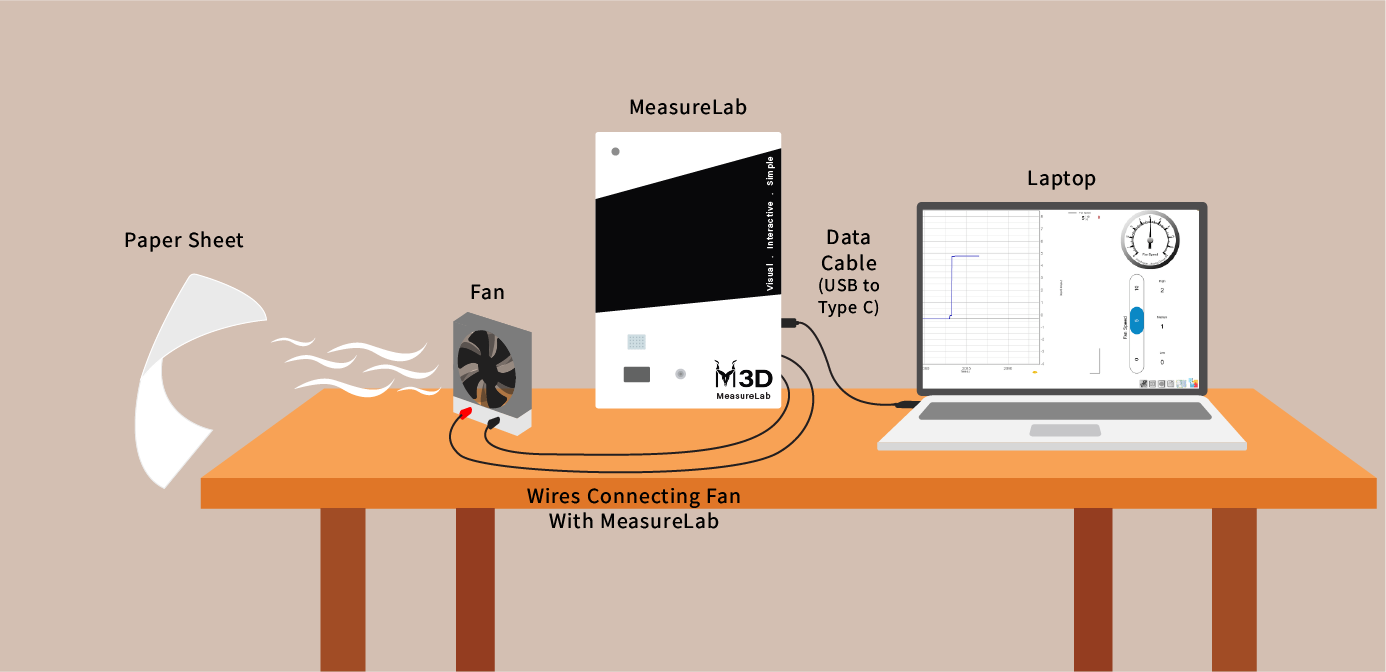
- Your setup will look like this:
Introduction: A Windy Thought (10–12 minutes)
Prompt curiosity with a relatable scenario:
“Have you ever tried holding a balloon or a piece of paper on a windy day? What happened? Could you keep it still?”
Let students share stories or mimic the wind blowing things around. Build on this to introduce the idea of wind as a force that can make things fall over.
Then shift toward today’s investigation:
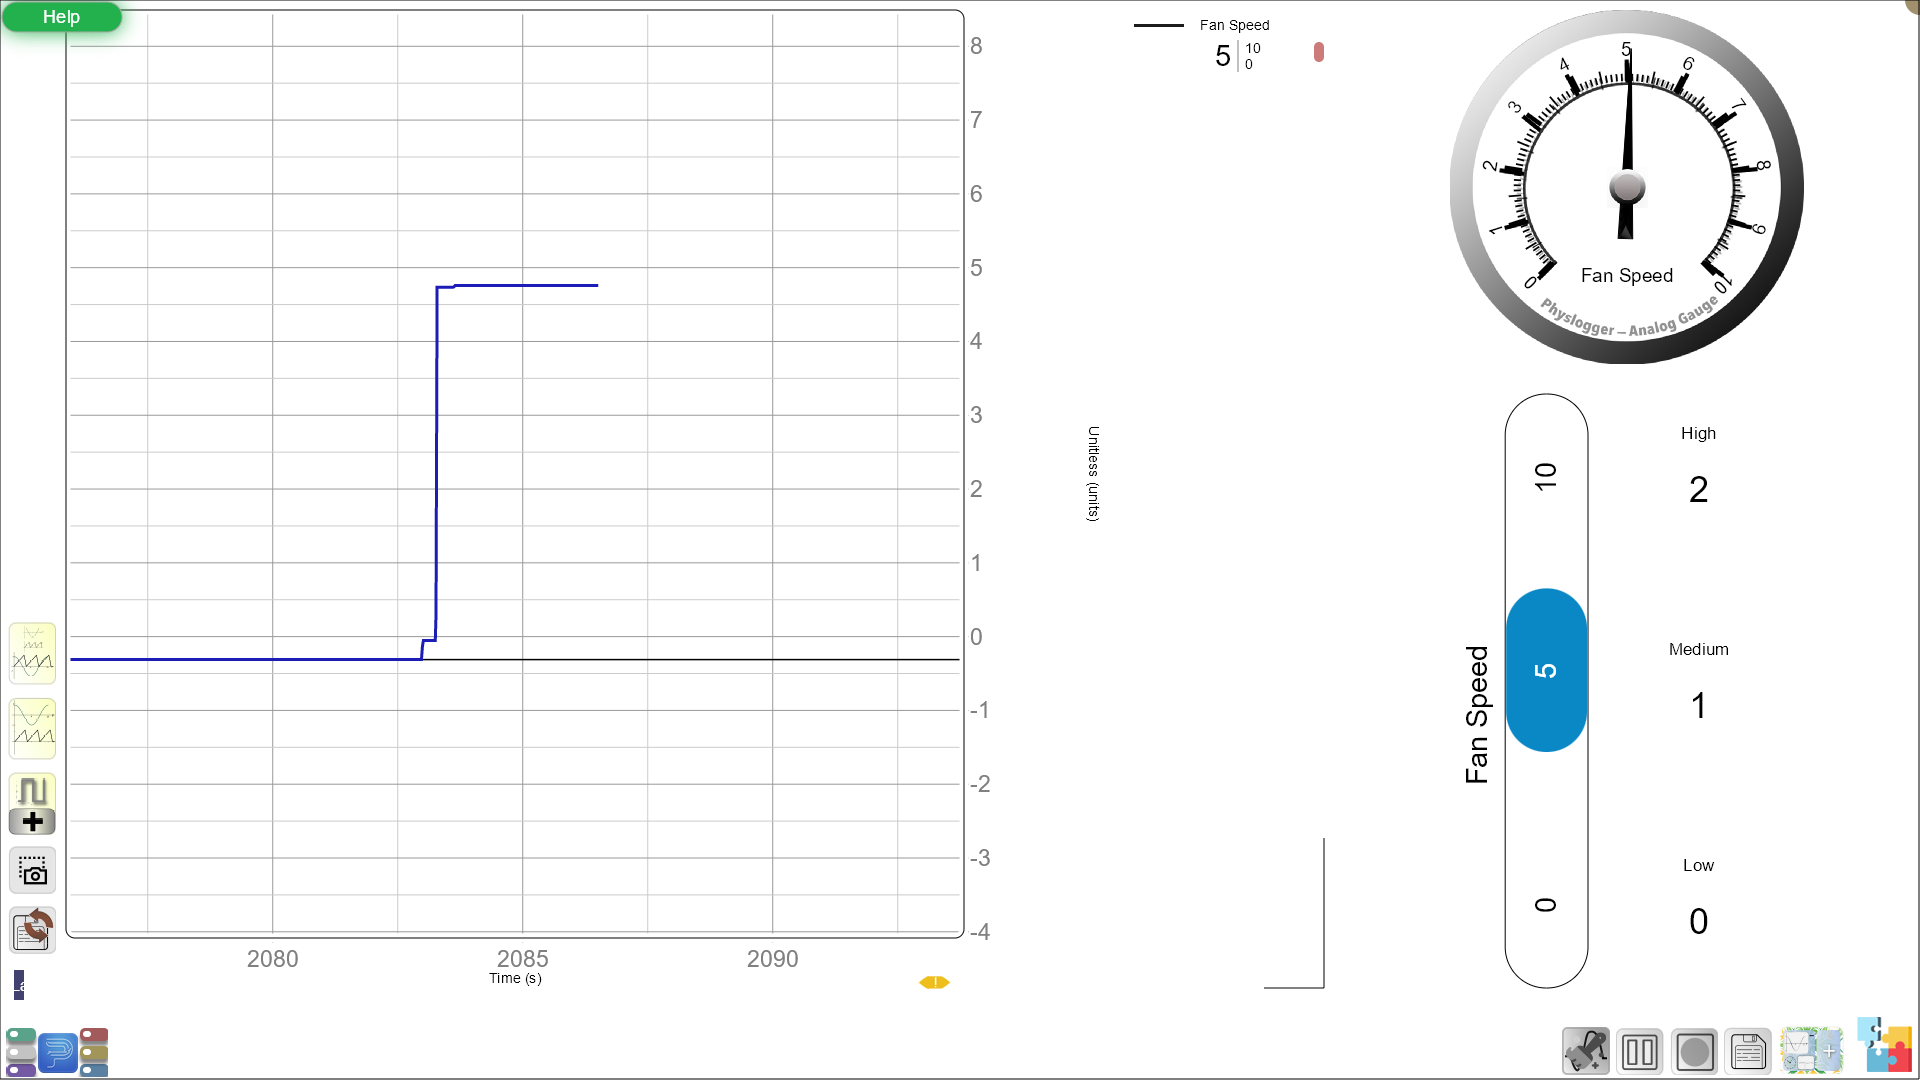
“Today, you’ll create your own paper objects and see how close they can stand in front of a fan—without being knocked down. But guess what? You’ll also get to change how strong the wind is, using this slider with three levels: Low, Medium, and High.”
Show the slider on screen and point to the three levels clearly marked.
Hands-On Exploration (15–20 minutes)
Designing Wind-Resistant Objects
Let students fold or shape their papers into standing objects (cones, boxes, boats, etc.). Encourage different shapes and base widths.
Ask:
- “What do you think will help your object stand better?”
- “If it has a wide bottom, will it be more stable?”
Testing with a Fixed Wind Speed (Medium)
Start with the fan set to Medium using the slider. One by one, students move their objects closer to the fan until they fall over.
Ask:
- “How close did your object get before falling?”
- “Why do you think it stood up better than others?”
Mark and record the distance at which each object tipped over.
Exploring Fan Speed Levels
Now shift the experiment:
“What happens if we turn the wind up or down?”
Students repeat the same test at Low and then High speed using the clearly marked slider.
Ask during testing:
- “Did your object fall over sooner with high wind?”
- “Did anyone’s object stay standing even at high speed?”
Encourage redesign between trials. Students can modify shapes or bases and try again.
Guided Activity and Worksheet (15–20 minutes)
Distribute a worksheet for structured reflection.
Section 1: Object Design & Stability
- Draw your paper object.
- Circle what kind of base it had (wide/narrow).
- Record distance from fan at each wind speed:
| Object Shape | Distance at Low | Distance at Medium | Distance at High |
|---|---|---|---|
Section 2: What Worked Best?
- “What part of your design helped the most?”
- “What changes made your object more stable?”
- “Which wind level was the hardest to withstand?”
Section 3: Optional Challenge
- Can you design a shape that stands up at all three wind speeds?
Class Discussion & Reflection (5–10 minutes)
Discuss results:
Ask:
- “Which shape stood up to the strongest wind?”
- “What kind of base helped most?”
- “Did anyone change their design to make it better?”
Connect to real life:
- “Why do tents and signs have special shapes?”
- “What would happen if we built tall things without thinking about wind?”
Summary
“Today, we explored how wind can knock things down—but we also discovered that our design can make a big difference. By changing shape and testing different wind speeds, we found out how to build objects that stand stronger.”
Glossary
- Wind Speed: How fast the air is moving from the fan.
- Stability: How well an object can stay standing without falling.
- Distance from Fan: How close something is placed to the wind.
- Slider: The control on screen that lets you change fan speed (Low, Medium, High).