Grade 5 Session 1: Getting Started with Scratch and Block Coding
Duration : 50-60 minutes
Architect: Muhammad Bilal - Markhor3D
Equipment Required:
- M3D Robotics kit (including M3D Go, its attachments, and necessary connections).
- Laptops with Scratch pre-installed.
- Paper and pencils for students to document their discoveries and solve math problems.
- Markers and small obstacles for robot navigation.
- Projector and screen (optional for the video demonstration).
Learning Objectives:
By the end of the session, students will:
- Understand the basic components of the robotics kit.
- Familiarize themselves with the Scratch interface and block coding.
- Learn to use basic movement blocks in Scratch to control the robot.
- Solve math problems and use them to program the robot’s movements.
- Develop problem-solving and logical thinking through coding.
Resources:
Scratch Code for the session:
Grade 5 Session 1.sb3 (1.5 MB)
1. Introduction to Robots and Scratch (10 minutes)
Activity:
Realistic and Engaging Introduction to Robots and Scratch Coding for Grade 5
Instructions:
Start by sparking curiosity and asking the class a question:
“Before we get started, I want to know—what do you think a robot is? What kinds of things can robots do?”
Let the students share their ideas. They might mention things like cleaning robots, toys that move, or robots from movies. Once they’ve shared a few examples, build on their answers:
“Those are some great ideas! Yes, robots can do lots of different things. Some robots help with cleaning, like robot vacuums. Some work in factories, putting together cars or even building things. And did you know that there are even robots that drive themselves, like self-driving cars?”
Encourage a deeper discussion by adding more examples for clarity:
“You’ve probably seen videos of robots delivering packages or even helping out in hospitals, right? Robots are everywhere—they help in factories, on farms, in stores, and even explore other planets! But what makes all these robots special? It’s that they follow instructions, just like the robots we’re going to control today.”
Make it more personal and relatable:
“Now, imagine you had a robot that listened only to you. What would you make it do? Maybe you’d have it clean up your room, help you with your homework, or even bring you a snack!”
Introduce Scratch as a fun way to control the robot:
“Today, we’re going to learn how to give our robot instructions using something called Scratch. It’s kind of like a game controller, but instead of buttons, you’ll use blocks of code to make your robot move, turn, and even talk! Scratch is like a gamepad that lets you stack instructions on top of each other, just like building with Lego blocks.”
Show how Scratch is easy and fun:
“Think of Scratch like building with blocks. Each block is a command, like ‘move forward’ or ‘turn left.’ When you stack them together, the robot will follow your instructions, just like when you follow steps in a game or puzzle. It’s fun and easy!”
Get them excited about the session:
“By the end of today, you’ll be in charge of your very own robot! You’ll decide where it goes, what it does, and even what it says on its screen. Ready to turn your robot into a cool assistant, adventurer, or even a dancer? Let’s get started and see what your robot can do!”
Teacher’s Role:
- Encourage students to share their ideas about robots and what they think they can do.
- Build on their answers with real-world examples like self-driving cars, delivery robots, and robots in factories.
- Introduce Scratch in a fun, relatable way by comparing it to a game controller or building blocks, making it easy for students to understand.
- Keep the energy fun and engaging, getting students excited to control their robots by the end of the session.
This version begins with an interactive discussion to engage students right away, building on their answers with relatable examples and smoothly transitioning into the introduction of Scratch.
2. Hands-On Exploration with the Gamepad and Scratch Environment (15 minutes)
Activity:
Students will get familiar with controlling the robot using the on-screen gamepad in Scratch, but first, they’ll explore the Scratch environment itself to understand how it all fits together. This helps them get a broader sense of the coding platform before jumping into robot controls.
Instructions:
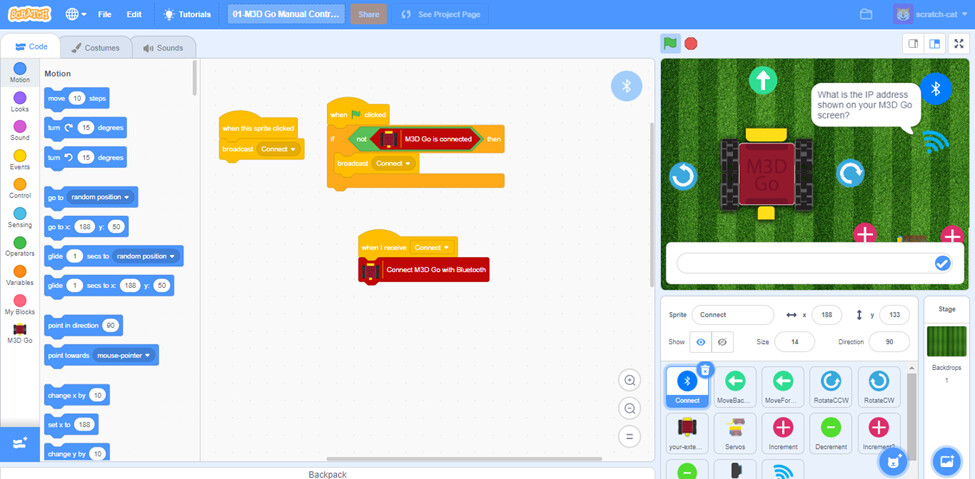
- Before diving into the gamepad, guide students to explore the Scratch environment. You may say:
“Before we start controlling the robot, let’s look around Scratch! This is where we’ll build our code. See all those blocks? We’ll stack them together, like building with Legos, to make our robot do different things.”
- Introduce them to the Sprites:
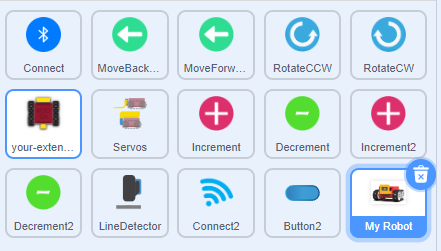
“Each sprite is like a different part of our program. For example, if you look at the bottom-right corner, you’ll see ‘My Robot.’ That sprite controls the robot. It’s kind of like how the Bluetooth button on your phone helps connect it to other devices. Here, the robot sprite helps connect us to the robot’s actions.”
- Let them hover over different blocks and sprites in Scratch, encouraging them to explore how everything fits together:
“See how every block has a different shape? That tells us where it can fit in our code. Let’s play around for a minute to see what you can find!”
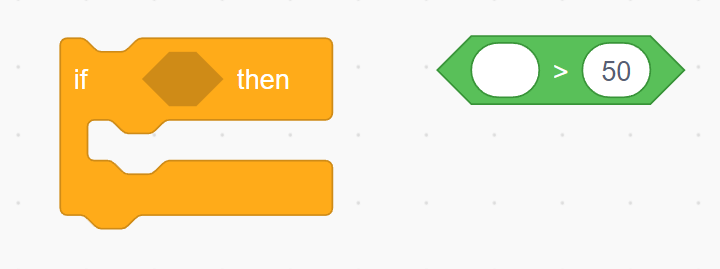
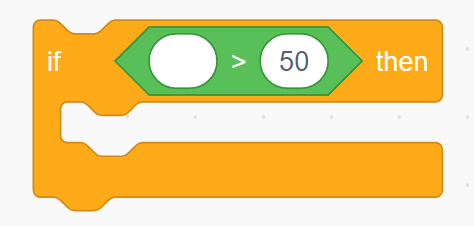
The understanding of the function of these blocks is not necessary here. It is just so that students can grasp the idea of how different blocks fit with each other.
- After exploring the Scratch interface, guide the students to the gamepad program.
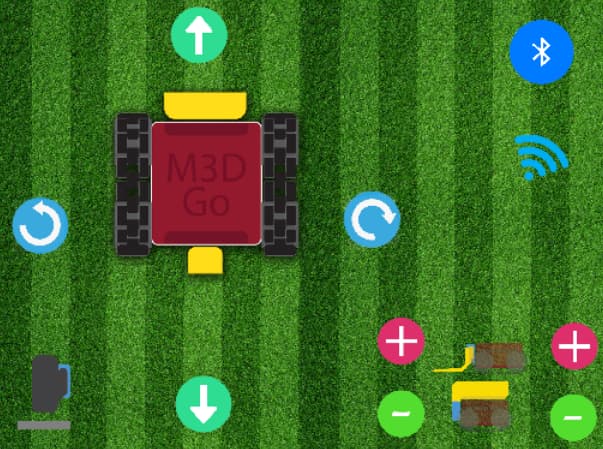
- Ask them to move their mouse over the digital gamepad and press buttons to see how the robot moves forward, backward, and turns in the animation.
You may say:
“This is just like using a remote control for a toy car, but instead of physical buttons, you’ll use these controls on the screen.”
- Encourage students to explore different movements:
“What happens when you press the forward button? Can you get the robot to turn right?”
Let them experiment by navigating the robot around small obstacles set up in the room.
- Explain that the robot’s movements are powered by the blocks they’ll soon learn to control:
“Everything you’re doing with the gamepad now, we’ll soon be able to do with our coding blocks. Isn’t that cool?”
Teacher’s Role:
- Move around the room, assisting students in getting comfortable with the Scratch environment and the gamepad.
- Encourage curiosity by asking them questions about what they observe in the Scratch interface and how they control the robot.
- Provide gentle guidance, ensuring that students are confident exploring different parts of Scratch before focusing solely on the gamepad.
3. Introduction to Movement Blocks (15 minutes)
Activity:
Introduce basic movement blocks in Scratch, such as “Move Forward” and “Turn Left/Right”. Students will see how these blocks replace the gamepad controls and allow them to write code to control the robot.
Instructions:
-
Show the students how to use the “When Green Flag Clicked” block and explain how it starts as the Go signal for the robot.
-
They can connect it to movement blocks like “Move Forward” and “Turn Left”.
-
Demonstrate how they can drag and drop blocks into the coding space and build simple sequences.
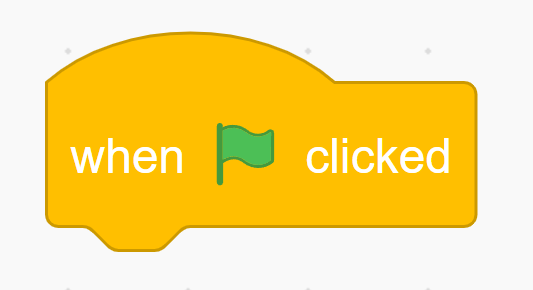
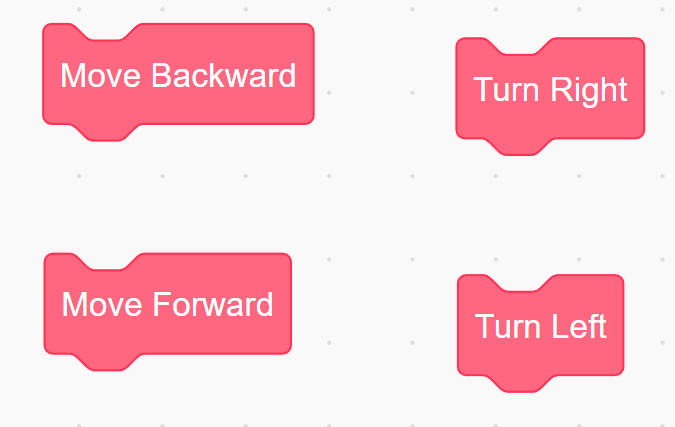
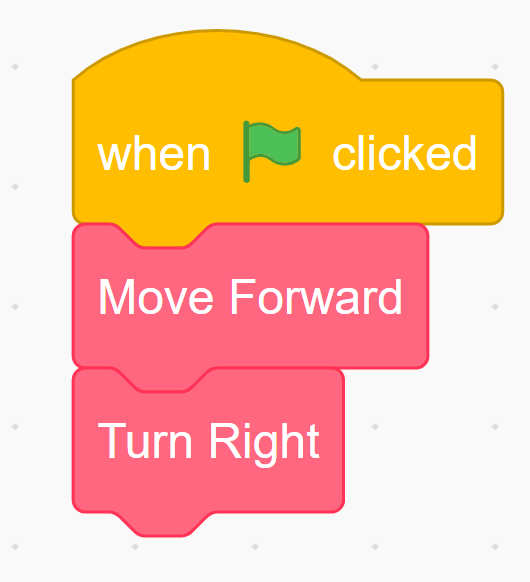
You may explain:
“Instead of using the gamepad, now we’ll use these blocks to tell the robot where to go. You can make it move forward, turn, or go backward—just like you did before, but now with coding blocks!”
- Let students experiment by creating their own sequences of movements. Encourage them to try different combinations to move the robot in various directions.
Teacher’s Role:
Guide students through using the movement blocks, showing how they can combine them for more complex actions. Offer help as needed, but encourage students to explore and figure out how to create movement patterns.
4. Math and Movement Challenge (15 minutes)
Activity:
Students will solve simple math problems, and use Scratch blocks to program the robot’s movements based on their answers.
Instructions:
- Provide students with math problems such as:
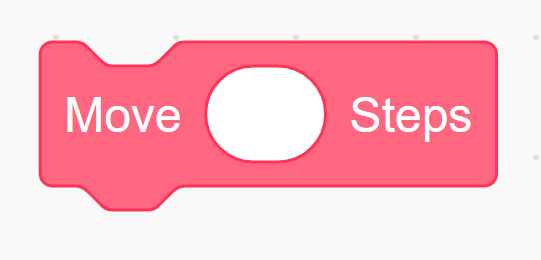
“If the robot takes 3 cm long steps and it needs to travel 12 cm, how many steps will it take?” - After solving the math problem, students will use the “Move Forward_Steps” block to make the robot move the correct number of steps.
- Set up markers or small objects for students to navigate the robot towards, based on their calculations.
Teacher’s Role:
Move around the room, helping students translate their math answers into movement commands in Scratch. Ensure that each student has the opportunity to solve a problem and program the robot.
5. Conclusion and Wrap-Up (5 minutes)
Activity:
Reflect on what students have learned about using blocks to control their robot.
Wrap-Up Summary:
“Today, you learned how to control the robot using blocks and math! You made the robot move forward, turn, and solve math problems. Next time, we’ll learn even more cool ways to make the robot do what you want.”
Encourage students to think about what else they might want to do with their robot in the future, fostering curiosity for the upcoming sessions.
Learning Outcome:
By the end of the session, students will have a basic understanding of Scratch, be able to control the robot’s movements using block coding, and apply math to programming tasks.