Session 5: “Watch It Print: Magic in Action”
Architect:
Syed Shayaan Haider - Markhor3D
Learning Objectives
In this session, the students will:
- Experience the 3D Printing Process: Observe their own coin designs being printed live.
- Receive Their Printed Coins: Some students will receive their pre-printed coins.
- Understand How a 3D Printer Works: Learn about the basic parts of a 3D printer using simple analogies.
- Engage Through Interactive Demonstration: Participate in setting up a print with the teacher.
- Explore the Possibilities of 3D Printing: Discover various applications of 3D printing in everyday life and beyond.
Teaching Aids
Required Materials:
- 3D Printer:
- Set up and ready to use.
- Positioned safely for student viewing.
- Pre-Printed Coins:
- A portion of the students’ coins designed in the previous session, already printed.
- Remaining Coin Designs:
- Prepared and ready to be printed during the session.
- Interactive Whiteboard or Projector (optional)
- For showing images and explanations.
- Visual Aids:
- Posters or slides illustrating:
- Parts of a 3D printer.
- The 3D printing process.
- Examples of 3D printed objects (shoes, houses, space tools).
- Posters or slides illustrating:
- Sample 3D Printed Objects:
- Additional items to showcase various possibilities.
- Safety Equipment:
- Barriers or markings to keep students at a safe distance.
Structure and Lesson Plan (Total Time: 50 minutes)
1. Introduction and Recap (5 minutes)
-
Greet the Students:
- “Good morning, everyone! Are you excited to see some magic happen today?”
-
Recap Previous Session:
- “Last time, you all designed your very own coins. Who remembers what shapes and letters you used?”
-
Build Anticipation:
- “Well, I have some special surprises for you today!”
2. Show and Tell: Presenting Some Printed Coins (10 minutes)
-
Reveal the Pre-Printed Coins:
- “Here are some of your coins, printed and ready!”
-
Distribute the Coins:
- Hand out the pre-printed coins to the respective students.
-
Allow Exploration:
- “Take a close look at your coin. How does it feel? Is it how you imagined?”
-
Encourage Sharing:
- “Would anyone like to share how they feel about their coin?”
- “Pass your coin around so everyone can see what you’ve created!”
-
Positive Reinforcement:
- “You all did an amazing job designing these!”
-
Observe Characteristics of the printed coins.
- Strength.
- Weight.
- Layer Lines.
- Top and Bottom Layers.
3. Introducing the 3D Printer and Live Printing (15 minutes)
-
Unveil the 3D Printer:
- “Now, let’s meet the machine that made your coins—the 3D printer!”
-
Explain the Parts Using Simple Analogies:
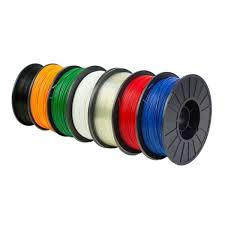
- Filament (Material):
- “This is the filament. It’s like a long piece of plastic spaghetti that the printer uses to make things.”
- Filament (Material):
-
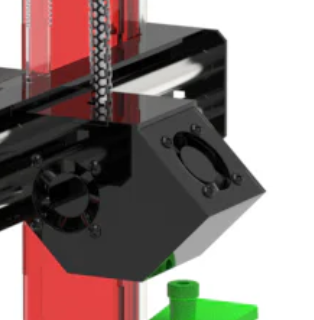
Hotend (Heater):
- “The hotend is like a tiny oven or a glue gun. It heats up the filament until it’s melted and ready to use.”
-
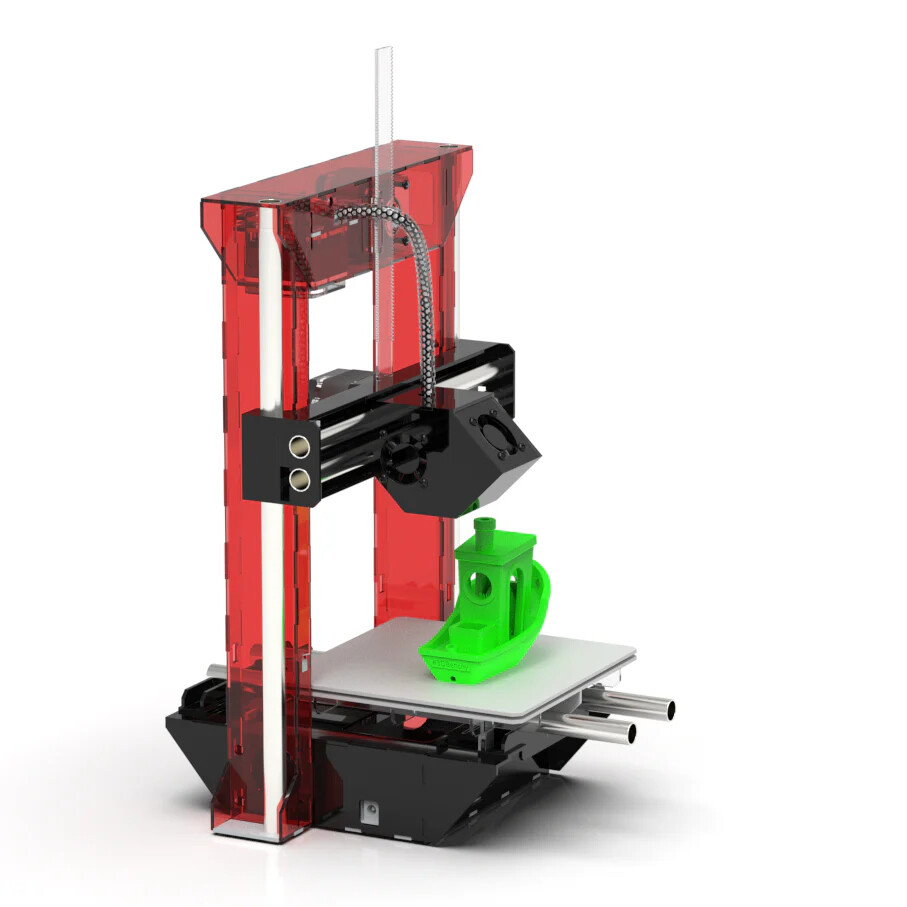
Build Plate:
- “This flat surface is the build plate. It’s like the stage where all the magic happens, and our objects are built layer by layer.”
-
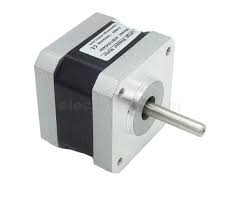
Motors:
- “These are the motors. They work like little robots, moving the parts of the printer so it can build in all directions.”
- Use Age-Appropriate Analogies:
- “Imagine building a house with blocks, stacking them one on top of the other. The printer does the same but with melted plastic!”
- “It’s like icing a cake layer by layer to make it taller.”
-
Safety Emphasis:
- “Remember, the printer can get very hot, so we always watch but never touch.”
-
Interactive Printing Demonstration:
-
Setting Up to Print the Remaining Coins:
- “Now, let’s print the rest of your coins so everyone can have theirs!”
-
Simplify the Process Explanation:
- “We turn your designs into instructions the printer can understand. It’s like giving the printer a recipe to follow.”
-
Involve the Students:
- “Let’s select the coins we need to print and get the printer started!”
-
-
Start the Print:
- Begin printing the remaining coins, ensuring students can see the printer working.
-
Describe What’s Happening:
-
“Look! The printer is starting to print your coins layer by layer.”
-
“Each coin will take a little time, so we’ll let the printer work its magic while we continue.”
-
-
Keep Students Engaged:
- “Can you see how the filament moves through the tube to the hotend?”
-
Safety Reminders:
- “Please remember to stay behind the line and watch with your eyes.”
4. Exploring the Possibilities of 3D Printing (15 minutes)
-
Expand Their Imagination:
- “While the printer is making your coins, let’s discover some amazing things we can print!”
-
Show Examples with Pictures:
-
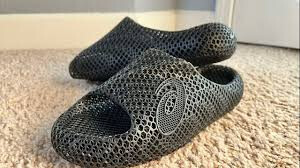
3D Printed Shoes:
- “Some companies use 3D printers to make shoes that fit perfectly!”
-
-
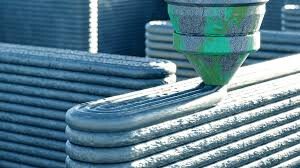
3D Printed Houses:
- “Can you believe we can even print houses? Huge machines build them layer by layer!”

-
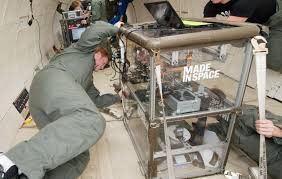
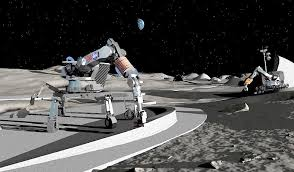
3D Printing in Space:
- “Astronauts use 3D printers in space to make tools they need!”
-
Encourage Questions:
- “What would you like to print if you could make anything?”
-
Highlight Endless Possibilities:
- “With 3D printing, your imagination is the limit!”
5. Observing the Printing Process and Finalizing Coins (3 minutes)
-
Check on the Printer:
- “Let’s see how the printer is doing with your coins!”
-
Describe Progress:
- “It’s adding layers to create your designs. Soon, your coins will be ready!”
6. Conclusion and Recap (2 minutes)
-
Summarize the Session:
- “Today, we saw how our designs turn into real objects with the help of the 3D printer.”
-
Reinforce Key Points:
-
“We learned about the filament, hotend, build plate, and motors.”
-
“We watched as some of your coins were printed live!”
-
-
Express Excitement for Future Sessions:
- “In our next class, we’ll add finishing touches to all your coins and make them even more special!”
-
Closing Encouragement:
- “Great job today! Keep dreaming big about what you can create!”
Additional Notes for the Teacher
- Guide to TinkerCad (link to separate document)
- Guide to Cura (link to separate document)
- Getting Started with M3D Enabler (link to separate document)
-
Preparation:
-
Print Some Student Coins in Advance:
- Ensure a portion of the coins are printed and ready to distribute.
-
Prepare Remaining Coin Designs:
- Have the rest of the coins’ files ready for printing during the session.
-
Set Up the 3D Printer:
- Position the printer where all students can see but cannot touch.
- Perform any necessary maintenance beforehand.
-
Visual Aids Ready:
- Prepare images or slides showing the parts of the printer and examples of 3D printed objects.
-
-
Safety Considerations:
-
Maintain a Safe Distance:
- Use tape on the floor to mark a boundary.
-
Explain Safety Rules:
- “We must not touch the printer because it gets very hot.”
-
Monitor Printing Time:
- Be aware of the printing duration to ensure it fits within the session.
- If printing takes longer, explain that the coins will be ready by the next class.
-
-
Technical Considerations:
-
Simplify Explanations:
- Avoid technical jargon; use simple terms and analogies.
-
Be Prepared for Technical Issues:
- Have a backup plan in case the printer encounters problems (e.g., show a pre-recorded video).
- Explain that it is a machine and such hiccups happen sometime.
-
Key Vocabulary
-
3D Printer: A machine that creates three-dimensional objects by building them layer by layer.
-
Filament: The material used by the printer, like a plastic thread that melts to form the object.
-
Hotend (Heater): The part of the printer that heats up the filament until it melts.
-
Build Plate: The flat surface where the object is built.
-
Motors: Parts that move the printer’s components to build the object.
-
Layer: A single thin slice of the object; many layers stacked together make the full object.
Next Session.
Previous Session.
For suggestions, improvements, and corrections, feel free to reach out at shayaanhaider@gmail.com