Orca Slicer: Printing Presets for D8500
Note: You might not be able to see the mentioned profiles yet in your Orca Slicer. These settings will be rolled out soon in the official Orca Slicer update very soon.
Enabler D8500 comes with pre-made process presets which you can use to quickly configure your print settings without having to manually adjust each parameter.
Images of a standard cube as a sample are attached for better visualisation.
A brief description of each profile and it’s use case is described below:
1. 0.20mm Standard:
This is the standard profile for M3D Enabler D8500 which prints with a layer height of 0.20mm. This profile gives a balance between strength and quality.

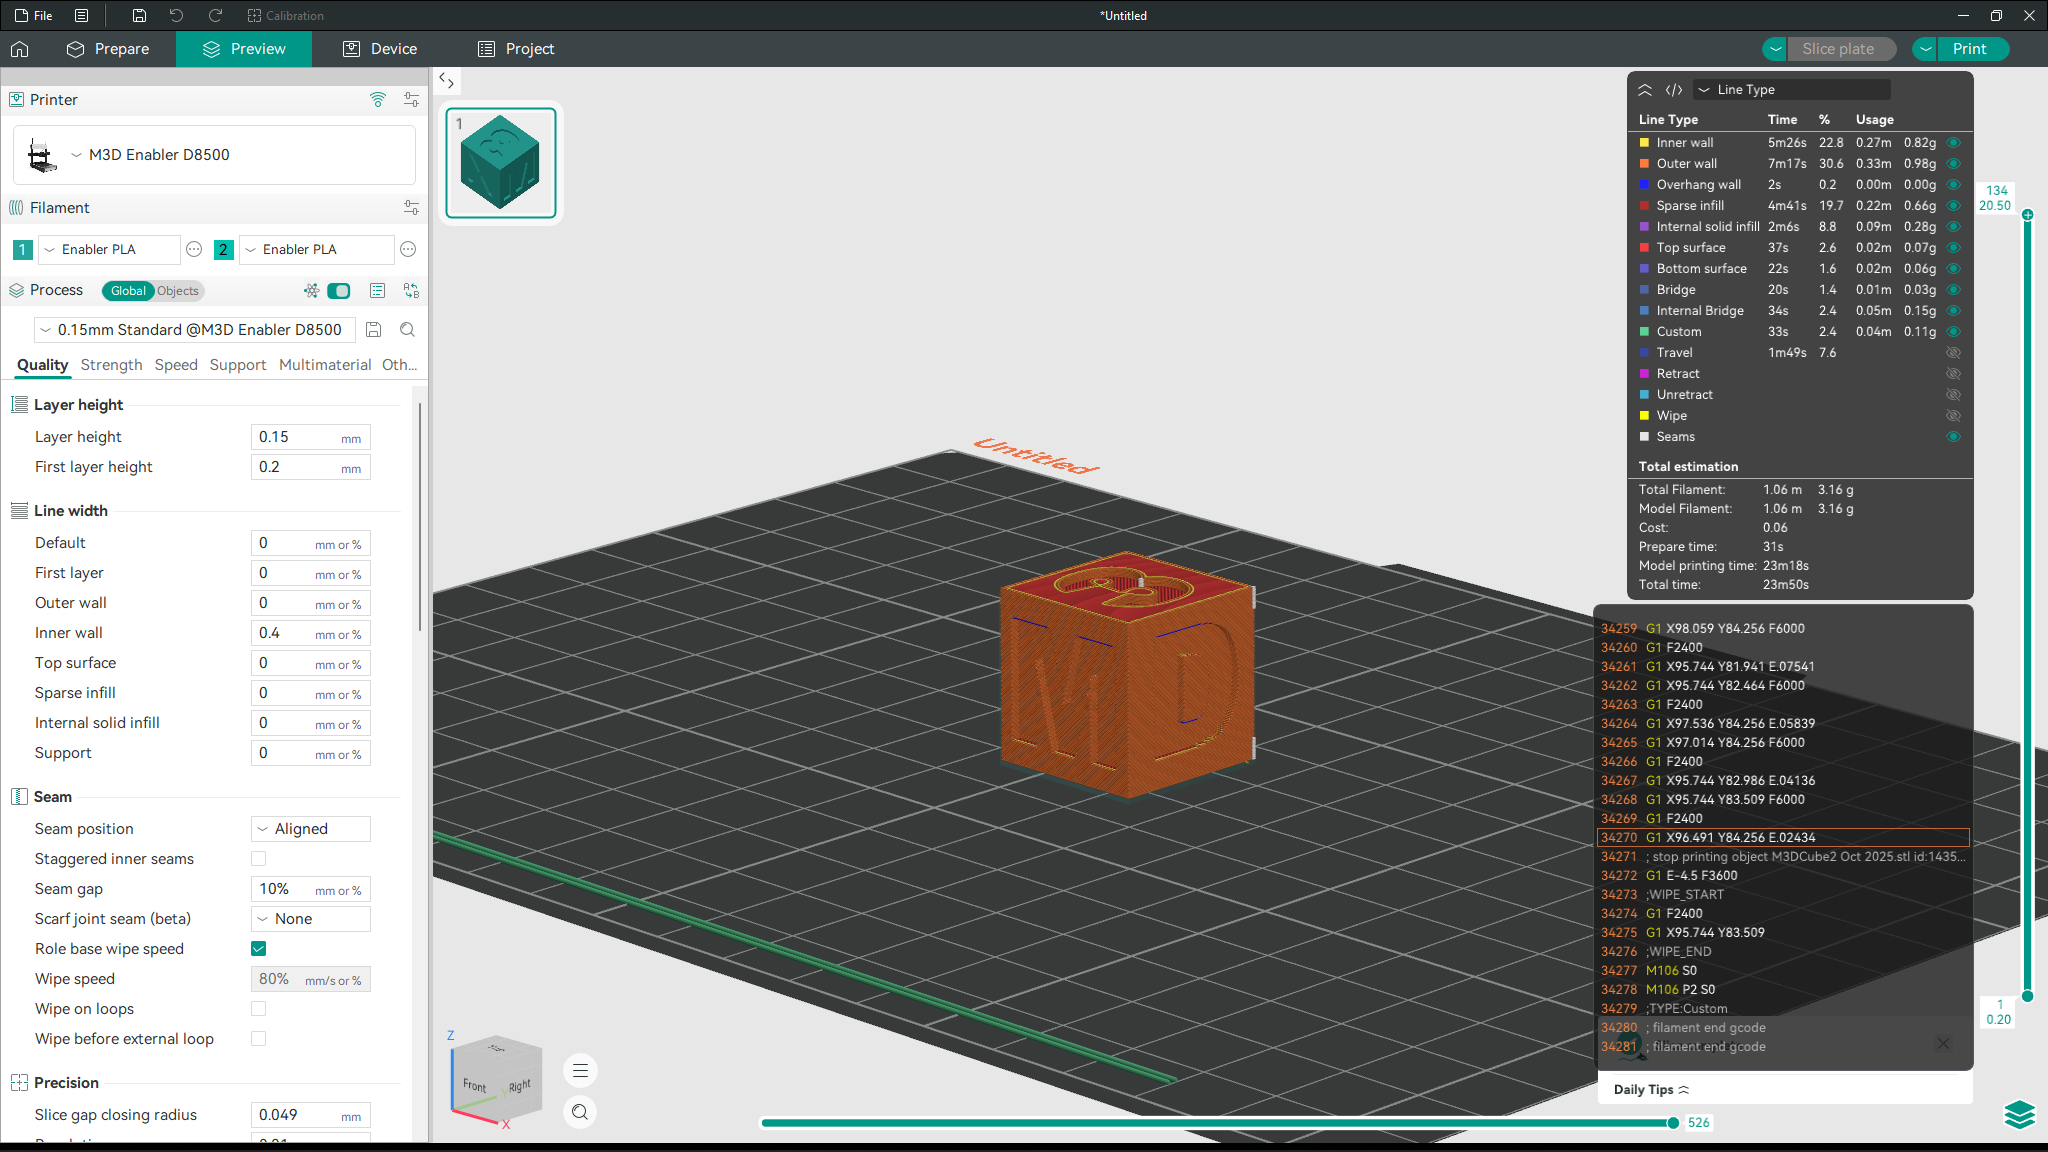
2. 0.15mm Standard:
This profile offers the same balance as the previous profile but with a layer height of 0.15mm which offers a more detailed print, but will increase the print time accordingly.
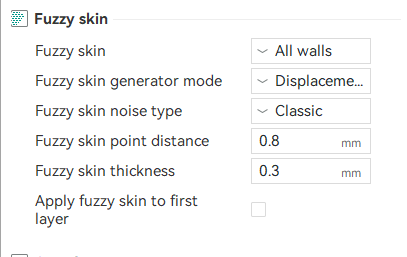
3. Fuzzy Skin:
Fuzzy skin preset adds a rough texture for either aesthetic or better grip. It does so by adding small vibrations during the print head’s movement.
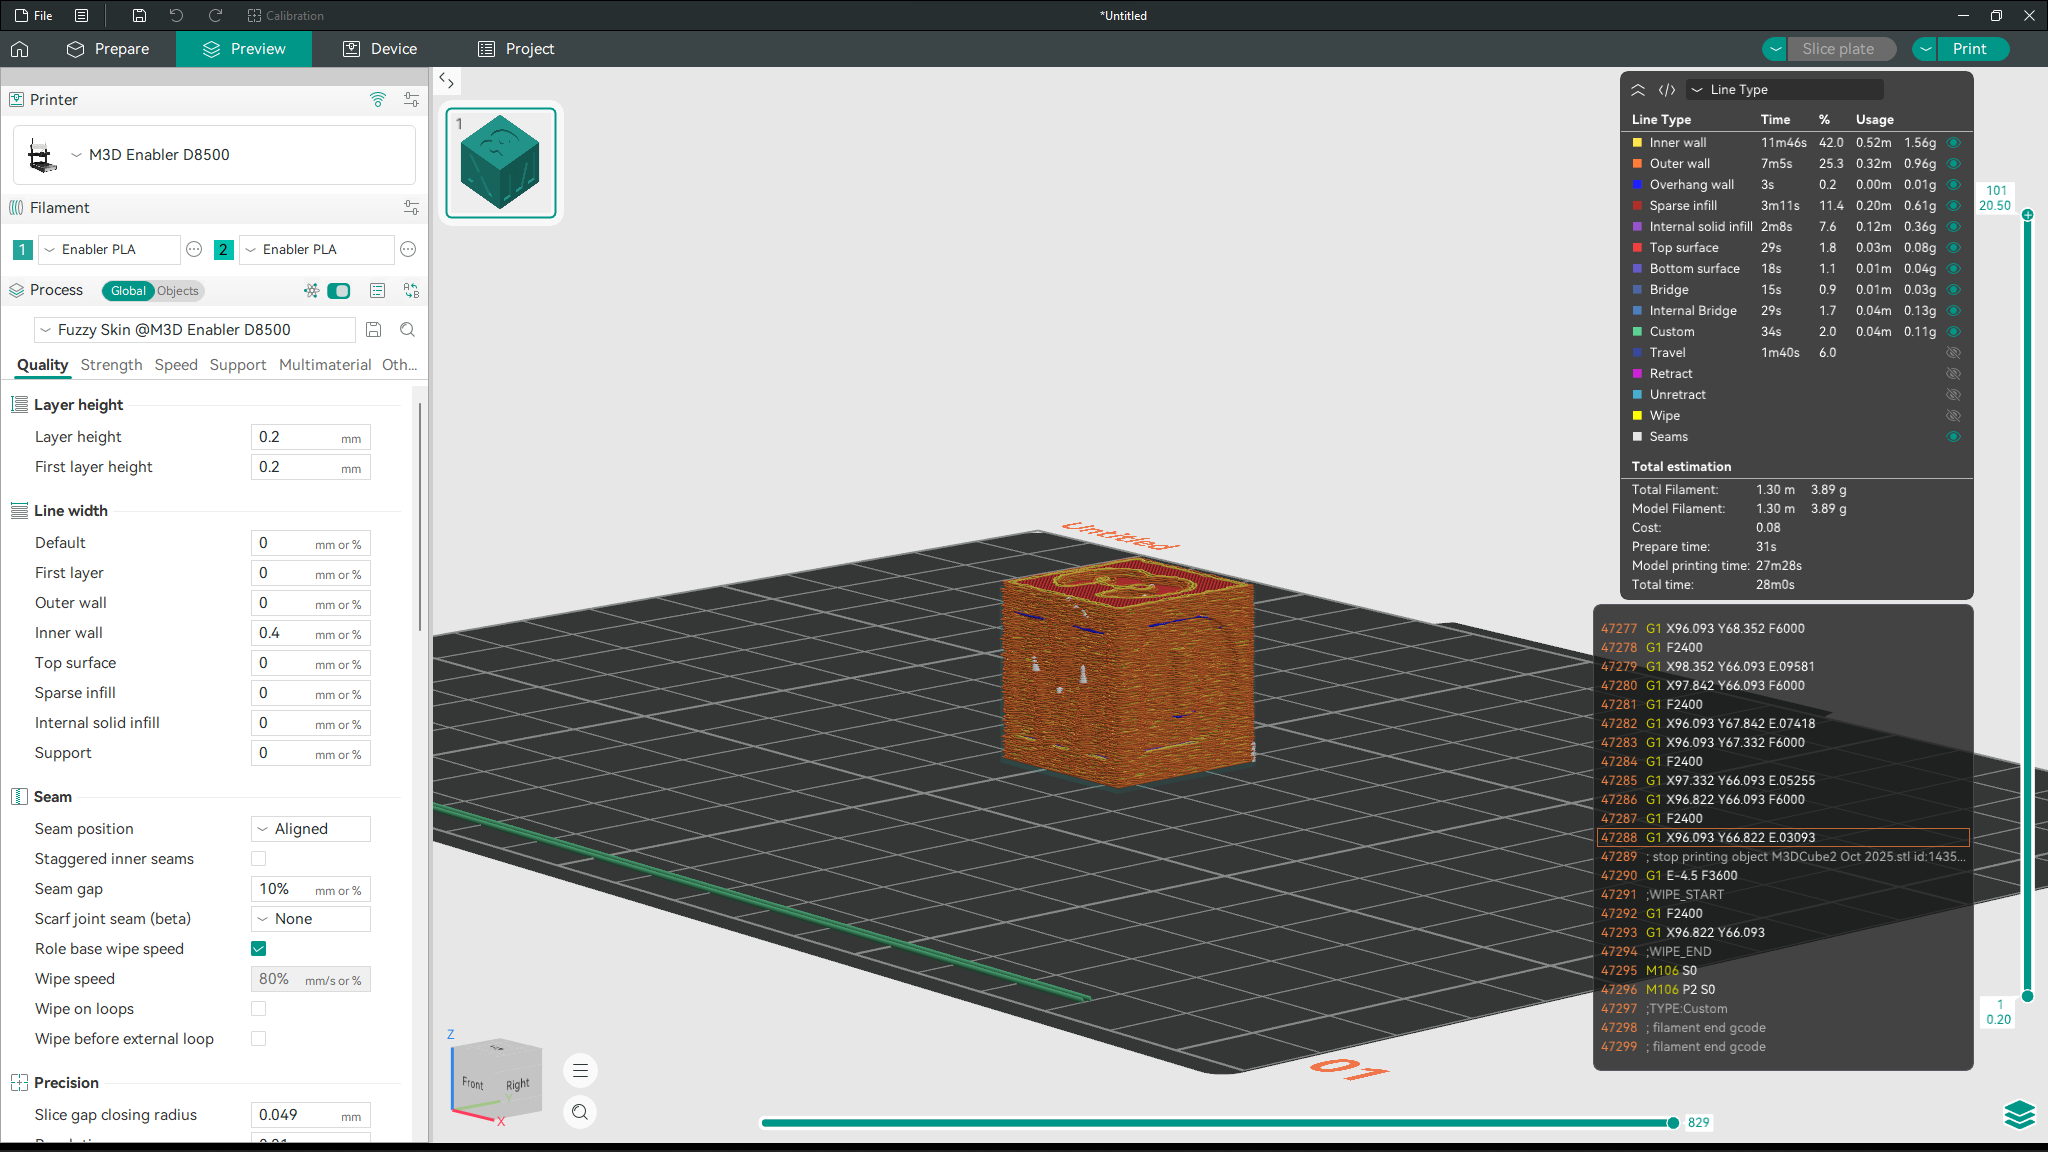
You can tune this fuzzy texture further by selecting the extent of it as well as the type in the settings bar on the left. This setting is located in the Others section.
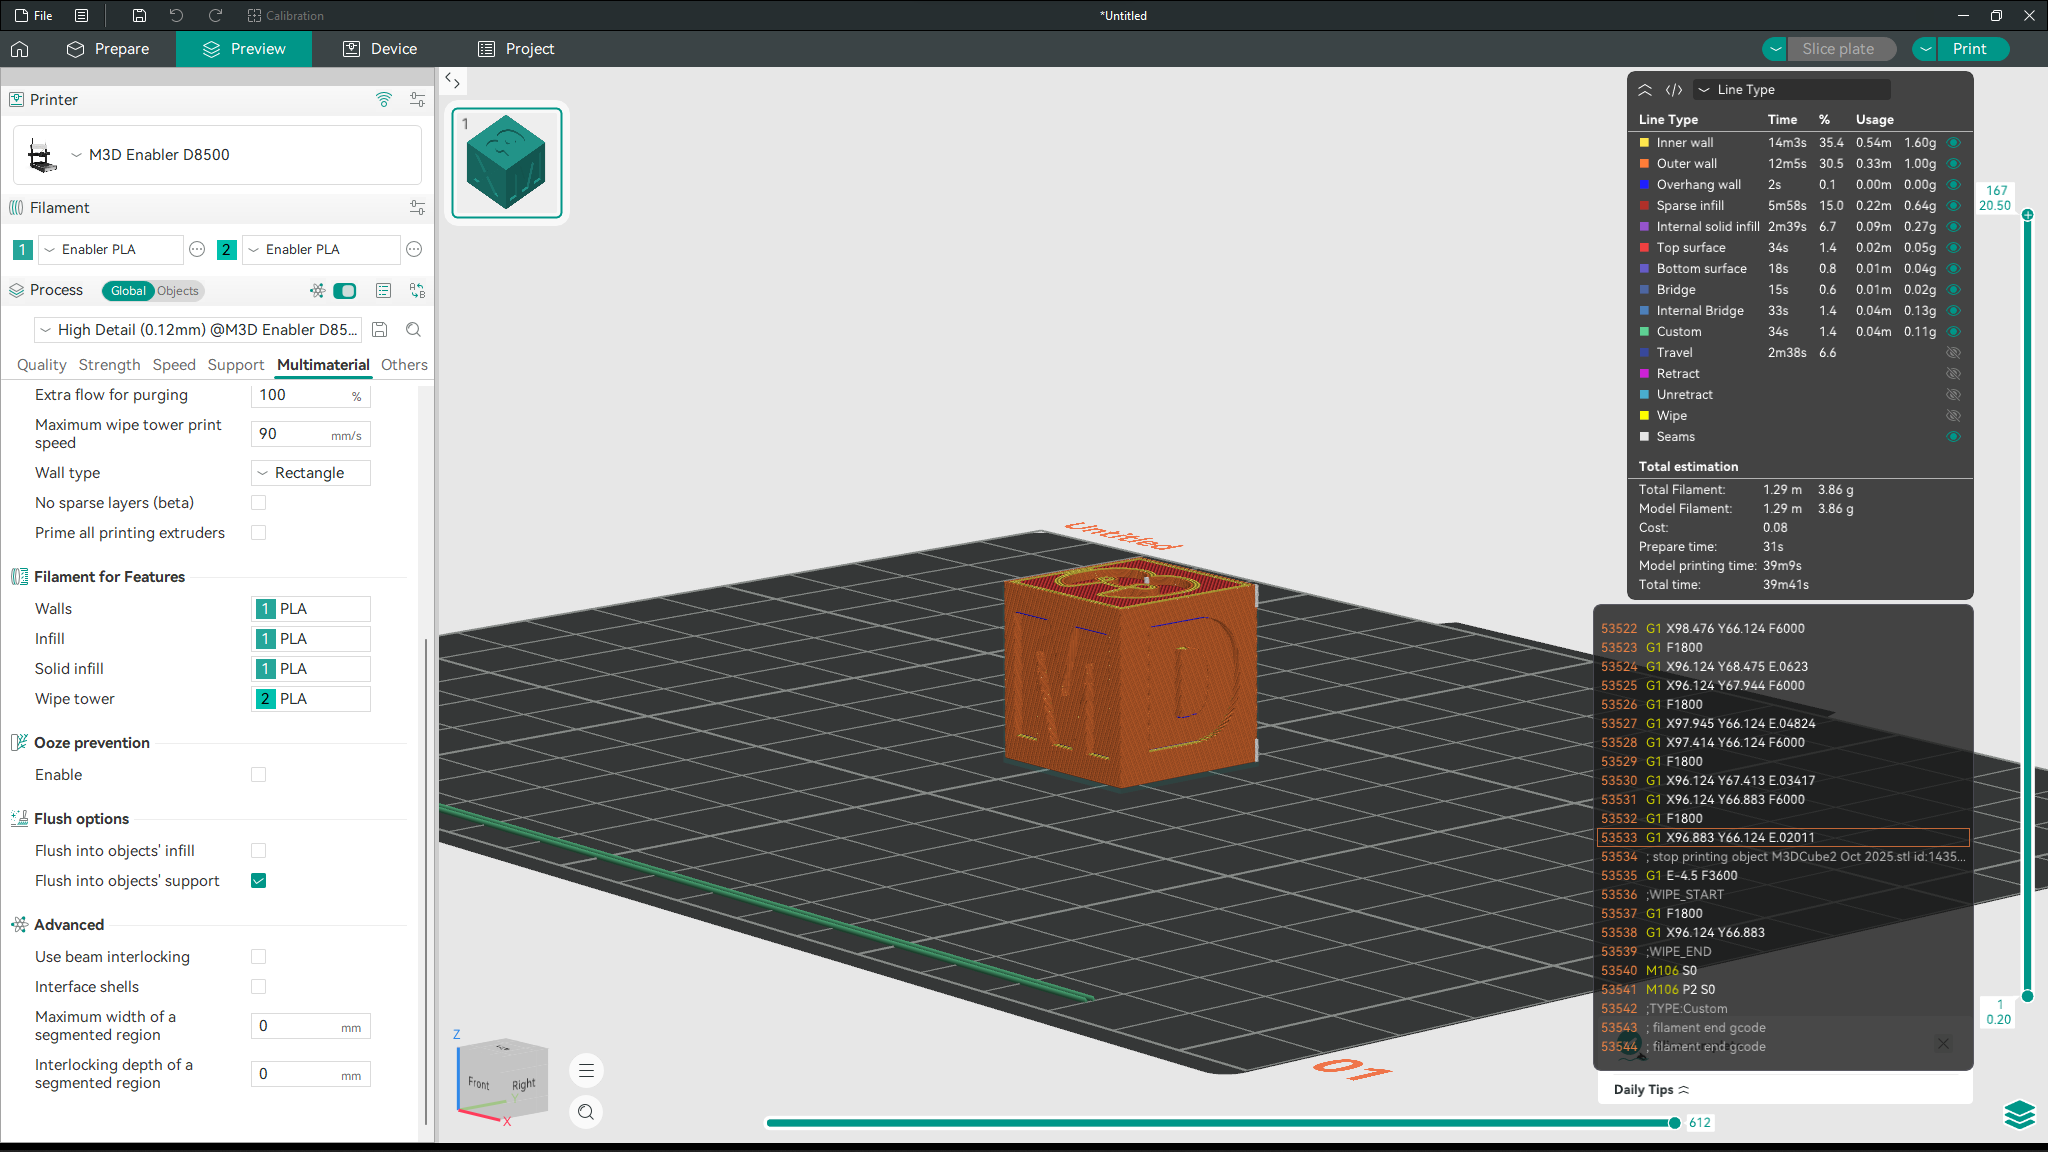
4. High Detail:
This mode offers the highest detail by keeping the layer height at 0.12mm and bringing down the print speeds for all layers.
5. High Strength:
The high strength mode increases the wall thickness and the number of top and bottom layers. It also ramps up the infill percentage to support the walls.

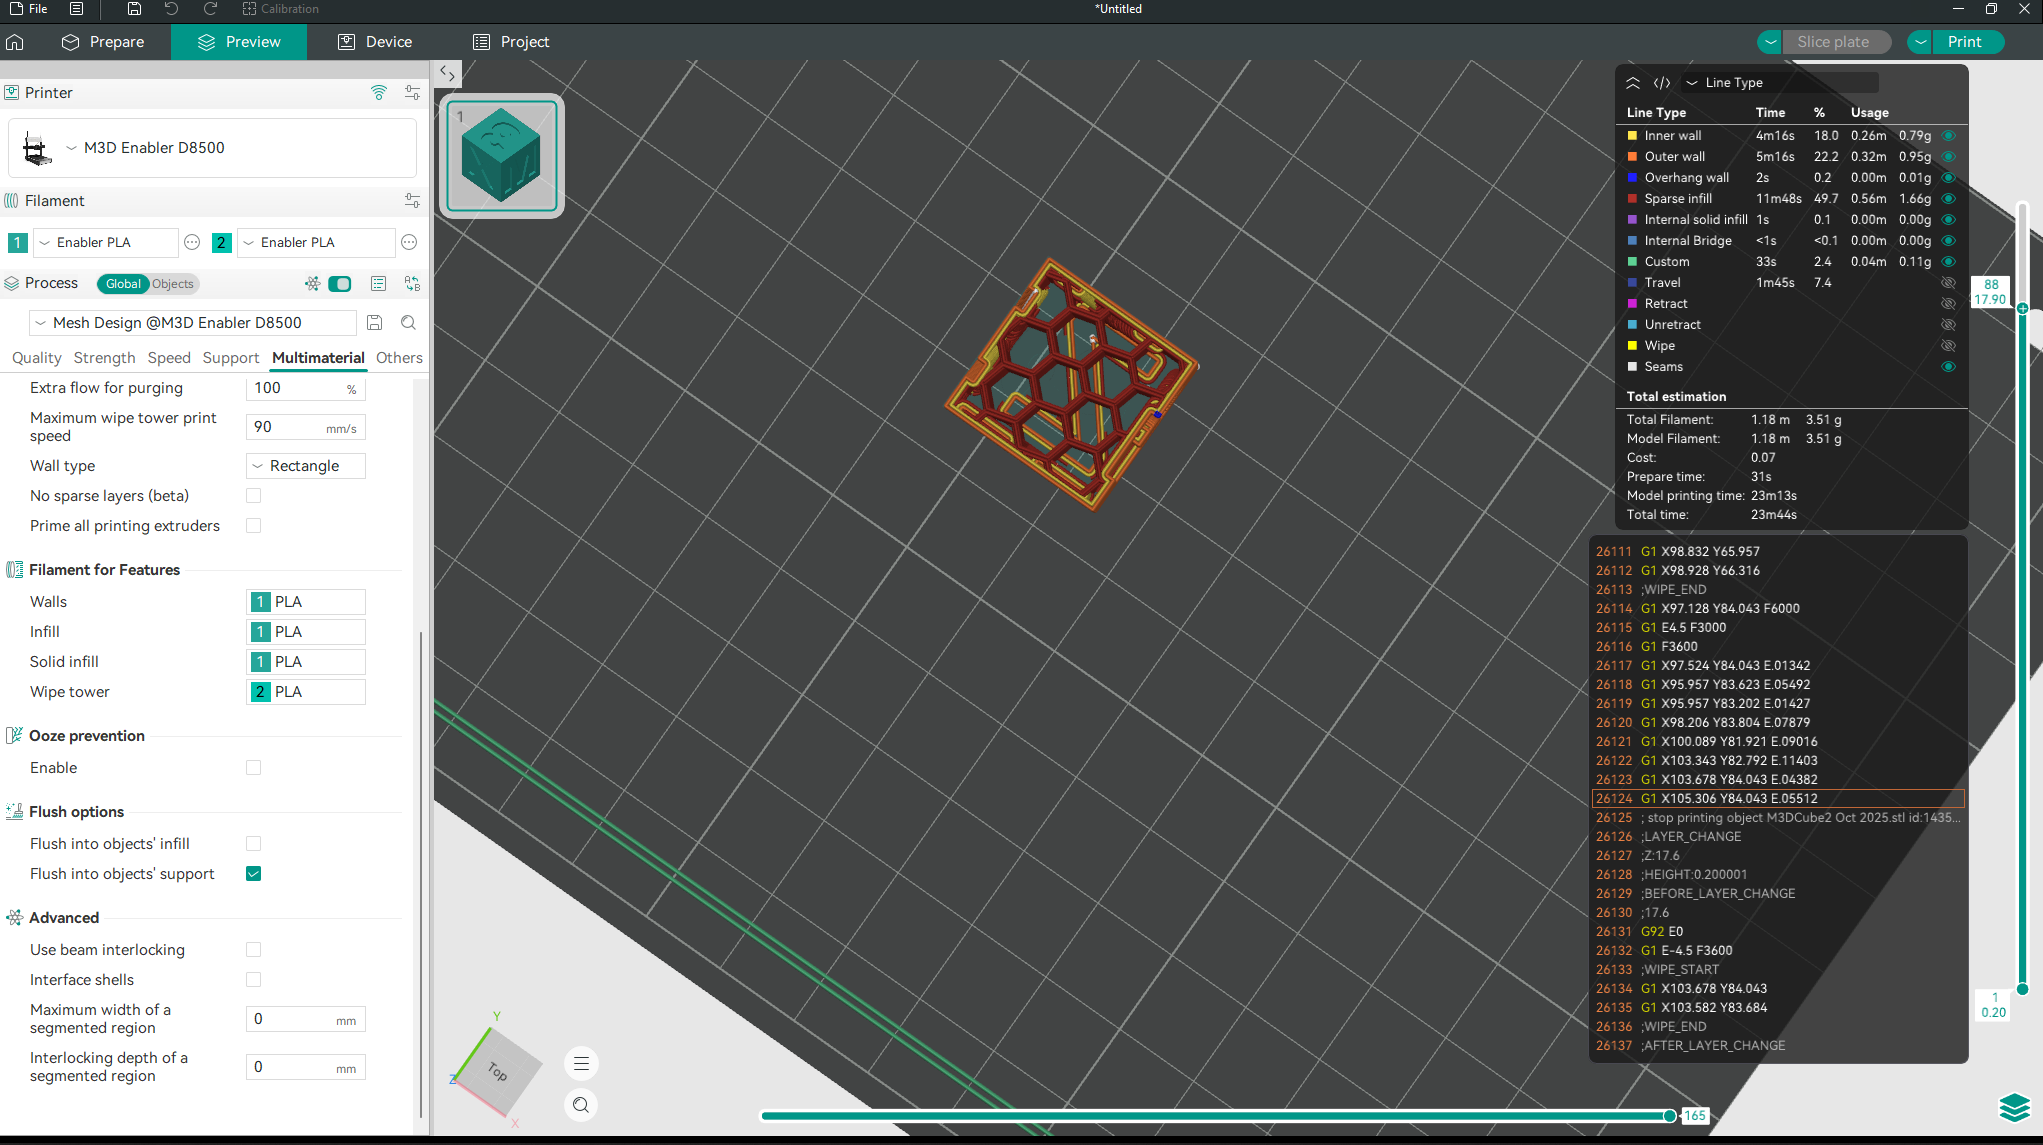
6. Mesh Design:
This profile creates a mesh of your design. It could be a simple shape or any complex design.

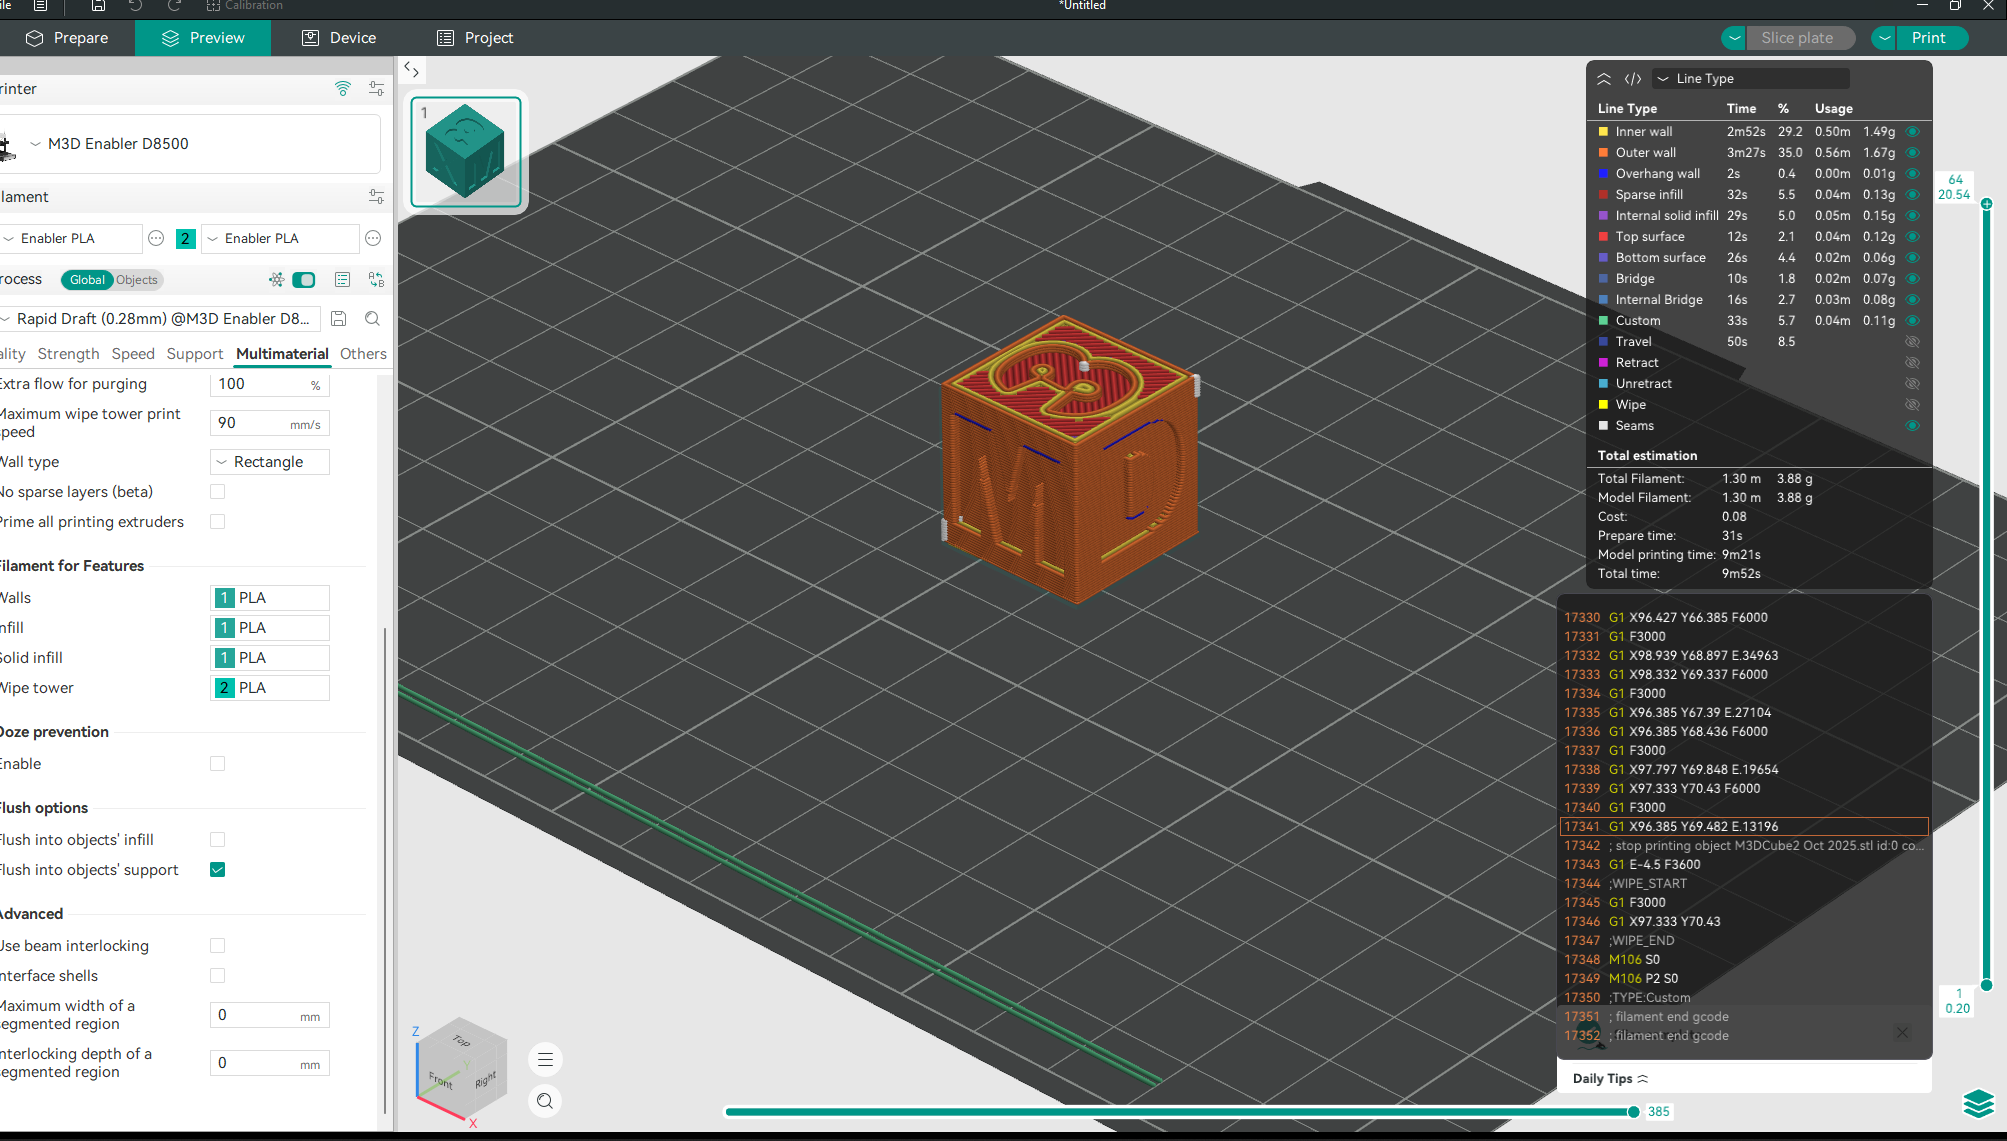
7. Rapid Draft:
Rapid draft is the quickest profile which completely prints your object in the lowest time. This profile is designed when you just want to get prototype in hand as soon as possible and when quality can be sacrificed.
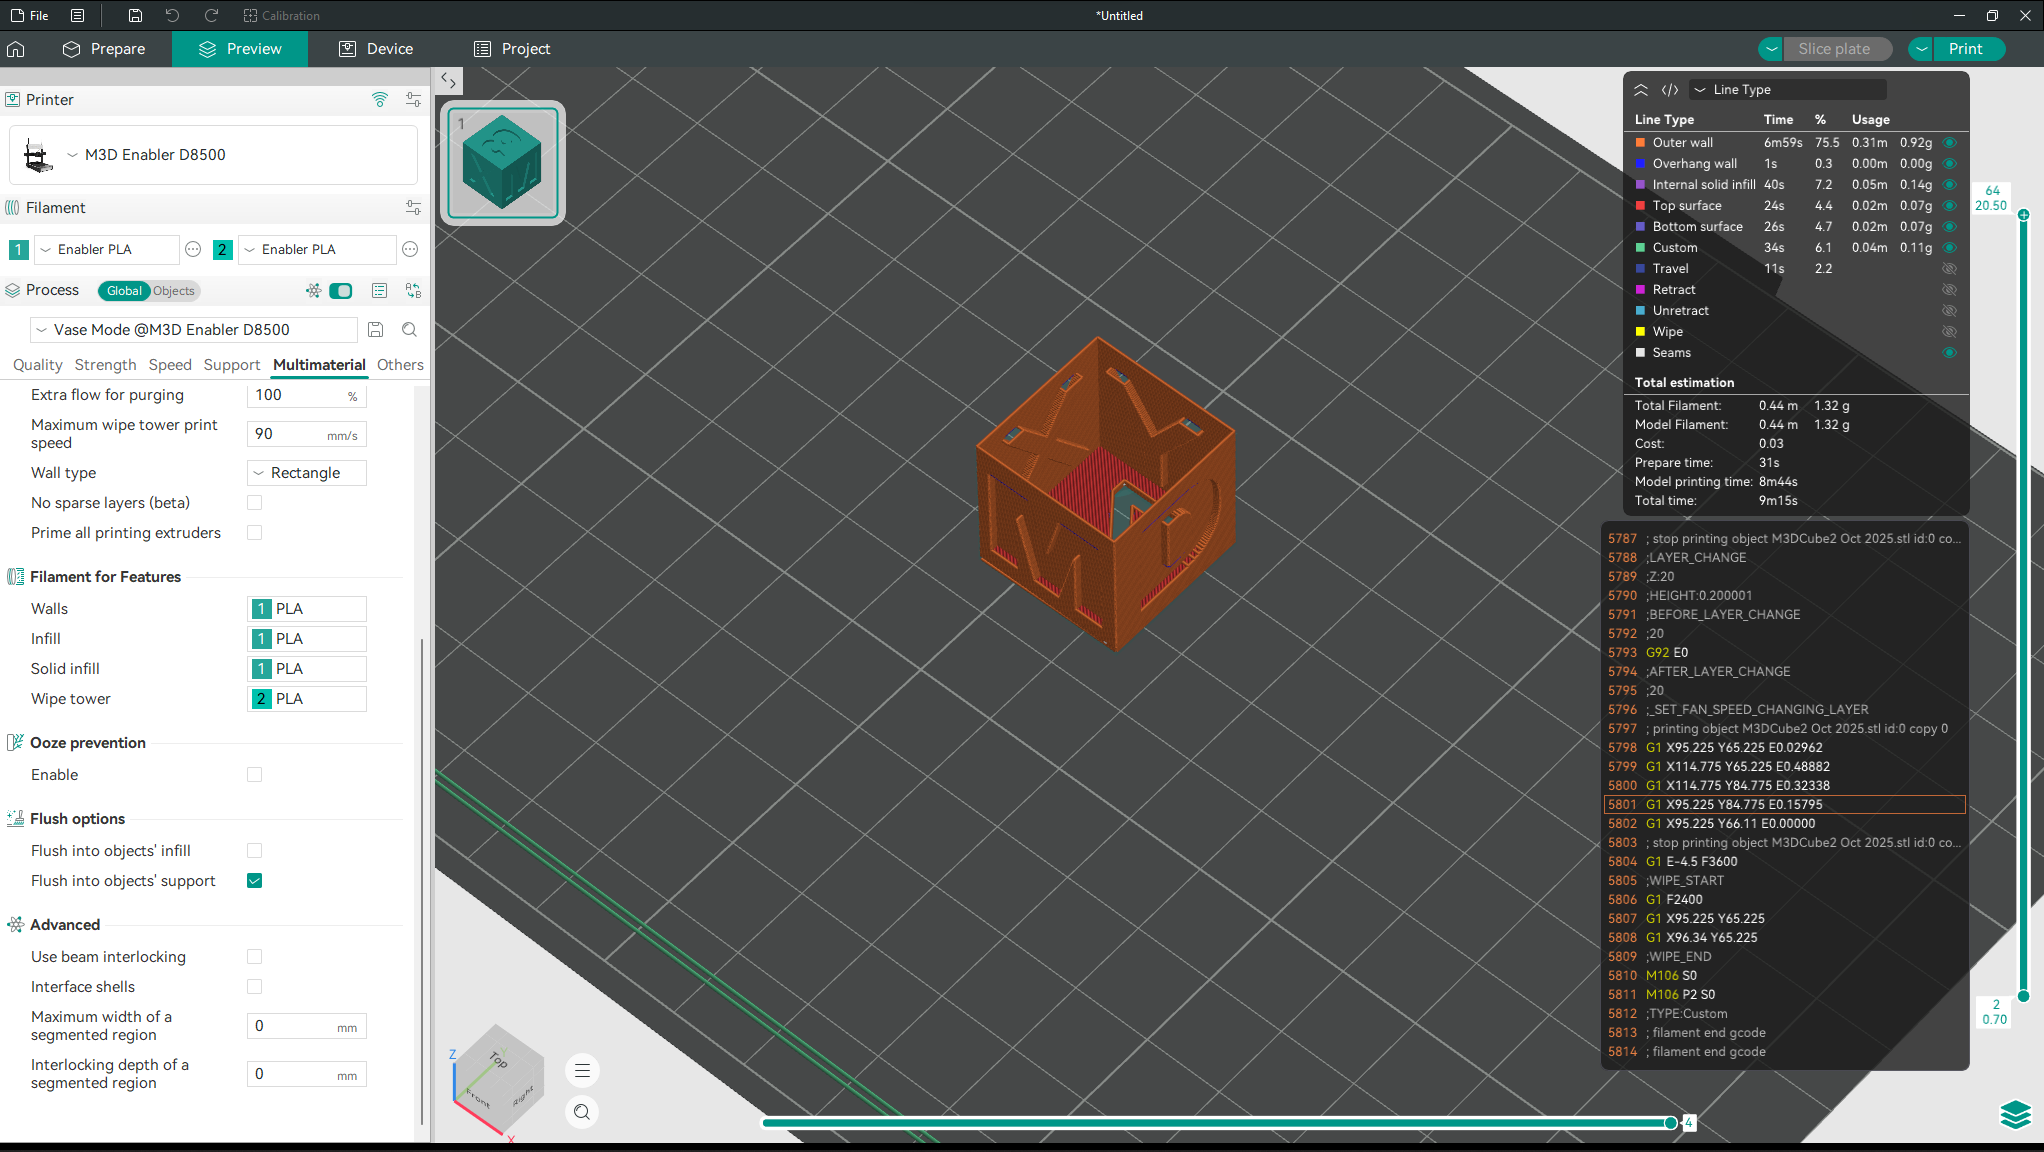
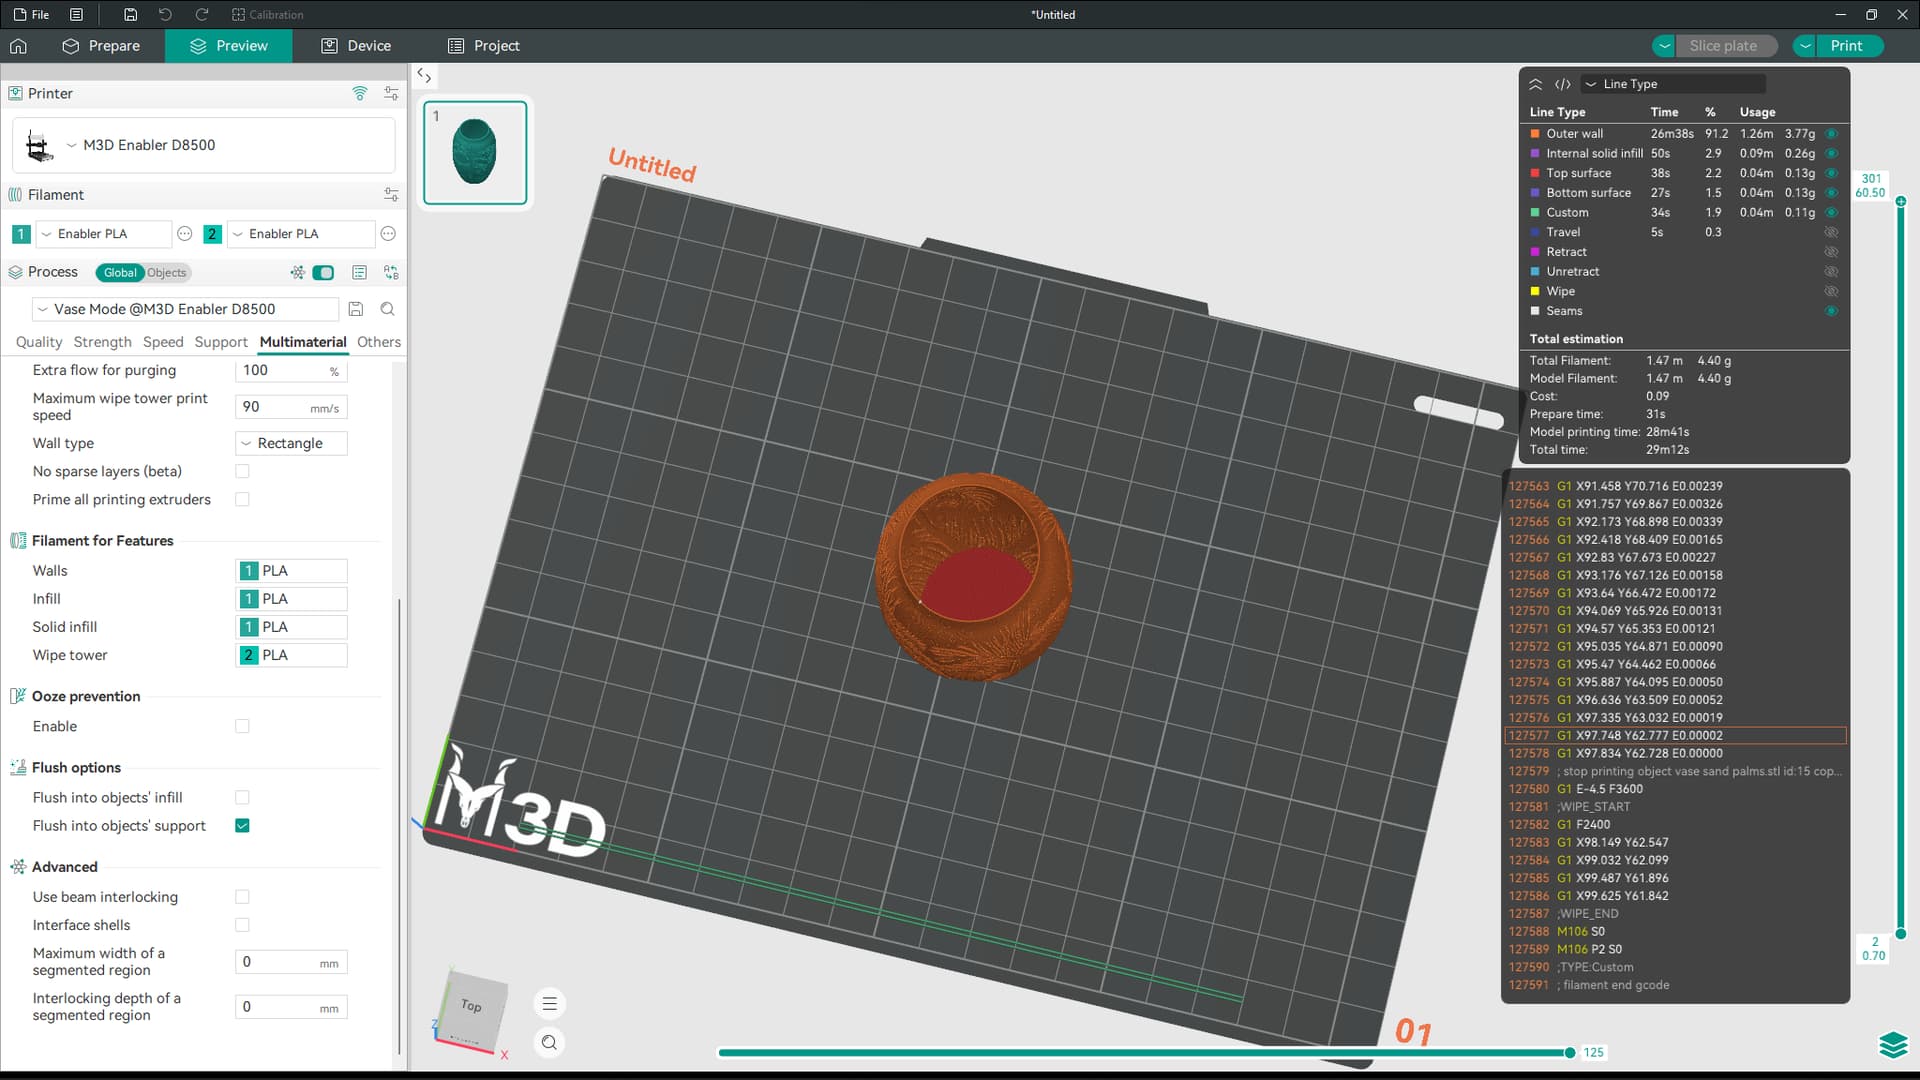
8. Vase Mode:
Vase mode, as the name suggests is designed especially for vases. Vases are models which have no internal structures and are completely comprise of walls. Even though any model can be printed in vase mode, the output may not be as expected.
For example, for the cube, the output will be:
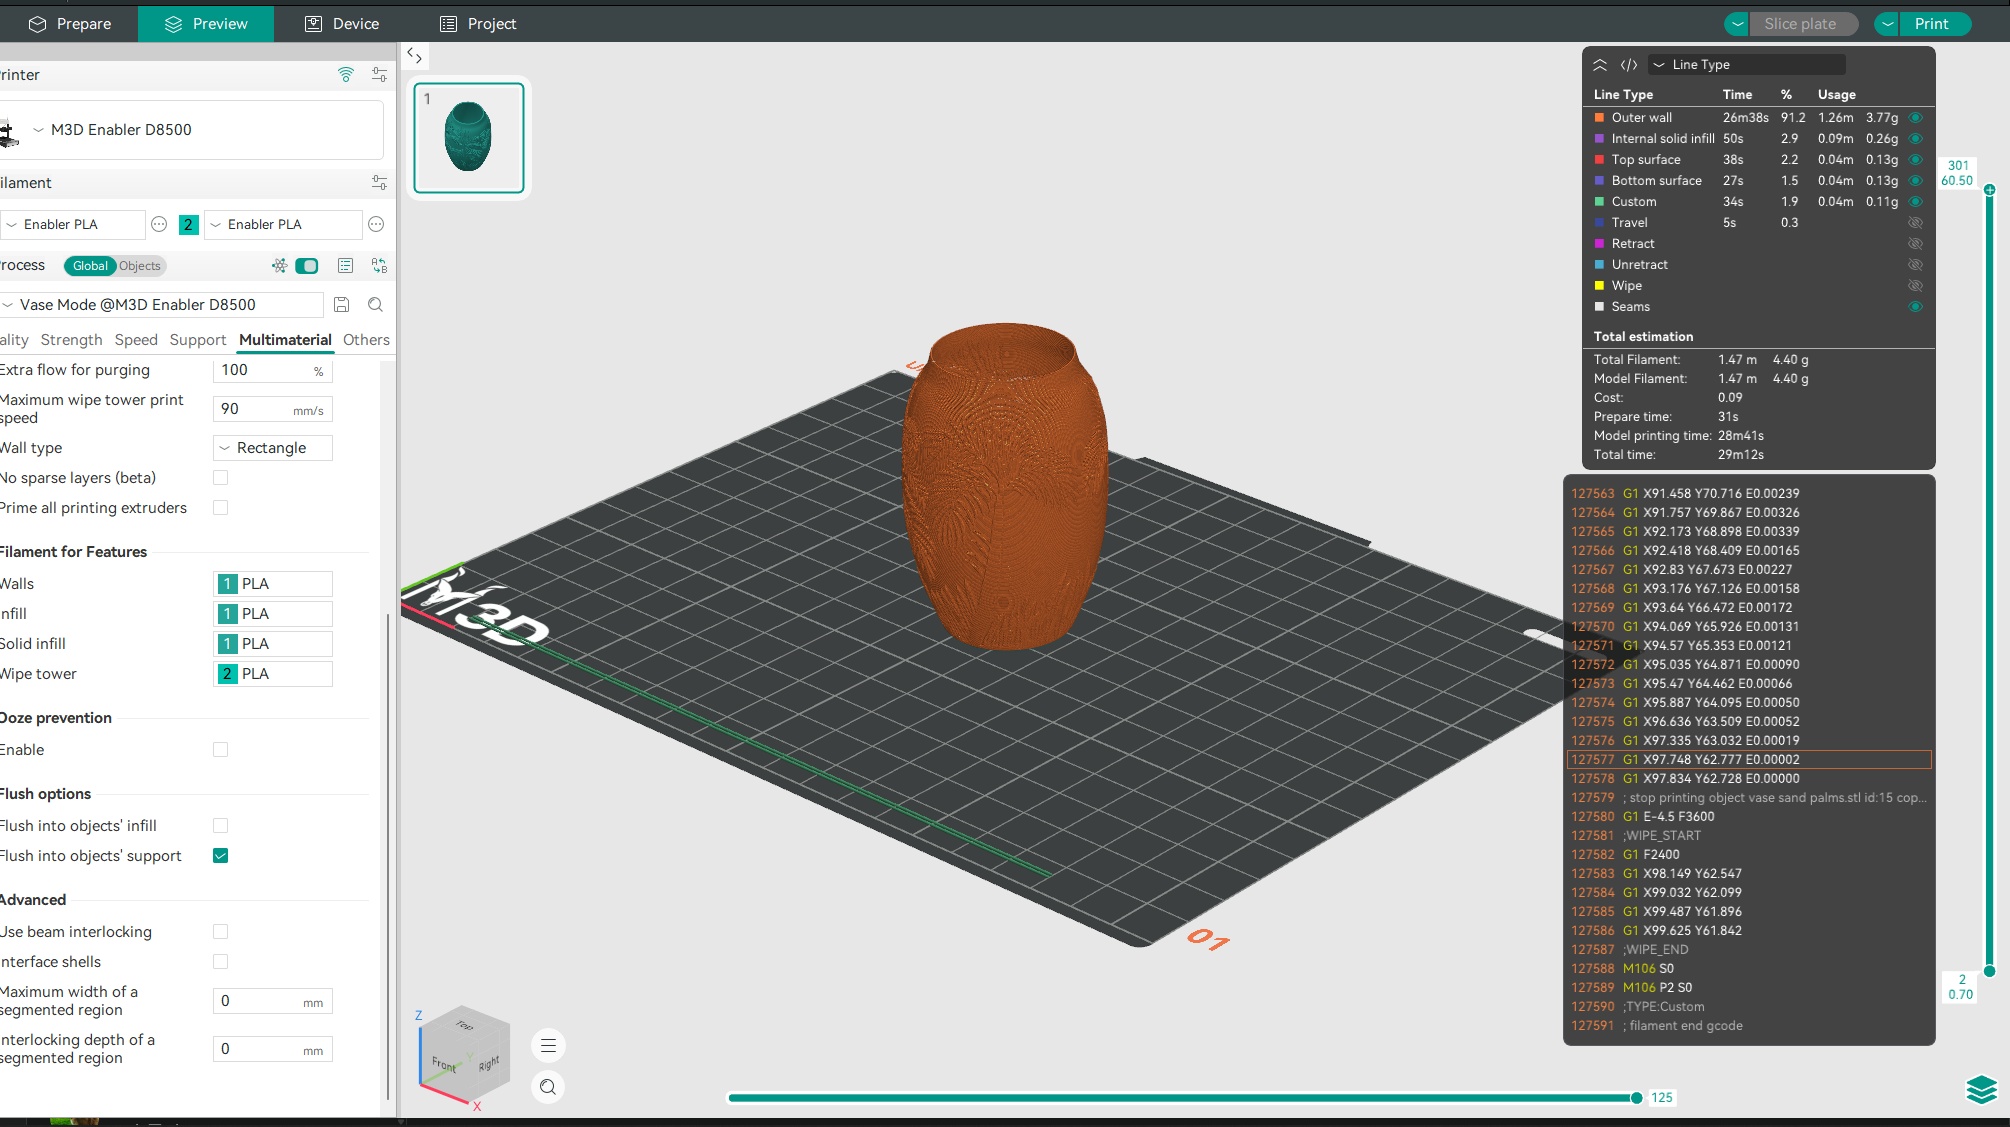
A normal vase model looks something like this:
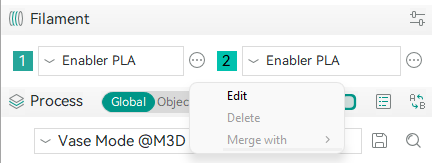
Advanced Technique: If your print is large enough that the nozzle has to travel a long distance before coming to the start point in each layer, it means that the print has enough time to cool down. Thus, you can tune the time your printer spends on each layer which will bring down the print time even further.
To do so, click on the three dots next to your PLA and click on edit:
In the cooling time, adjust the following setting:
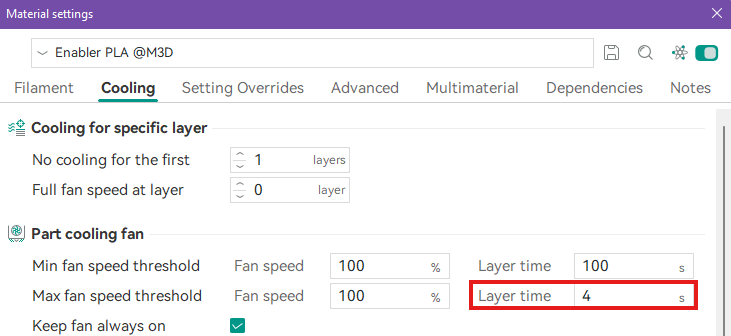
A smaller number will increase the print speed but can also lead your print melting as the model will suffer from insufficient cooling.