Once you have gone through the Orca Slicer Guide and successfully set it up, we can now turn towards setting up the printer itself. This guide will walk you through different methods of connecting your printer to your computer as well as getting your first print.
 Connecting Your Printer via Wi-Fi
Once your printer is powered on, you can connect it to your computer wirelessly for a seamless printing experience.
Note: You must have an SD card inserted in the printer to use this method.
Before you setup the printer, it is recommended to configure your SD card by following the steps below:
Configuring your SD Card:
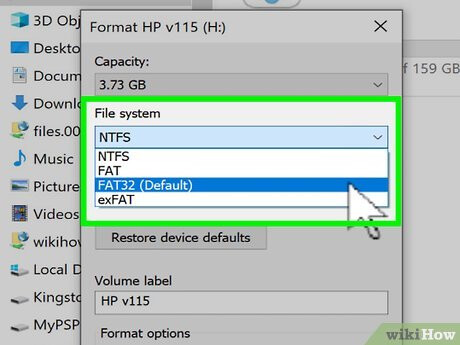
Before you insert your SD card in your printer, you need to format it in your computer. Just right click on your SD card in your computer and you should see a format option.
- Always select FAT32. Other formats may cause the printer to fail in detecting or reading the card.
 For SD Cards bigger than 32GB:
Windows may or may not allow you to format cards with larger than 32GB of storage into FAT32 format or some cards still might not work after formatting. In that case, kindly download the following utility:
Download and run this program.
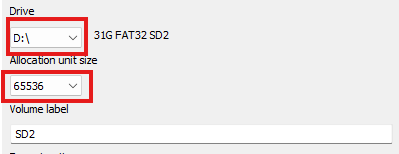
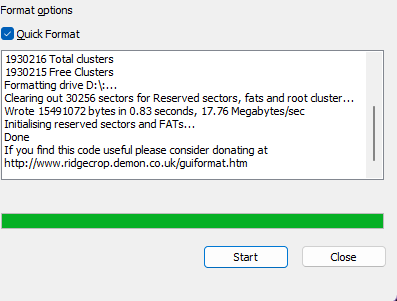
Select your SD card and it’s size from the two drop down menus and click start.
Once finished, it will show a confirmation message as follows:
Now that your SD card is ready, all you need to do is to upload the file to the printer and start your print.
1. Connect to the Printer’s Wi-Fi Network
- On your computer or laptop, open the Wi-Fi settings.
- Look for a network named
M3D Enabler. - Connect to it — the password 12345678.
2. Access the Web Interface
- Once connected, open a web browser and go to:
 http://m3d-enabler.local
 - You should now see the printer’s built-in control panel.
3. Printing with SD Card
- The printer primarily operates using an SD card. To print your model you need to load the sliced G-code file onto the SD card and insert it into the printer.
If you are new to 3D printing and are not aware of slicing and .gcode file format, don’t be alarmed. Keep reading this guide and it’ll guide you with through each step.
-
Make sure the printer is Not Powered ON when you are inserting or removing the SD card.
-
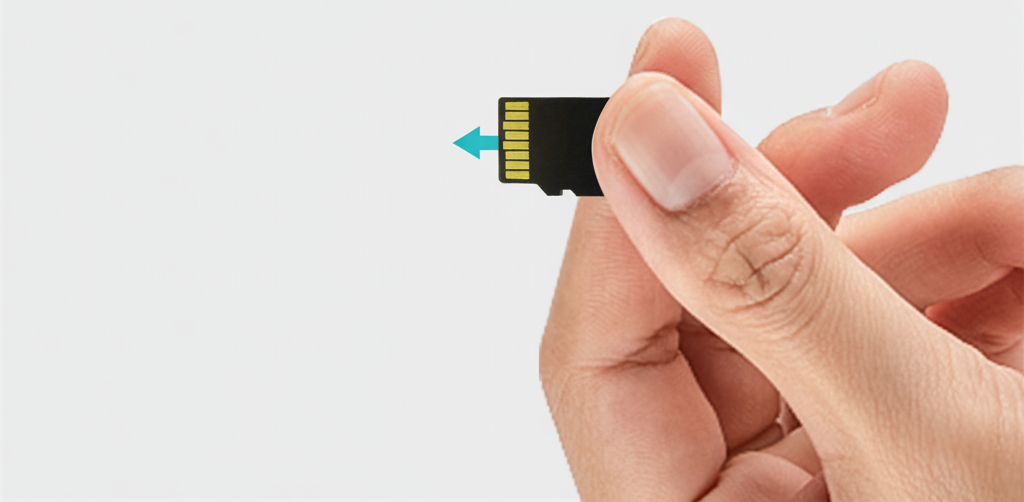
Inserting the card: Insert the SD card upside down(with the printed side facing downwards). It should slide in smoothly without much force.
-
Unmount before removal: Always eject/unmount the card before removing it. If removed directly, the card may become corrupted and require formatting, leading to data loss. You will learn how to unmomunt your SD card, in the second part of this guide once you go through this one.
-
When you insert the SD card, you should be able to hear a click-in sound which tells you that it is properly inserted.
-
Removing the card: Gently push it in until it clicks and pops out slightly—only then pull it out.
Precaution: Do not leave the card inserted unnecessarily. The card may break if struck forcefully.
Before you start your print:
Make sure you have loaded your filament properly and your bed is levelled.
Note: D8500 Enabler Lite/Pro supports PLA and PLA Pro. Make sure you order the right filament when purchasing from external vendors. Using non-compatible filaments e.g. ABS, TPU, PETG etc. may cause clogging and nozzle malfunction.
If this is your first print, this guide will teach you in the second part how to load your filament and level you bed automatically once you carefully go through this part of the guide.
4. Upload and Start a Print
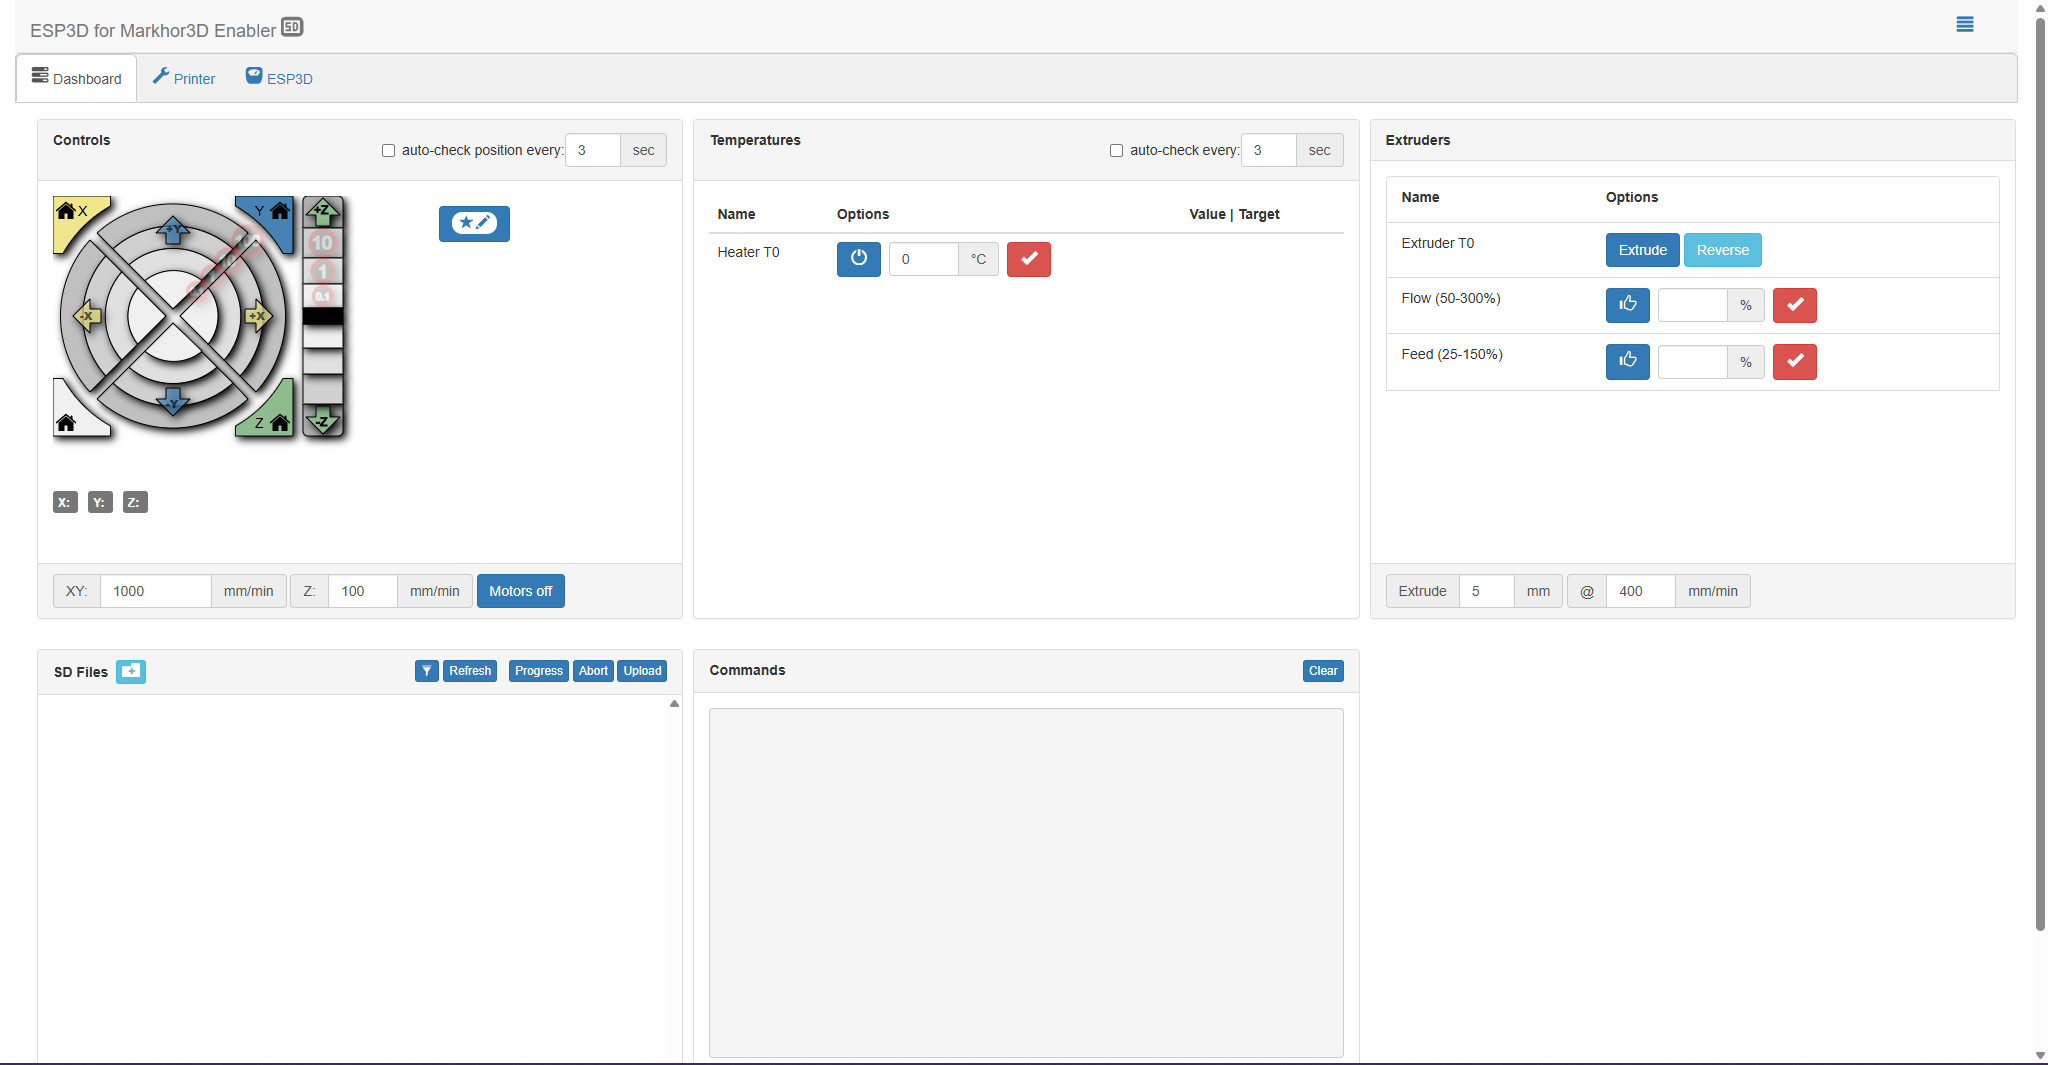
- Inside the web panel, navigate to the Dashboard section. You’ll be able to see an SD Files section in the bottom left.
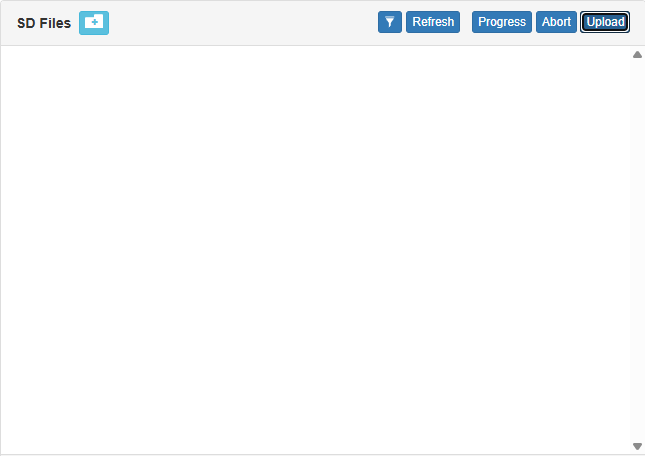
- Click Upload and select your
.gcodefile. - Once uploaded, restart the printer.
- Reload your web panel as well.
- Once it reloads, click on the "Refresh" button click in the SD Files section. You will be able to see your uploaded file.
- Click on Print button next to the file name to start printing directly from the web interface.
 Test Print & Calibration
To ensure your printer is working perfectly, we recommend starting with a test print. To do so,
- Download the Standard Cube File.
{"src":"https://community.markhor3d.com/uploads/default/original/2X/7/715404b3af285232bff4e26283c55ac8afe88dfd.glb"}
- Open it in Orca Slicer.
- Slice it, send it to your printer and print away.
Orca Slicer
Now that you have completed this guide and have set-up your printer, you can head to the second part of this guide where you learn how to install and configure the Slicing Software called Orca Slicer for your printer.
 1. Beginners Guide: Setting up Orca Slicer for M3D Enabler Lite/Pro
 Workspace Recommendations
- Ensure the printer is placed on a stable, flat surface with adequate ventilation.
- Make sure nothing is obstructing the path of the printer’s motor movements (e.g., bed or extruder).
- Provide at least 20 cm of space around the printer for proper airflow and cable management.
M3D Smart UI
The final part of the Beginners Guide will help you explore the printer’s own navigation menu called M3D Smart UI. Click the link below to go to the next guide: