 Introduction
While the recommended way to use your D8500 Enabler Lite/Pro is via WiFi and the Web Utility (for features like power loss recovery and remote monitoring), you can also connect it directly to your computer using a USB Type-C cable.
If your printer works via WiFi and the Web Utility, you can skip this guide and continue printing.
This guide will walk you through installing the necessary drivers, verifying the connection, and preparing your printer for USB-based printing.
Important: USB printing is the least preferred method.
It does not support power-loss recovery, which means your print will fail if power is interrupted during a job.
 Prerequisite Software Setup
For your computer to communicate with the printer over USB, you’ll need to install a dedicated driver called CP2102.
1. Install USB Drivers
-
Download the required driver:
 CP2102 Driver for Windows
 -
Extract the downloaded
.zipfile into a folder. Do NOT attempt to run the files directly from the archive — they must be extracted first. -
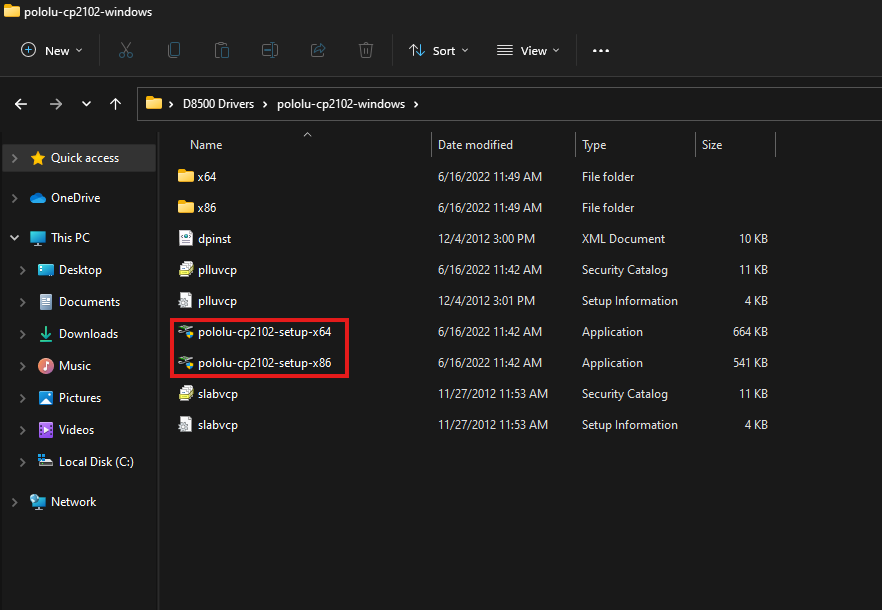
Open the folder and run the correct executable based on your operating system:

pololu-cp2102-setup-x64.exe→ for 64-bit Windows-
pololu-cp2102-setup-x86.exe→ for 32-bit Windows
-
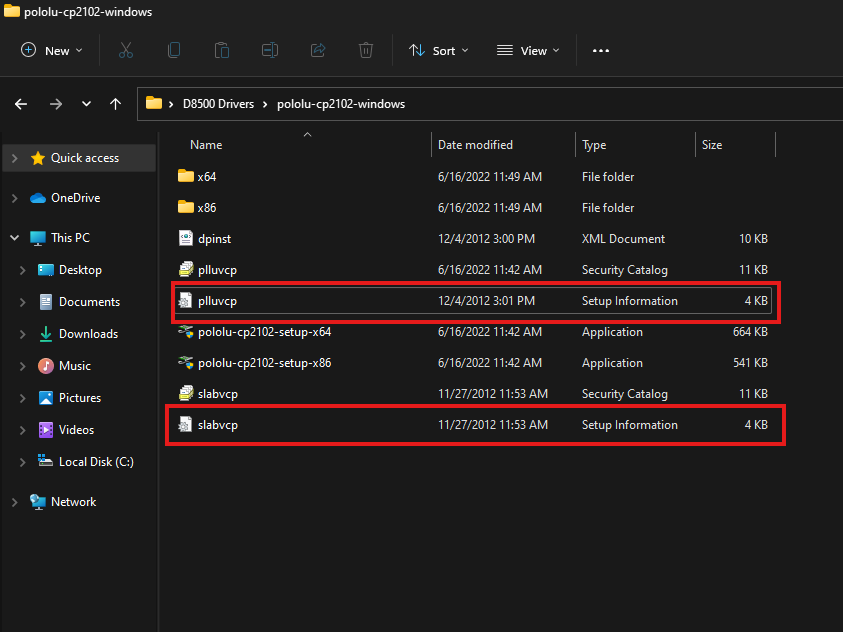
If the installer shows an error on Windows 8 or later, install the driver manually:
- Right-click
slabvcp.inf→ Install - Right-click
pllucvp.inf→ Install
- Right-click
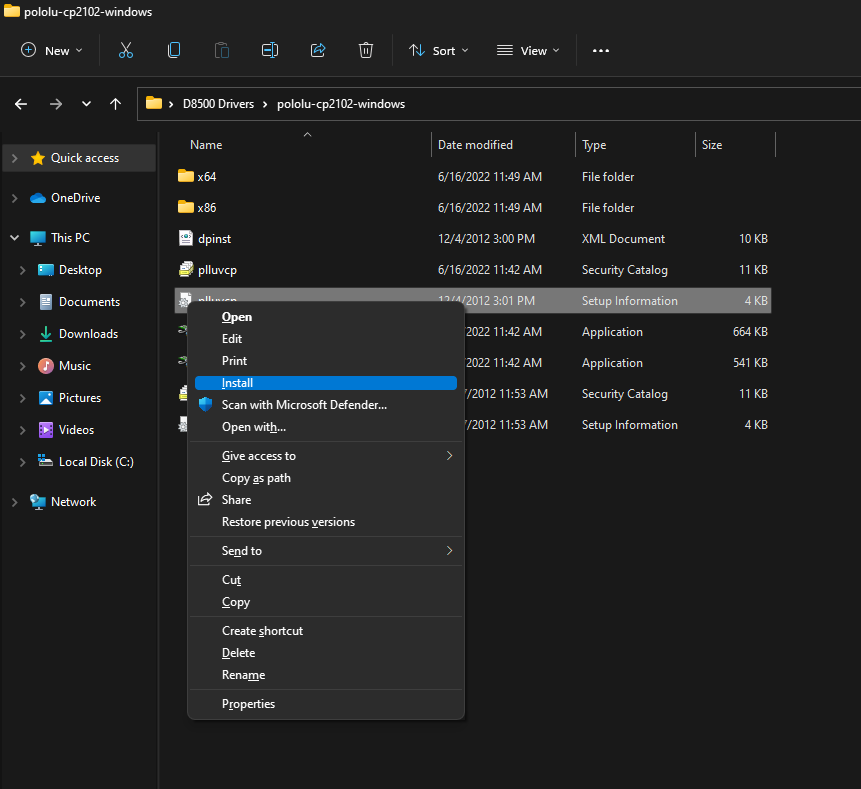
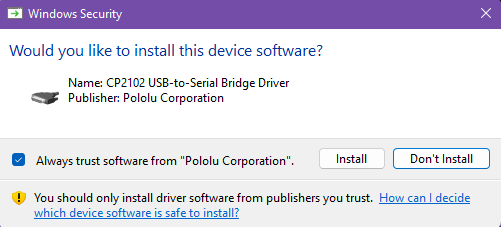
- During installation, Windows will ask for confirmation — click “Install” to proceed.
2. Verify the Connection
After the installation:
- Open Device Manager (
Win + X → Device Manager). - Expand the section Ports (COM & LPT).
- If the installation was successful, you’ll see your printer listed as:
Silicon Labs CP210x USB to UART Bridge
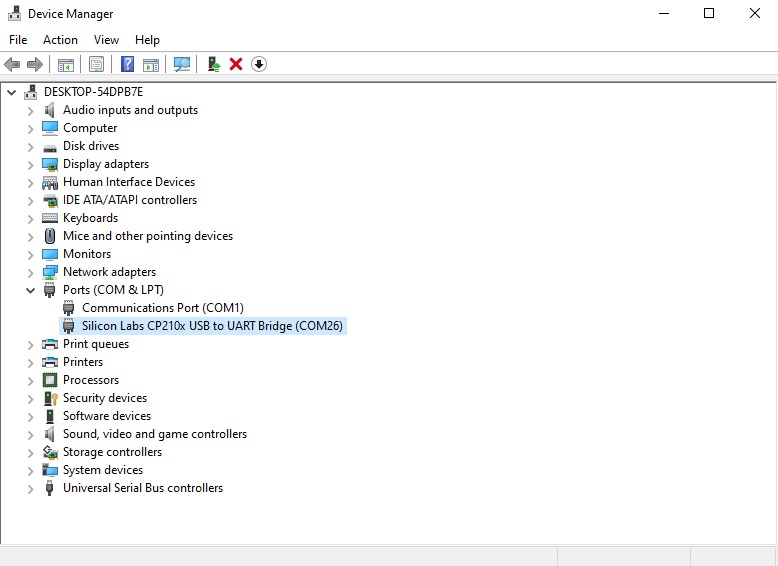
If the device is listed and recognised, your computer is now successfully communicating with the printer.
Pronterface Console
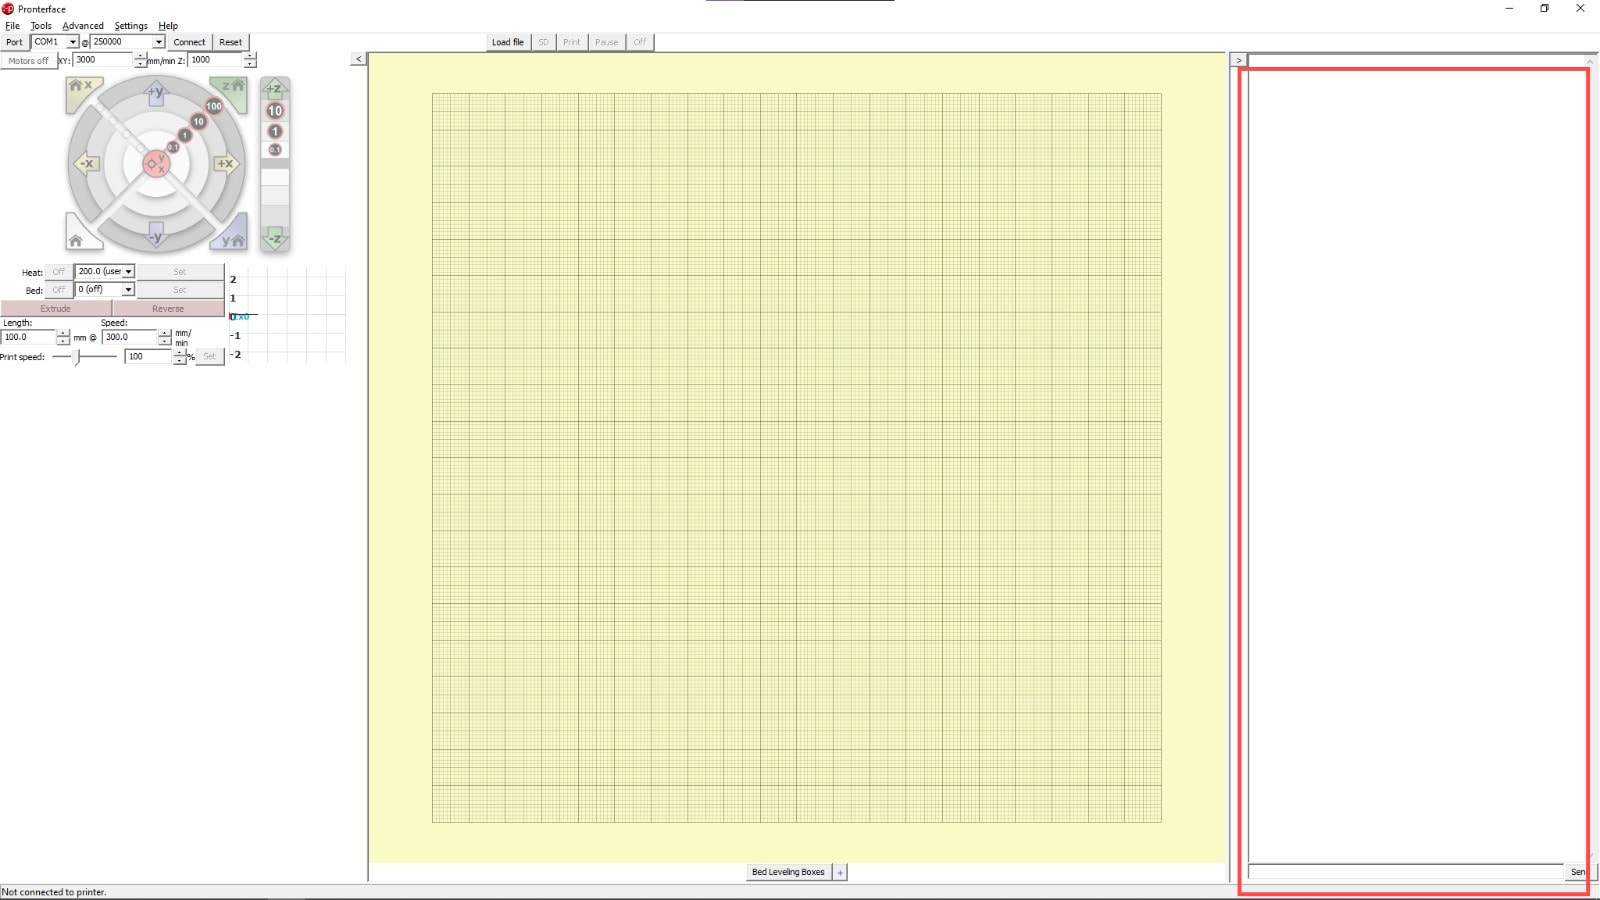
Once you open Pronterface, you should have the following screen in front of you:
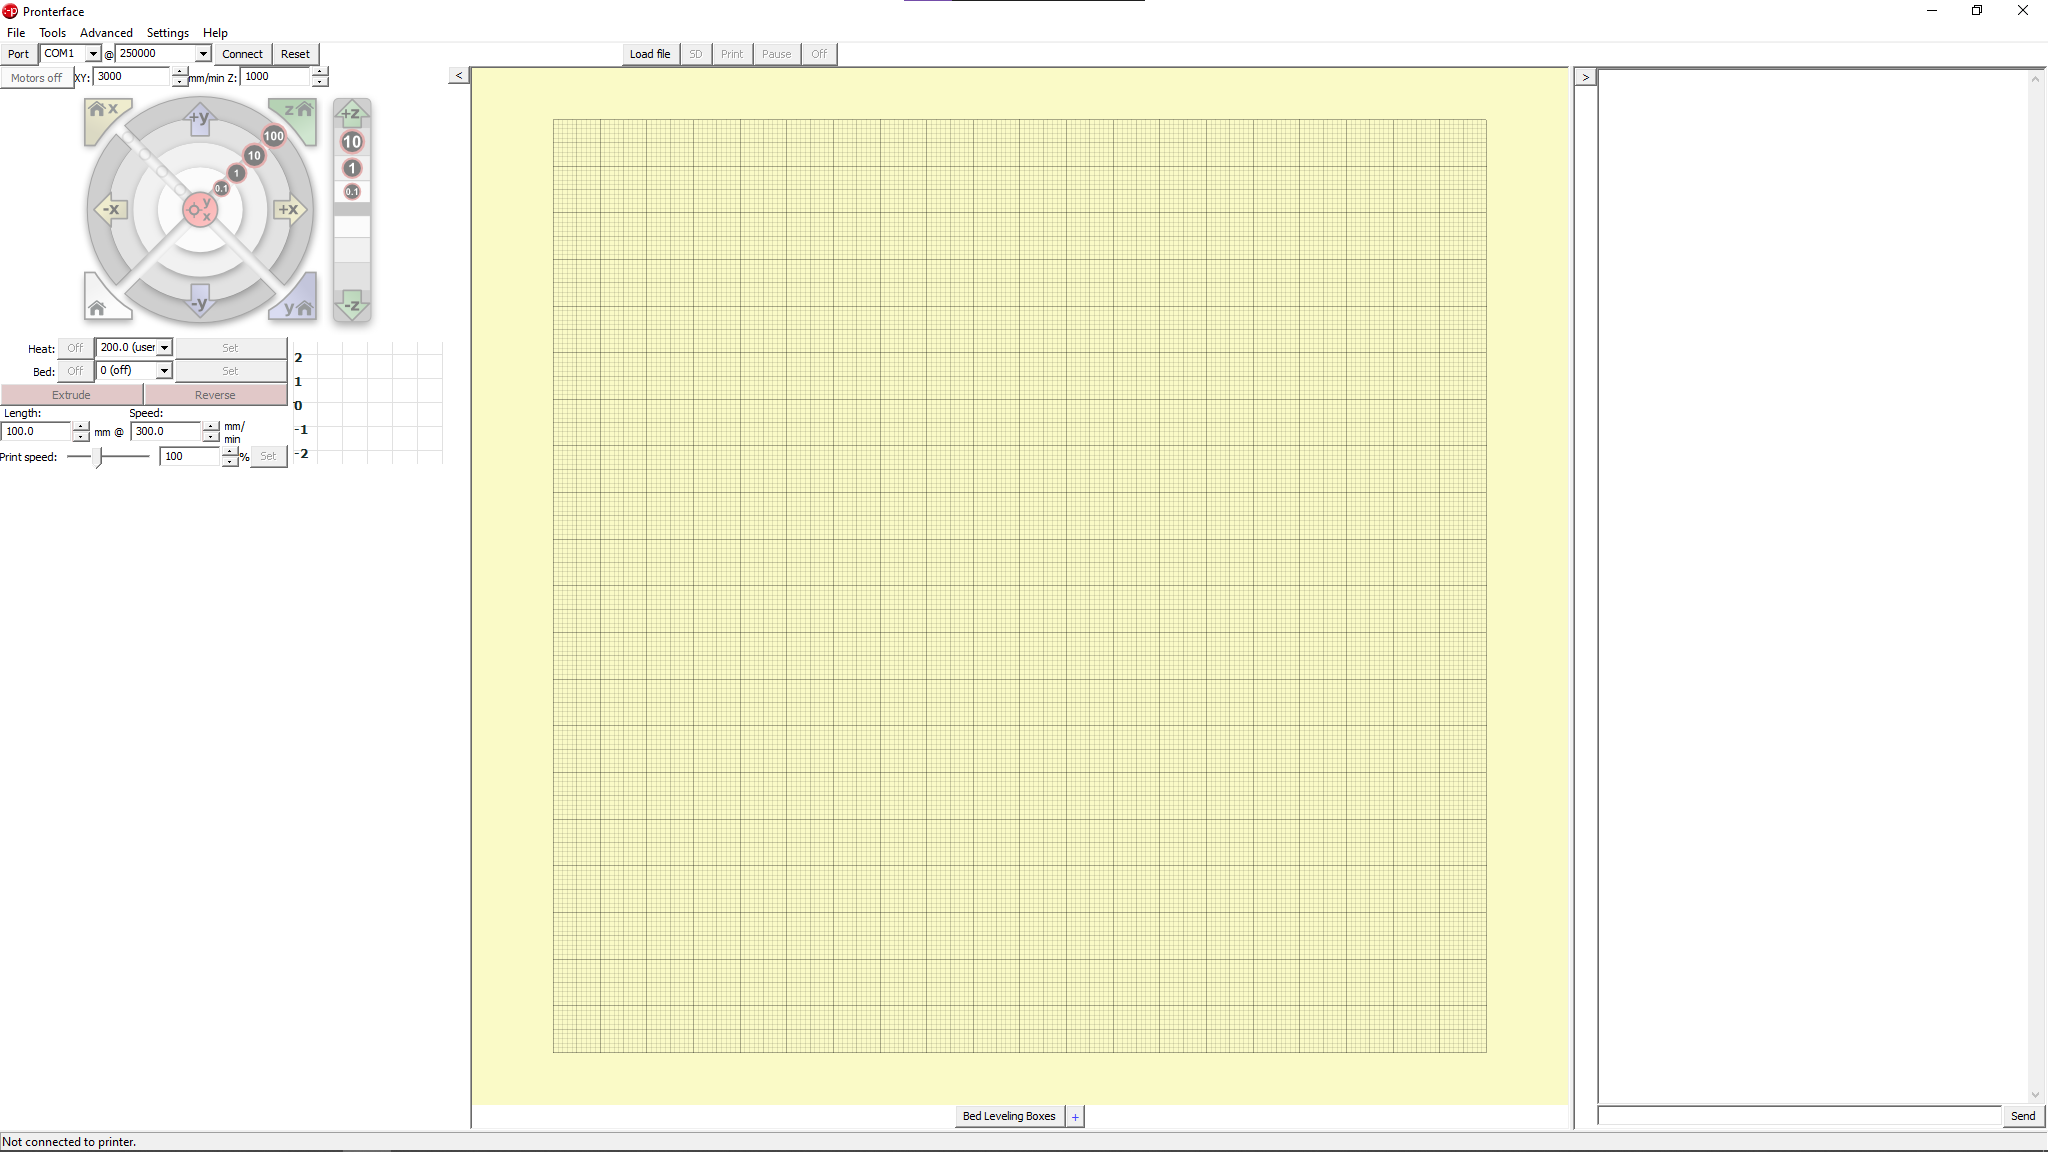
To the left, you have your Menu to connect the printer in the top bar as well as the controls
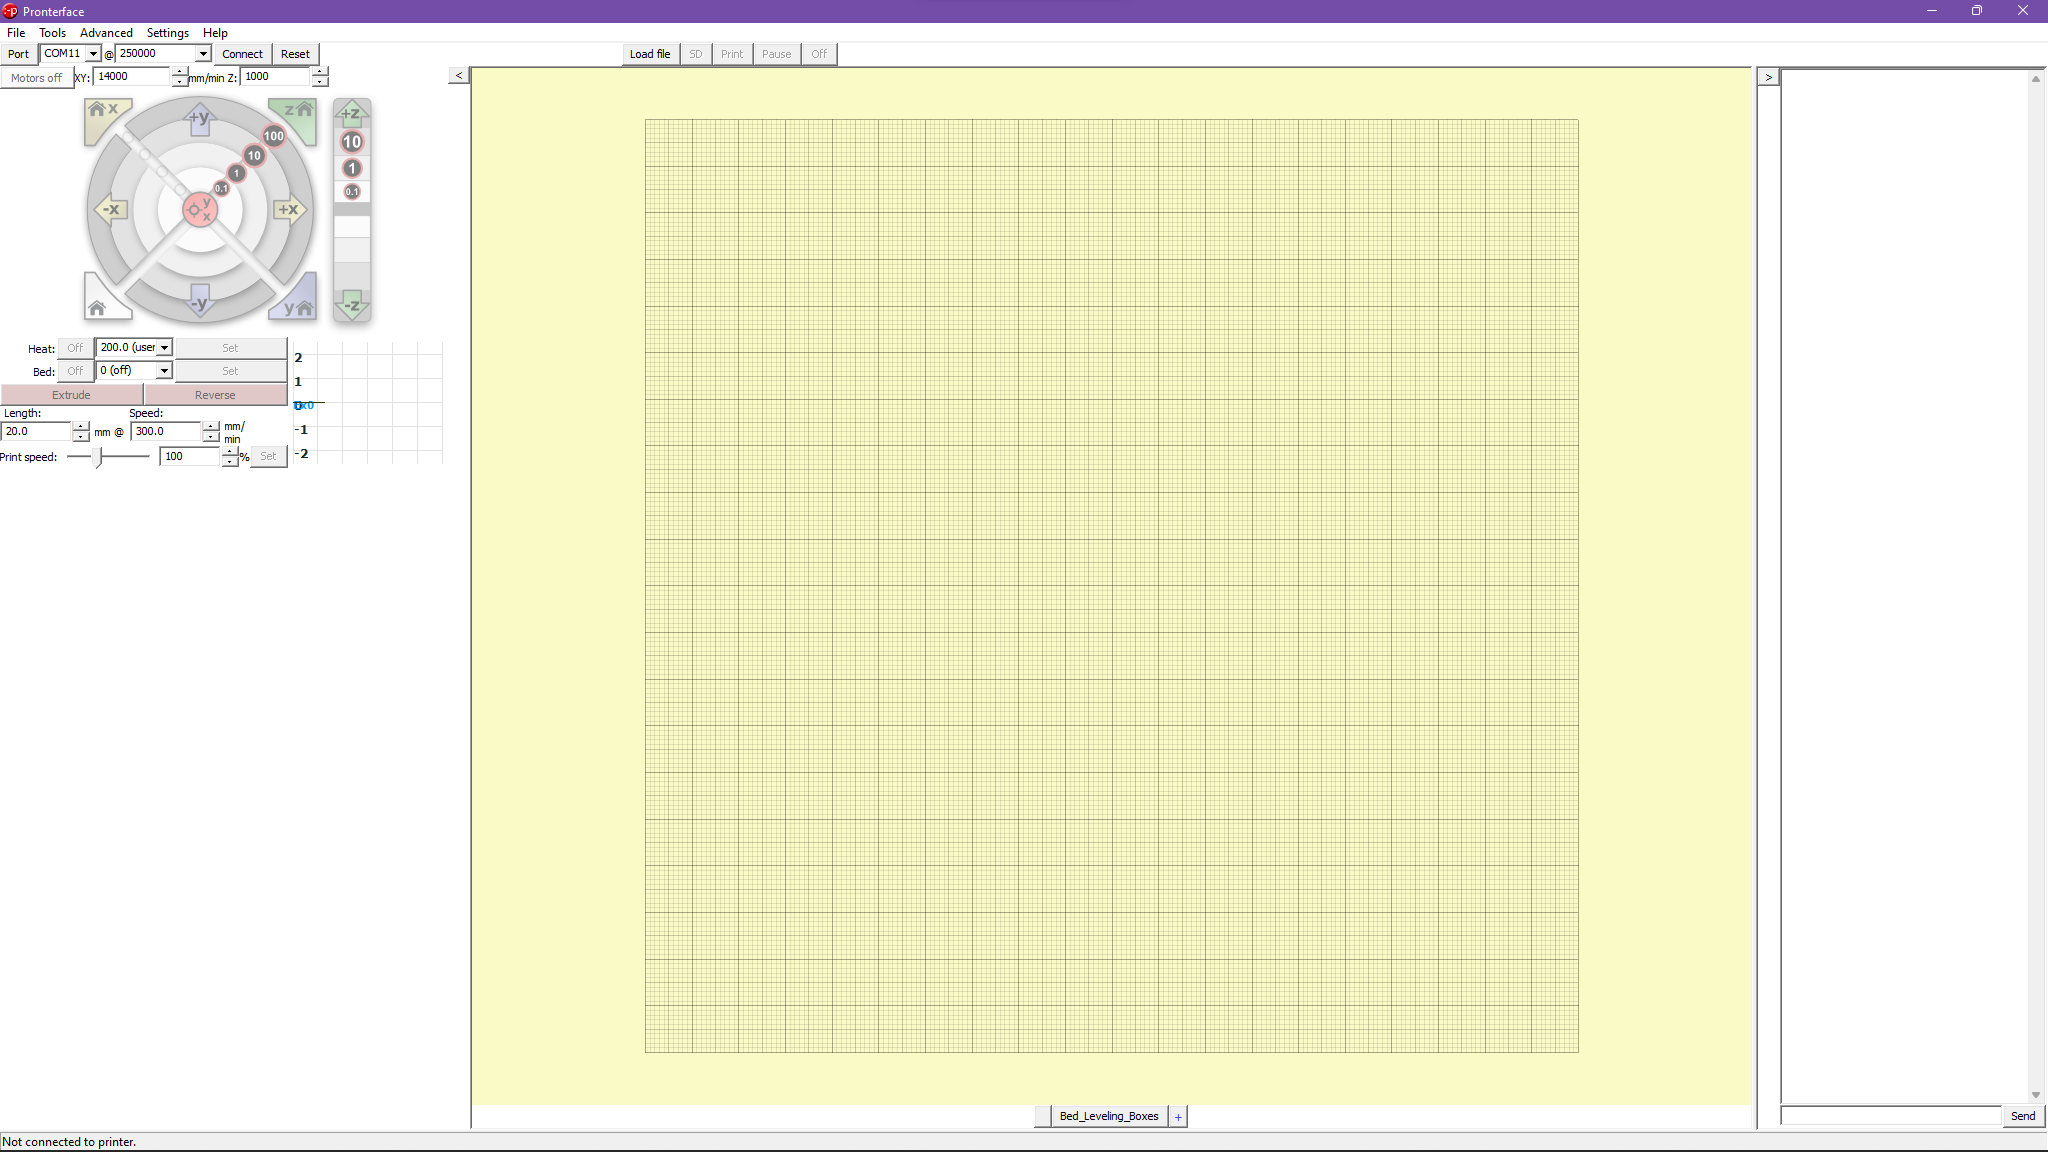
Select your COM Port from the drop down list and set the Baude Rate to 250000:
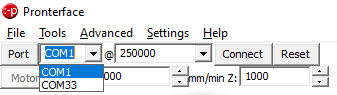
Once done, click connect and the controls will shift from grayed out to full color, indicating the printer has connected successfully.
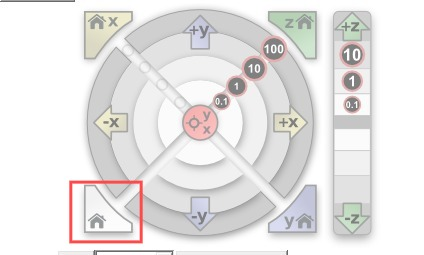
It is recommended to not control the printer using the manual buttons. If you absolutely need to, make sure you Home the printer first using the following button:
To the right, there is a console which displays a log of printers actions. It can also be used to send custom marlin commands to the printer.
 Printing Workflow (USB Mode)
Once the driver is installed and the printer is recognized:
- Open your slicer software (e.g., Orca Slicer).
- Slice your 3D model and generate the GCODE file.
- Download Pronterface which is the software you will be using to send prints to the printer. To download, click here.
- Once downloaded, you should have the following screen:
-
In the top left corner, select the port of the printer(as shown in the device manager) and click connect. The printer should connect and you should see a confirmation message on the right console:
-
Once connected, click on load file button on the tope and select your .gcode file.
-
Start the print and monitor the process from your computer.

![]() For help setting up Orca Slicer, follow our Orca Slicer Setup Guide.
For help setting up Orca Slicer, follow our Orca Slicer Setup Guide.
Limitations of USB Printing
While USB mode works reliably for simple prints, please keep these limitations in mind:
 No Power Loss Recovery: If power is lost during a print, it cannot be resumed.
 No Remote Control: You cannot monitor or control the printer from another device.
 Less Stable for Long Prints: Large GCODE files can sometimes cause communication issues over USB.
![]() Recommended: Whenever possible, use WiFi + Web Interface for printing. It offers better reliability, more features, and improved safety for long prints.
Recommended: Whenever possible, use WiFi + Web Interface for printing. It offers better reliability, more features, and improved safety for long prints.
 Common Issues & Fixes
Here are some common problems you might encounter — and how to fix them:
Printer Does Not Appear in Device Manager
 Restart Your Computer: After installing drivers, a system restart is sometimes needed for Windows to detect the device.
 Try a Different USB Port: Some ports may not supply enough power or have connectivity issues.
- Reinstall the Driver: Uninstall the current driver, then repeat the installation process.
 Use Another Cable: Make sure you’re using a data-capable USB Type-C cable, not a charge-only cable.
Printer Appears but Won’t Start Printing
 Re-slice the File: Corrupted or incompatible GCODE files can cause the print job to fail.
- Reconnect USB: Disconnect and reconnect the cable to refresh communication.
 Check COM Port Settings: Make sure the slicer is pointing to the correct COM port shown in Device Manager.