 Setting Up Orca Slicer for Your D8500 Enabler Lite/Pro

To get the best performance out of your M3D D8500, you’ll need a compatible slicer — a software that translates your 3D models into printable instructions for the printer, known as a GCODE file.
In this guide, we’ll walk you through how to download, install, and configure Orca Slicer so you can start slicing and printing with confidence.
If you have used slicers before but are new to Orca Slicer, you can read the official Orca Slicer Guide: Step-by-Step for Beginners
 What is Orca Slicer?
Orca Slicer is an advanced, user-friendly slicing software that converts your 3D designs (.stl, .obj, etc.) into GCODE — the language your printer understands.
It also allows you to customize print settings, preview layers, optimize supports, and fine-tune your print quality.
 Step 1: Download Orca Slicer
Download the latest version of Orca Slicer directly from the official source:
Once downloaded, run the installer and follow the on-screen instructions to complete installation.
 Step 2: Add and Configure Your Printer Profile
Before you open Orca slicer, you need to set up the configuration file for the printer.
To do so, first download the configuration installer from the following link:
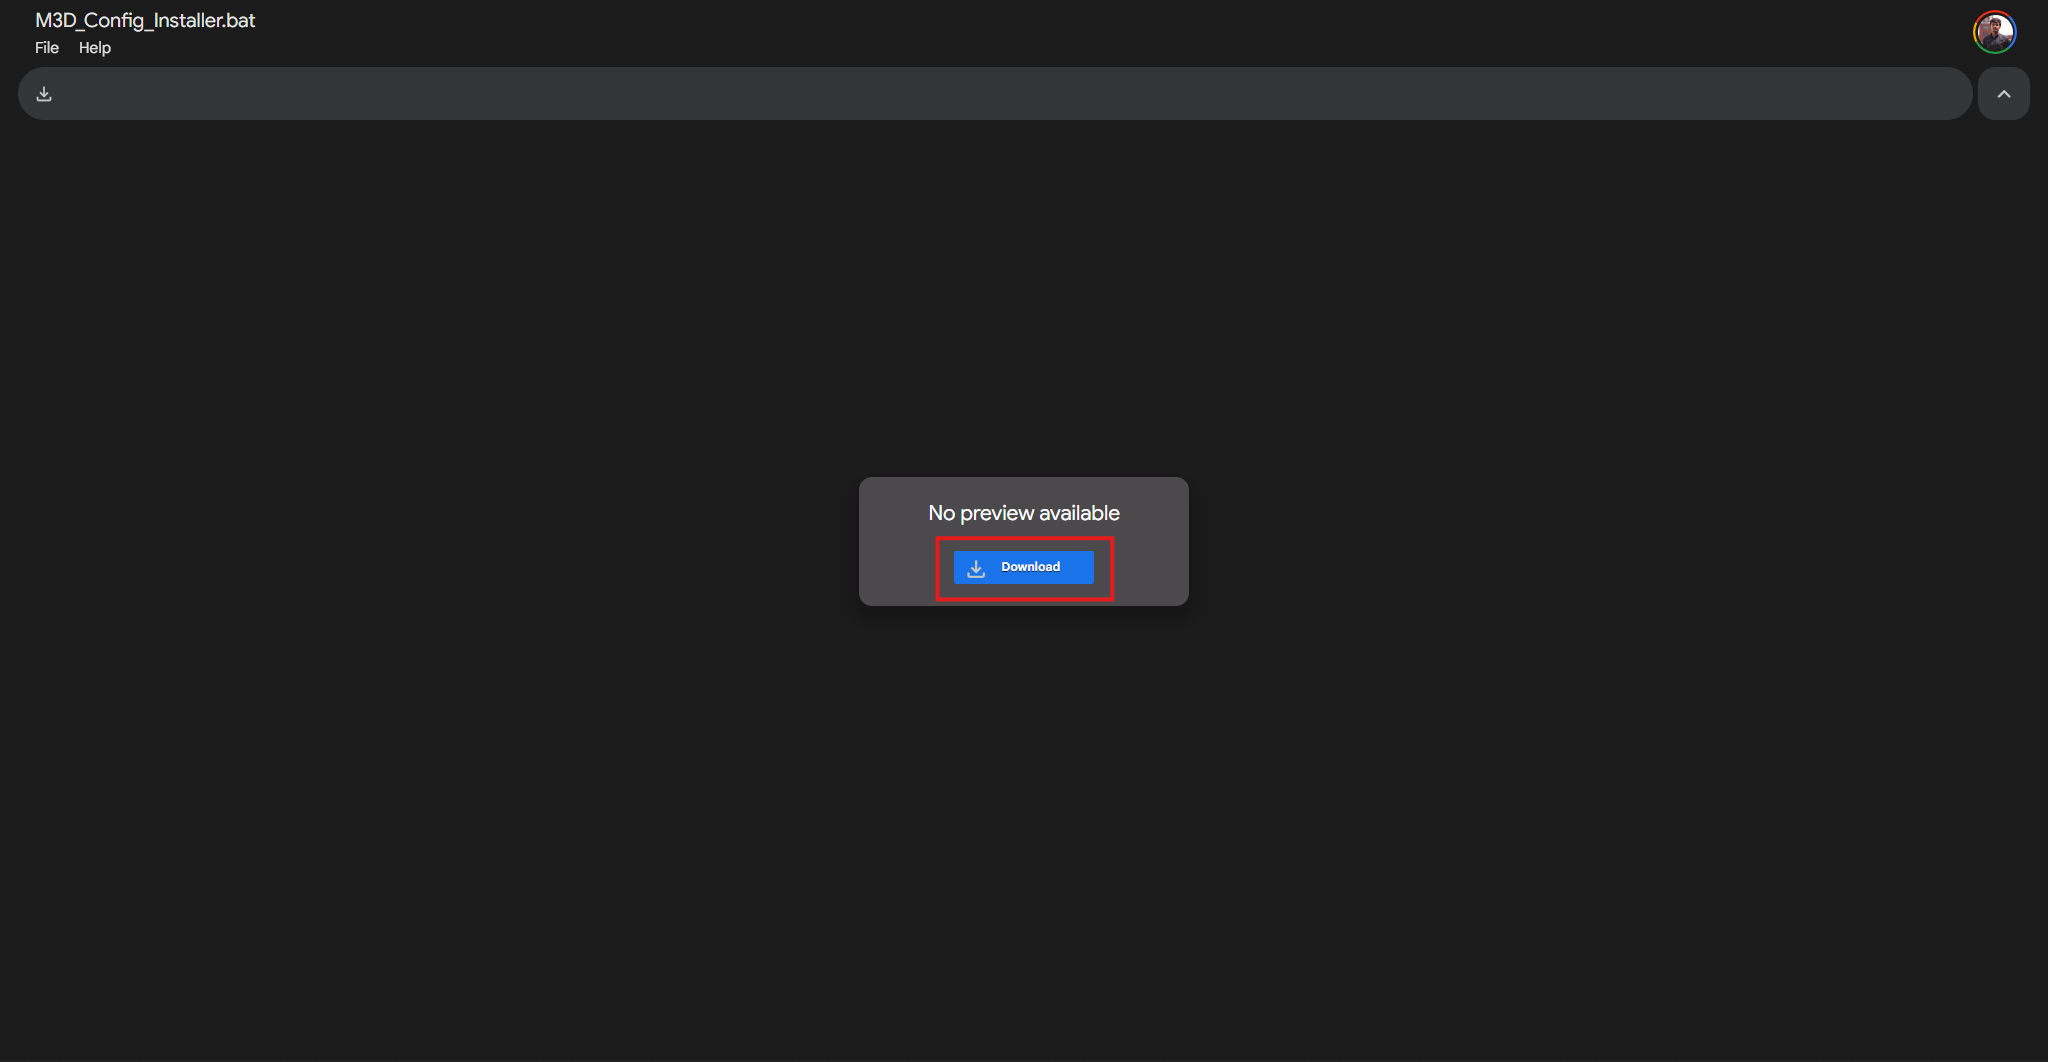
Once downloaded, run the file as an administrator:
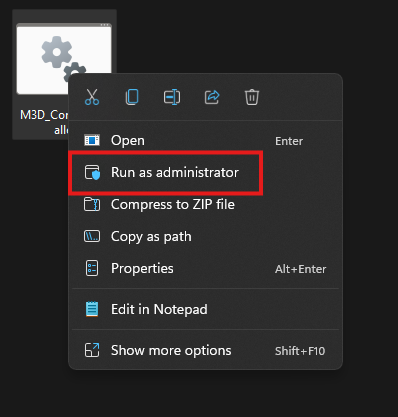
It should complete the process automatically and show you a confirmation message.

Note: If the installer seems stuck, just press any key and it should start the installation process.
Now that the configuration is set up, you can launch Orca Slicer:
- Launch the Orca Slicer application. You will be greeted with a setup menu.
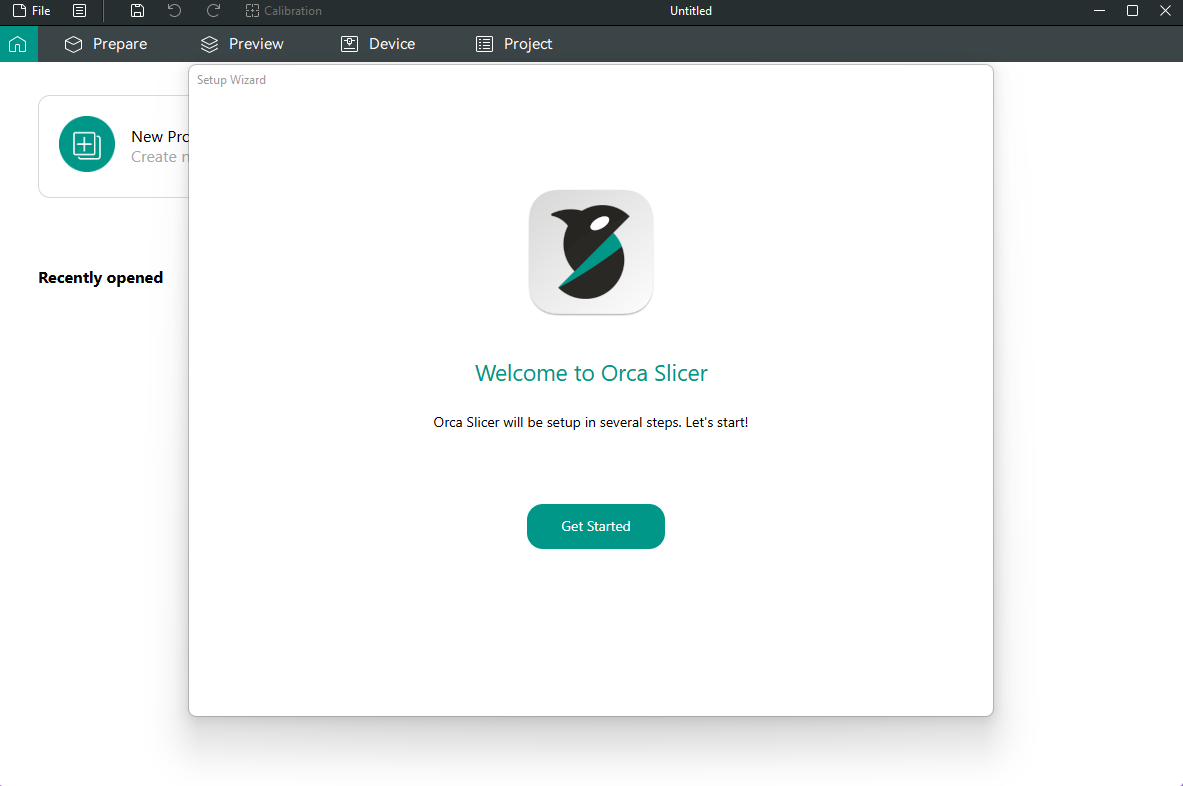
- Click Next and Select your region and proceed further.
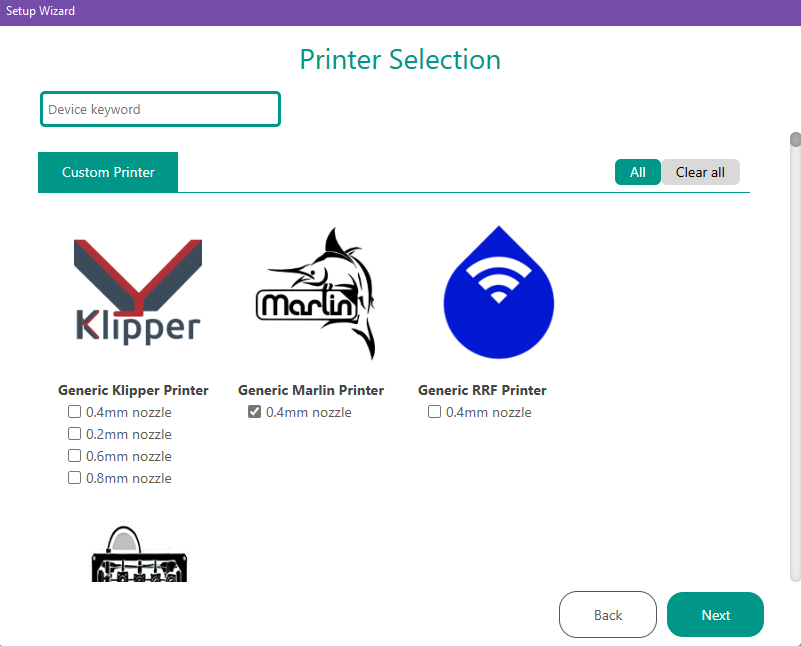
3.In the top left search bar, look up “M3D” and your printer should appear in the list.
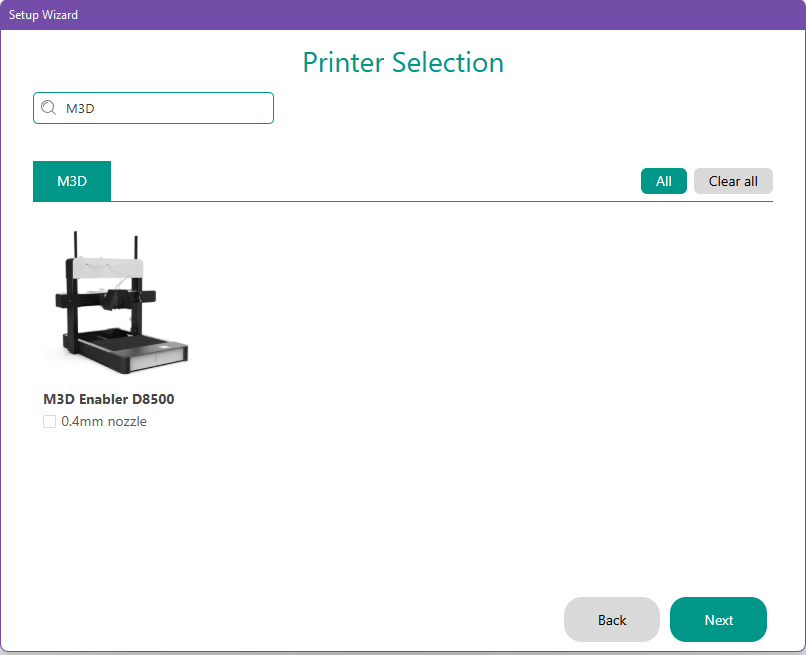
- Click on the “0.4mm nozzle” checkbox and then click Next in the bottom right corner.
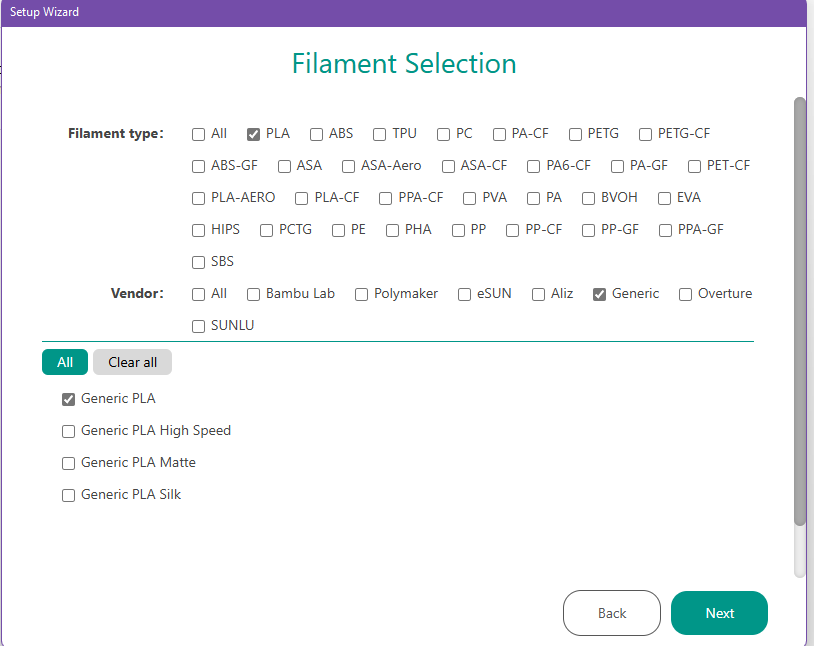
5.In the next menu, select the following options in the Filament Selection as shown in the picture:
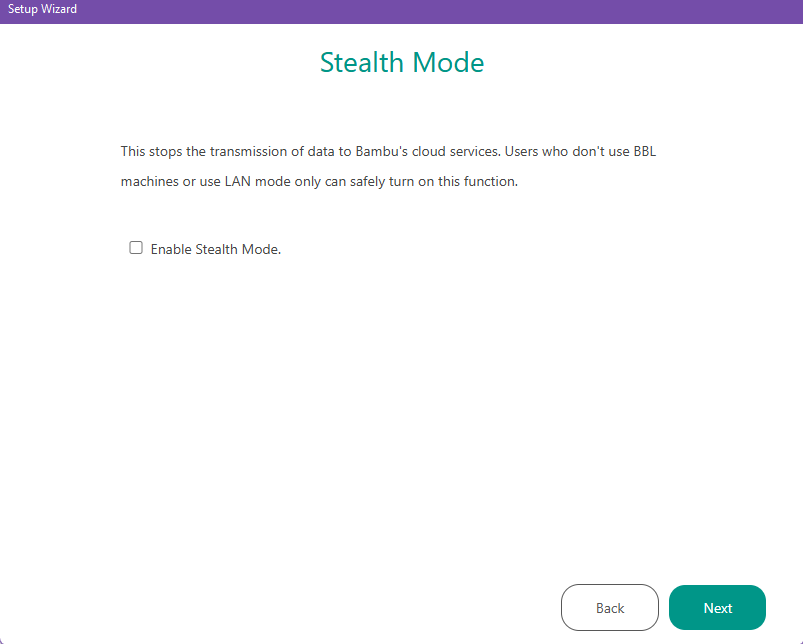
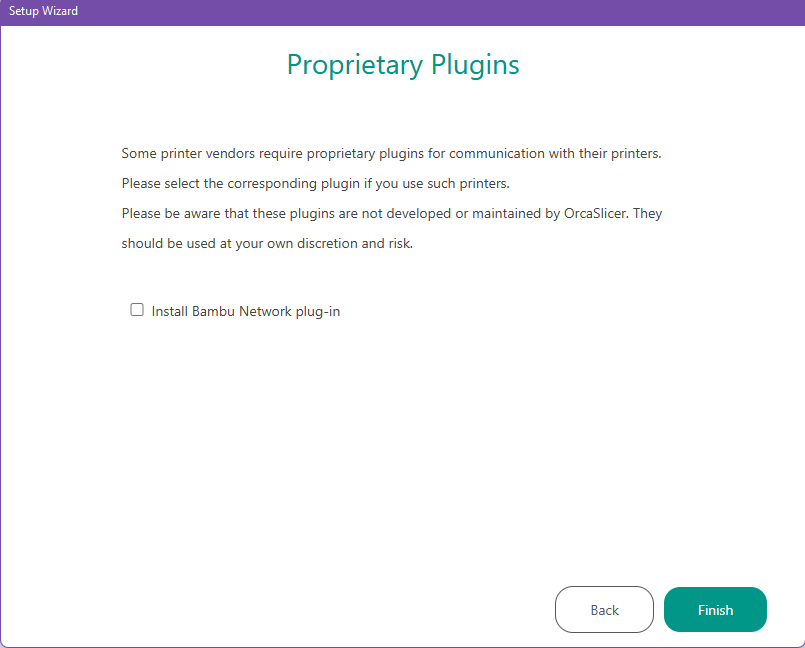
6.Next you will get prompt to enable “Stealth Mode” and install “Bambu Network Plug-in”
-
You can just skip them by clicking Next without checking the tick-box.
-
Click OK and head to Prepare tab in the top bar.
-
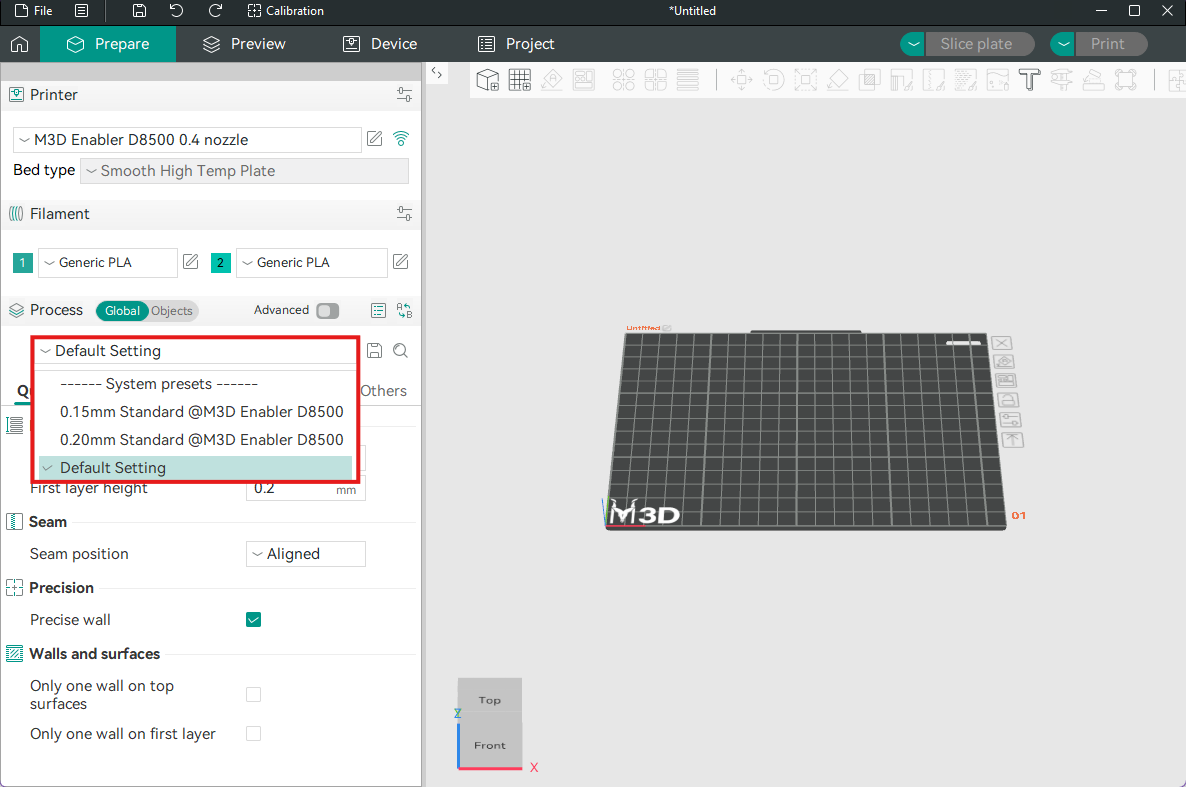
Head to the “Process” section in the left pane and select your desired profile/preset.
That’s it. Your Orca Slicer is all set up for your M3D Enabler Lite/Pro.
Step 3: Test Your Setup
Now that Orca Slicer is configured:
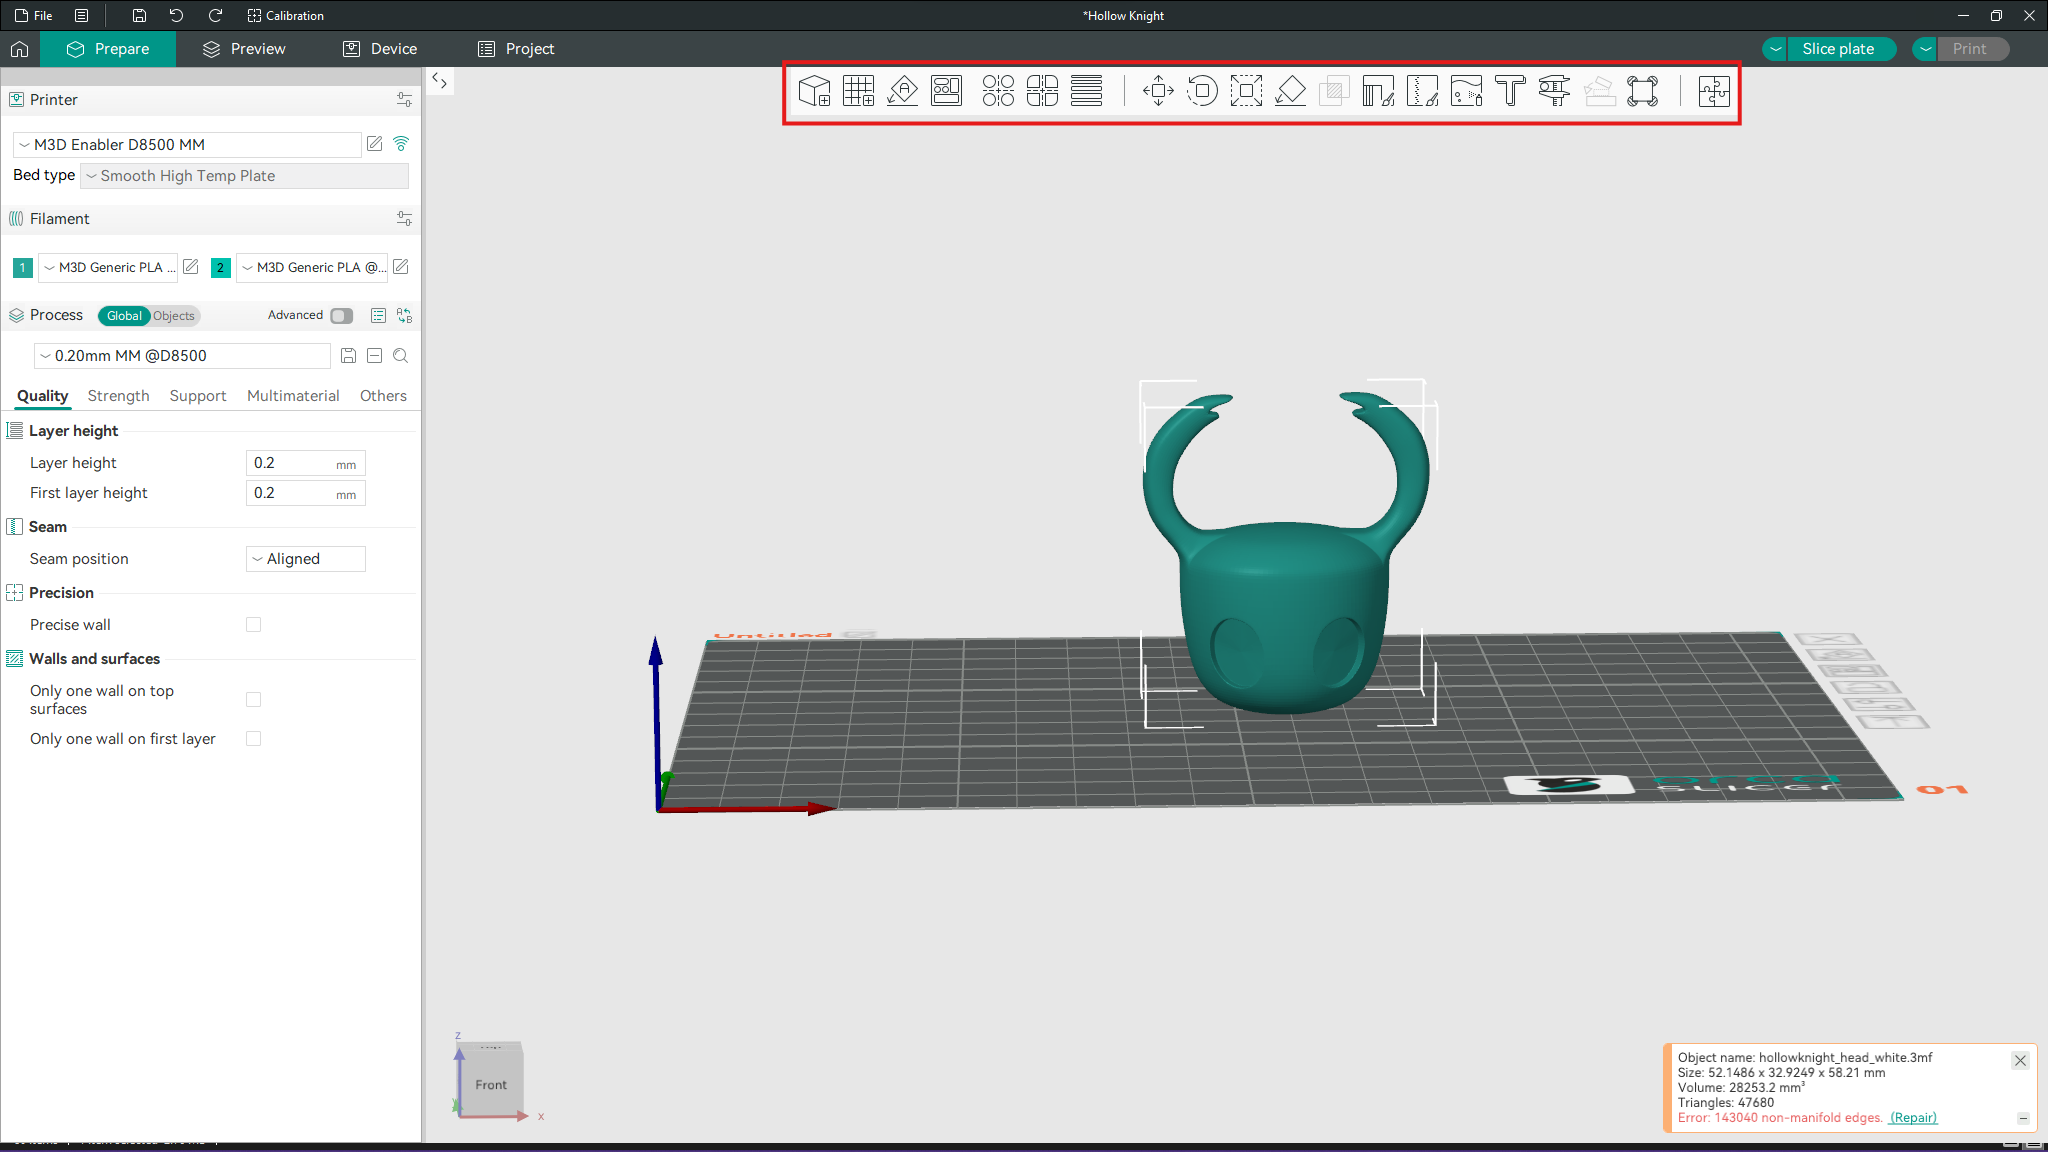
- Import a simple test model (
.stl) into Orca Slicer. - Adjust layer height, infill, and support settings along with model size and orientation from the left and top menu respectively.
- Click Slice to ready your model for printing and preview how the layers will be printed.
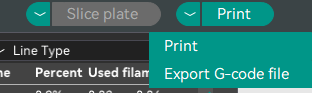
- Once everything seems good, save the GCODE by clicking the arrow next to print button and selecting Export G-Code File:
- You can upload it directly via the web interface (
m3d-enabler.local), load via SD Card or Transfer it using a USB connection.
 First-Layer Calibration
Before starting any large print:
 Check first-layer adhesion — the first layer should stick evenly to the build plate without gaps or curling.
 Use a small calibration square to fine-tune bed leveling and ensure proper nozzle height.
 Troubleshooting Quick Tips
If you encounter issues during setup or printing, try these quick solutions:
 Fan not spinning or UI not powering on:
→ Double-check the power adapter connection and press the power button again. Print not sticking to the bed:
→ Clean the build surface, re-level the bed, and ensure proper first-layer calibration. Printer not extruding filament or under-extruding:
→ Tighten the extruder using the hand screw located on the extruder body.
 Tips for Best Results
- Start Simple: Begin with basic models to learn how slicing parameters affect results.
 Experiment: Try different layer heights and infill percentages for different strength and speed requirements.
 Preview Layers: Always check the layer preview before printing to catch errors early.
 Use Profiles: Save multiple printer profiles (e.g., “Draft,” “Standard,” “High Quality”) for quick switching.
 You’re Ready to Slice & Print!
With Orca Slicer now fully configured, you’re ready to start creating professional-quality prints with your D8500 Enabler Lite/Pro.
This tool will quickly become the most powerful part of your 3D printing workflow — giving you total control over how every layer is built.
![]() *If you’re new to Orca Slicer, you can read the official Orca Slicer Guide: Step-by-Step for Beginners
*If you’re new to Orca Slicer, you can read the official Orca Slicer Guide: Step-by-Step for Beginners
M3D Smart UI
The final part of the Beginners Guide will help you explore the printer’s own navigation menu called M3D Smart UI. Click the link below to go to the next guide: