How to Balance the Nozzle of your Enabler D8500 Pro
Note: Users of the Enabler Lite do not require this adjustment as it features a single-nozzle configuration.
Important: All Enabler D8500 Pro printers are shipped pre-calibrated from the factory with nozzles perfectly balanced for high-precision multi-material printing. You should only perform this procedure if you are experiencing the specific issues listed below.
Why Adjust Nozzle Balance?
- Wear and Tear / “Bumping”: Over time, overhangs from certain prints may physically bump into the nozzle or printhead. This repeated mechanical stress can shift the nozzle level by a few millimeters—enough to cause dragging or adhesion failure in subsequent prints.
- Extreme Overhang Management: If you are printing a complex geometry using only one nozzle, you might choose to manually lift the secondary nozzle to provide extra clearance.
- Warning: This is generally not recommended. With proper layer adhesion and a balanced setup, overhangs should not interfere. Furthermore, you will need to re-calibrate perfectly before you can use dual-extrusion features again.
Tools Required
To perform this calibration, you will need:
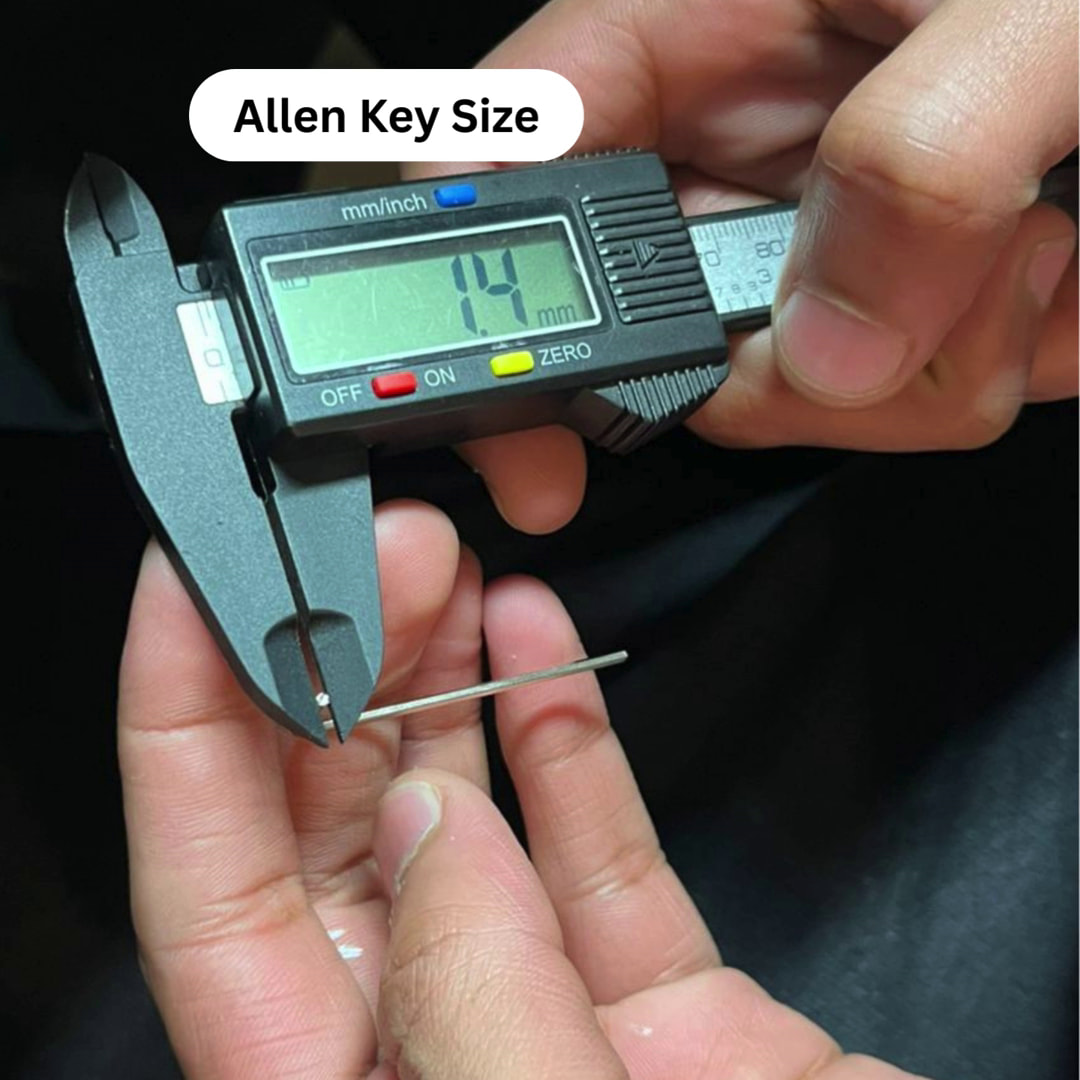
-
1.4mm Allen Key
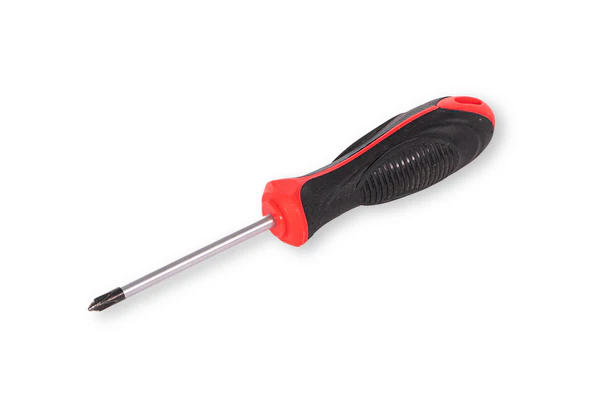
-
Phillips Head Screwdriver
Step 1: Accessing the Printhead
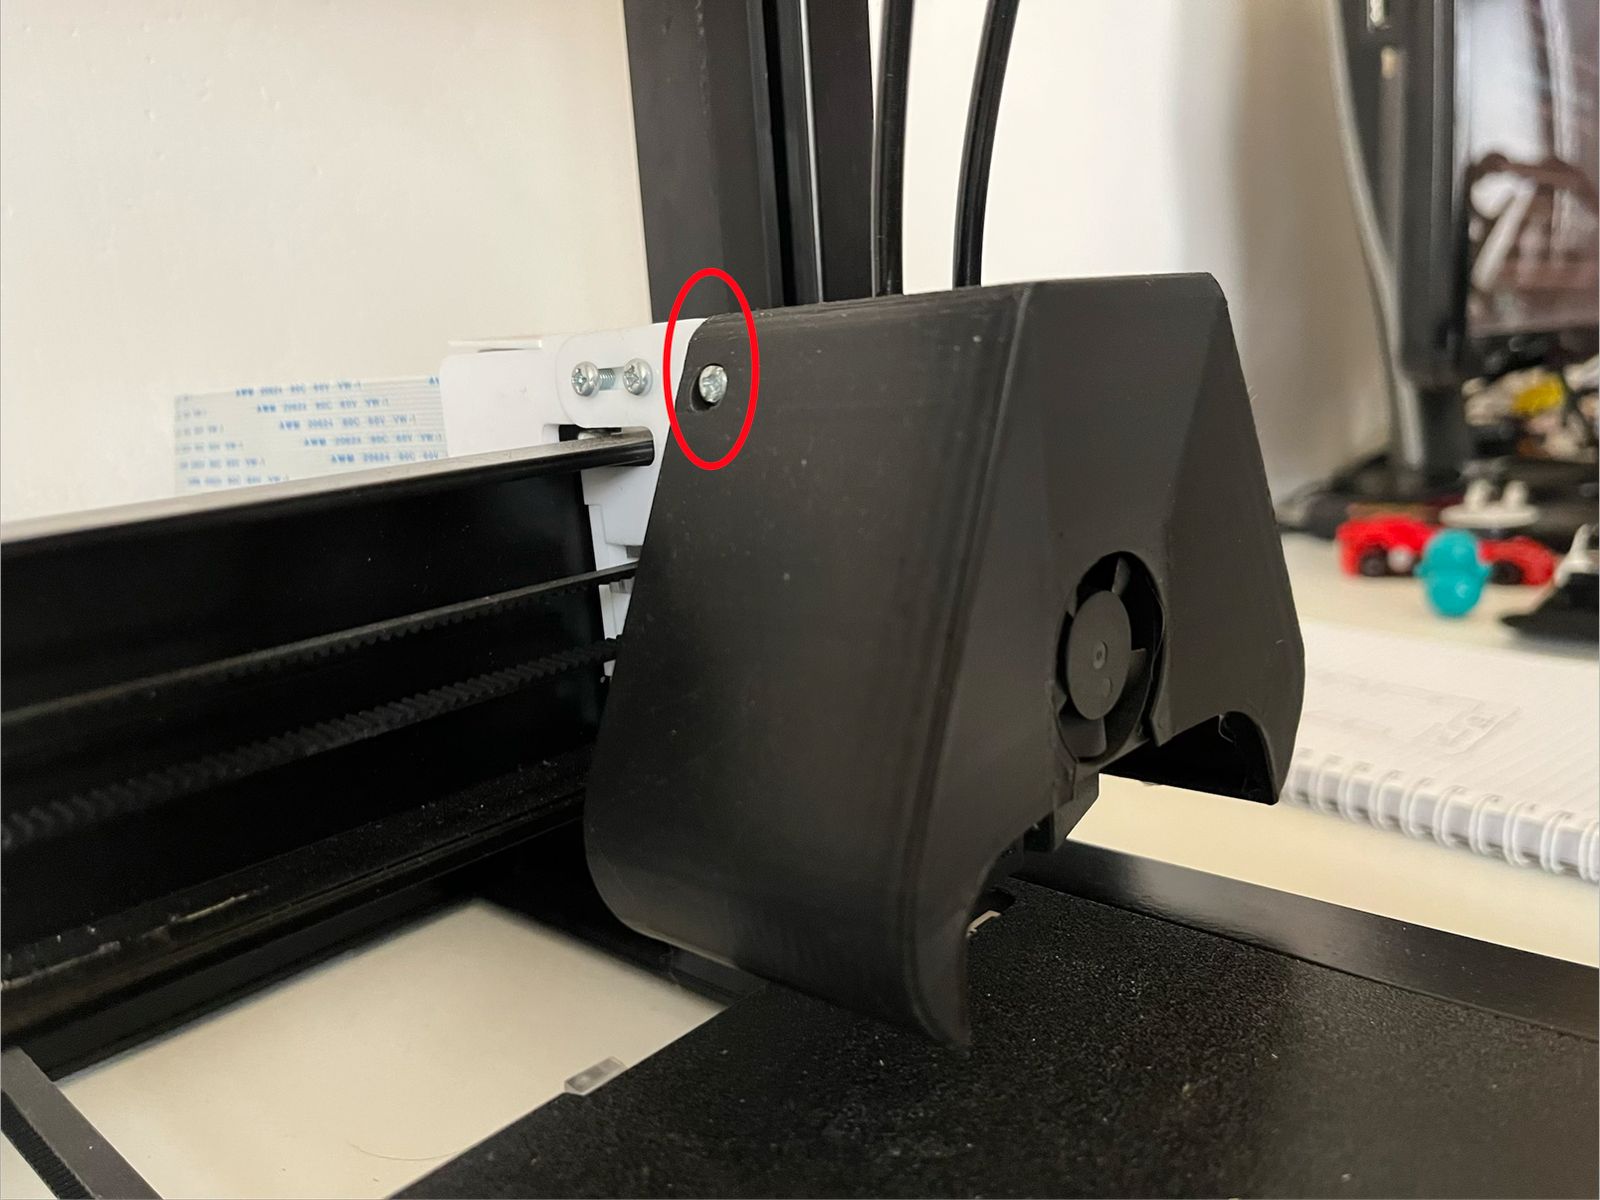
First, we need to remove the protective housing. Remove the two screws located on each side of the nozzle cover.
Once the screws are removed, gently slide the cover off to reveal the internal extrusion assembly.
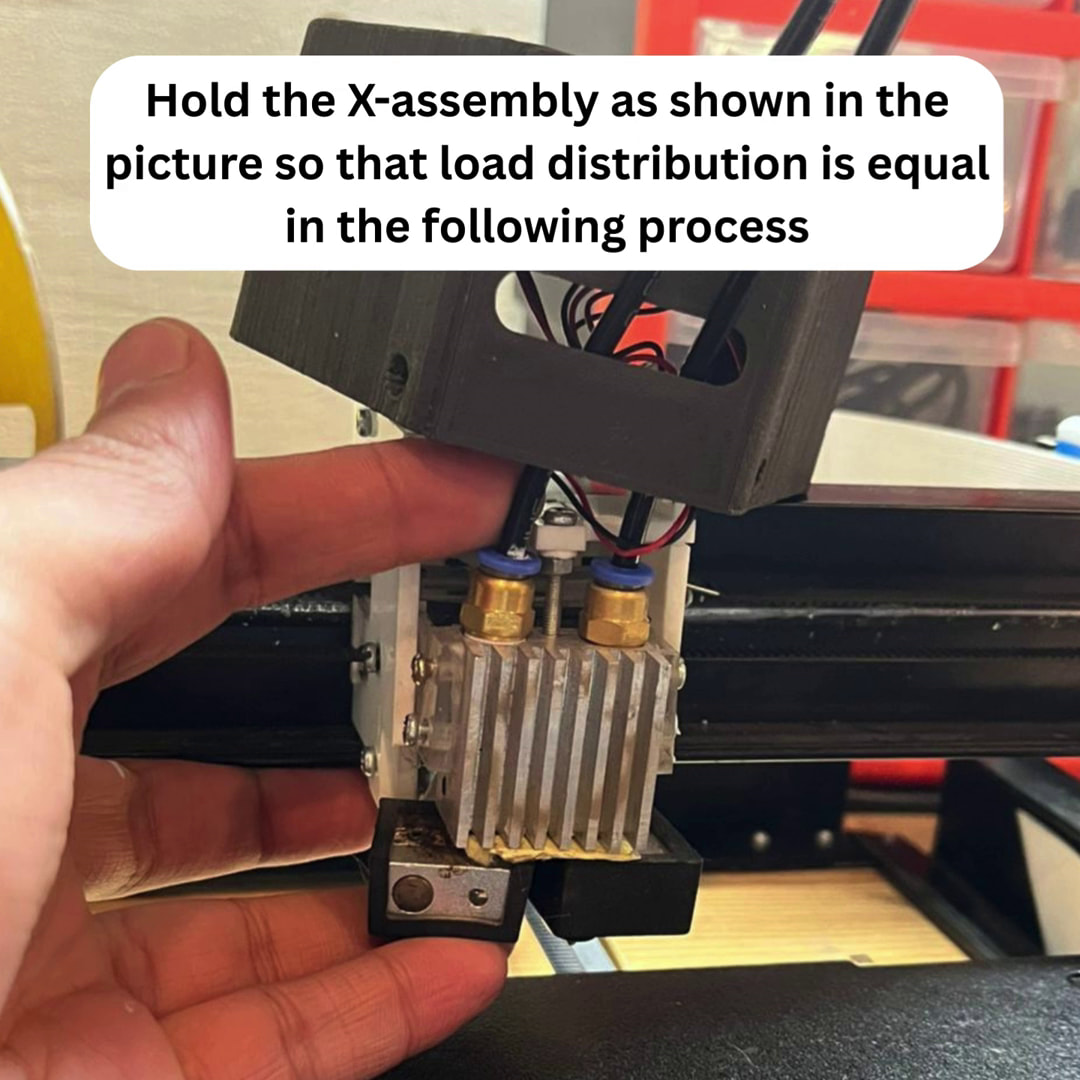
Step 2: Disconnecting the Filament Tube
To allow the nozzle to move freely, you must remove the PTFE filament tube.
![]() WARNING: In the next step, take extra precaution as to not apply excessive downward force on the printhead while pulling the tube. Excessive pressure can misalign the X-axis rail or damage the internal bearings.
WARNING: In the next step, take extra precaution as to not apply excessive downward force on the printhead while pulling the tube. Excessive pressure can misalign the X-axis rail or damage the internal bearings.
- Hold the printhead firmly with one hand.
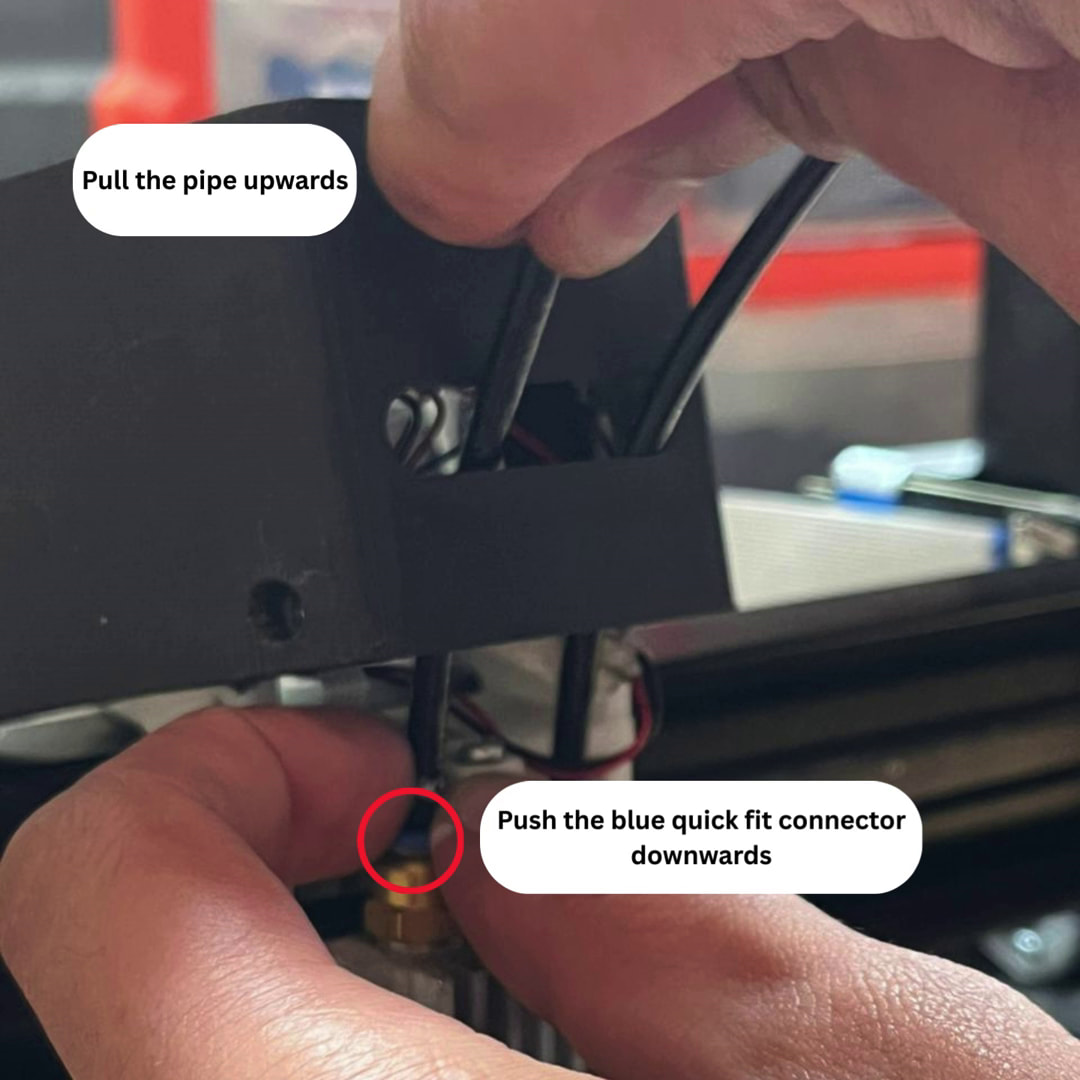
- With your other hand, press down on the Quick-Fit Connector (the plastic ring at the top of the nozzle entry).
- While the connector is depressed, pull the filament tube upward and out.
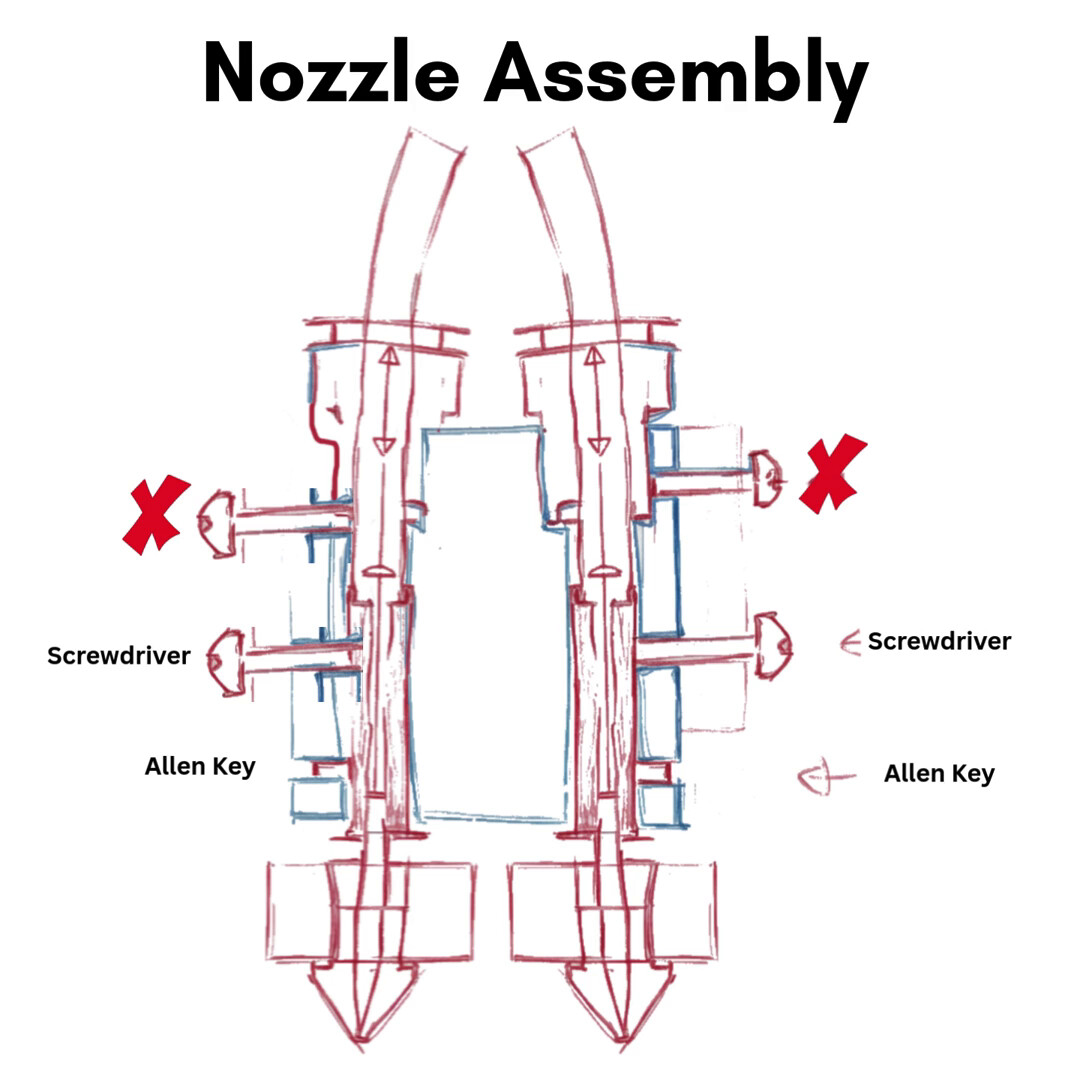
Step 3: Loosening the Adjustment Screws
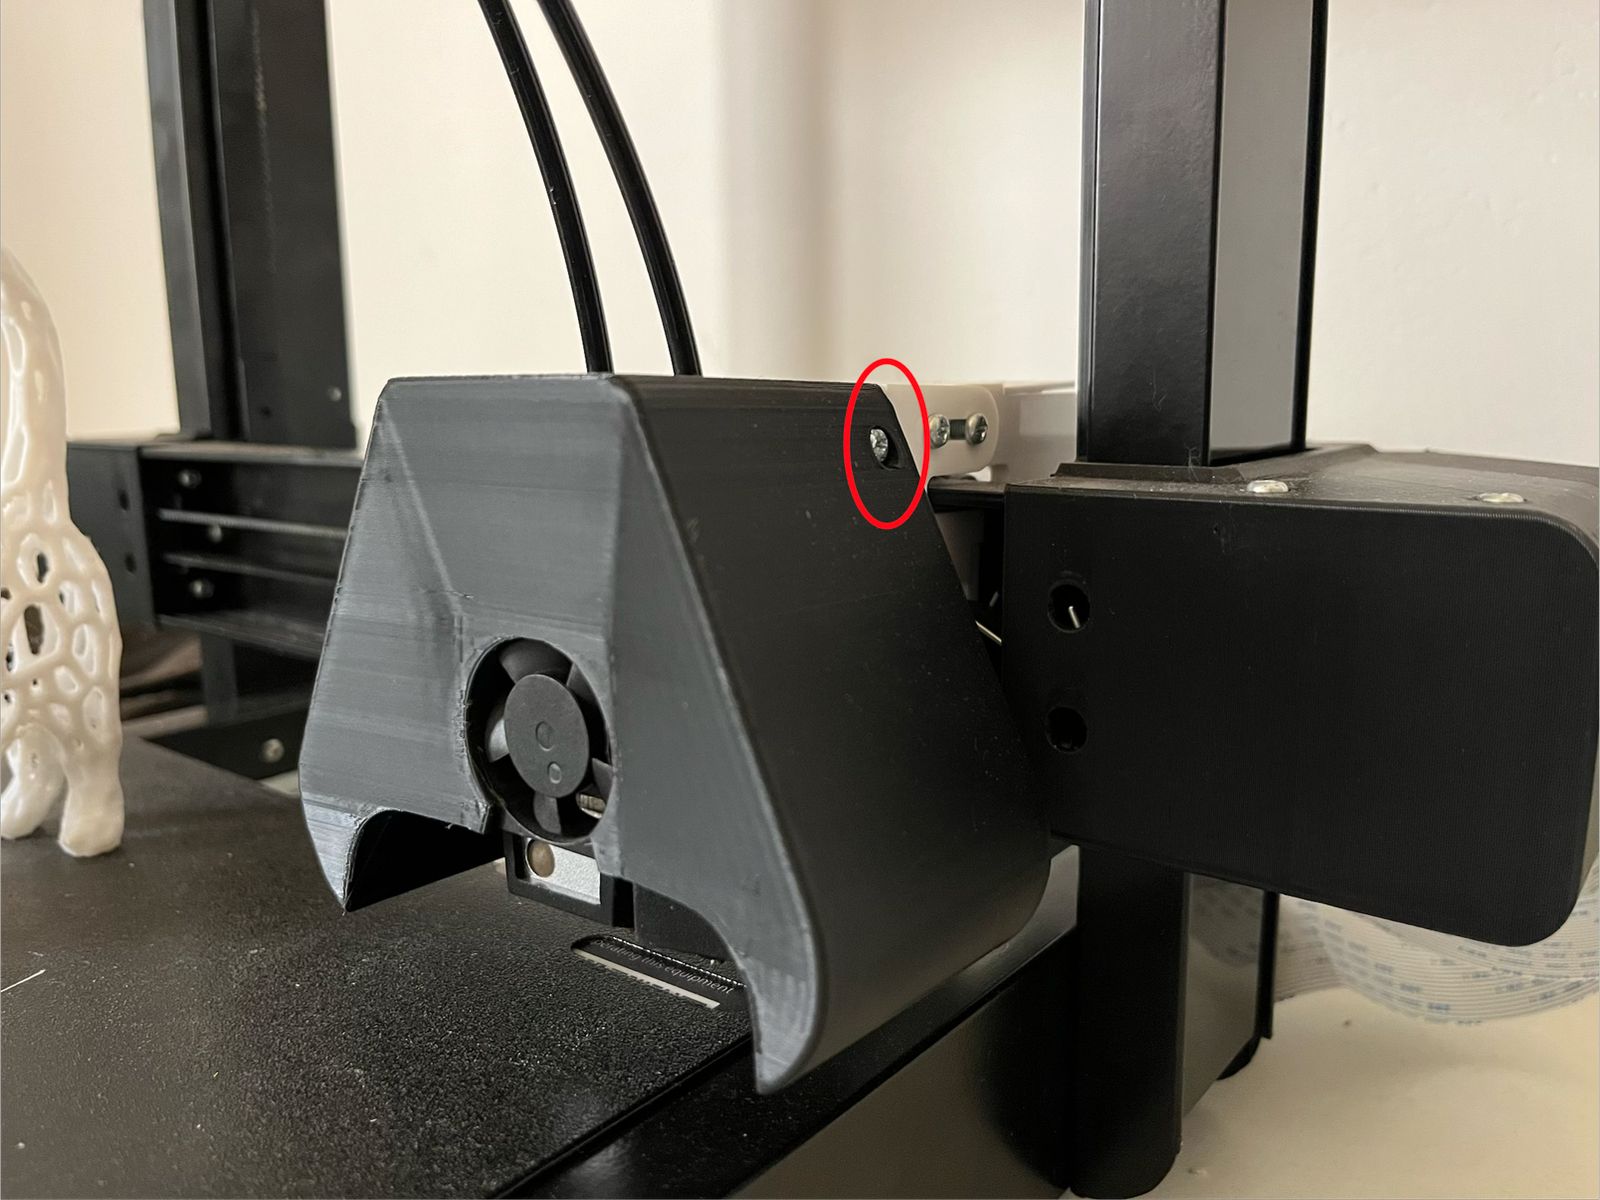
Refer to the schematic below to identify the locking mechanism. Use your 1.4mm Allen Key and your screw driver to loosen the loosen the screw/nut securing the nozzle heat break.
There are two screws on each side along with an allen key nut. The screws marked with a cross ![]() should not be opened. You should only open the screws of the nozzle being adjusted. Do not open both nozzles at the same time.
should not be opened. You should only open the screws of the nozzle being adjusted. Do not open both nozzles at the same time.
Once loosened, the nozzle assembly should be free to slide vertically within the printhead.
You can lift or lower the nozzle easily with a screwdriver or with your hands by gently applying pressure:
Step 4: The Balancing Procedure
Option A: Lifting a Nozzle (Single Extrusion Only)
If you are simply trying to move a secondary nozzle out of the way, slide it upward to your desired height and proceed to Step 5.
Option B: Precision Leveling (Dual Extrusion)
This is the critical step for multi-material printing.
- Find a Reference: Place a flat, symmetric object (like a precision metal block or a glass slab) on the print bed directly beneath the nozzles.
- Lower the Z-Axis: Slowly lower the printhead until the nozzles are almost touching the object.
- Adjust: Manually slide the nozzles until both are resting perfectly flush against the reference object.
- Visual Verification: Bring your eye level exactly parallel to the print bed at the front of the printer. Ensure there is no “light gap” under one nozzle compared to the other.
Step 5: Reassembly
- With the nozzles in their balanced position, tighten the screws you loosened in Step 3.
- Re-insert the filament tube into the Quick-Fit connector until it seats fully.
- Replace the nozzle cover and secure it with the two side screws.
Final Thoughts & Safety Check
After making these adjustments, you need to recalibrate your bed level using “Automatic Bed-levelling”. Once done, it is recommended to run a small dual-material test print (like a two-color calibration cube) to monitor the nozzle behavior. Watch closely during the first few layers to ensure the inactive nozzle isn’t “dragging” across the print or catching on any plastic.
If you have any questions about the height clearances or if you’re unsure about the tension on the Quick-Fit connectors, drop a comment below! We’d love to hear how this precision leveling improved your multi-color print quality and reduced “nozzle bumping” issues.
Additionally, while the Enabler D8500 Pro is built for high-speed reliability, every machine setup is slightly different. If you find a specific tool or reference object that makes balancing easier for you, please share your results in the thread below!
By fine-tuning your nozzle levels, you take full control over the precision of your dual-extrusion builds. Remember to check your Z-offset after this procedure to ensure your first layer remains perfect.
For more Enabler D8500 tutorials, check out our Guides category.