Grade 3 Design Lab
Session 2: “Discovering TinkerCad Tools: Advanced Shapes and Features”
Architect:
Syed Shayaan Haider - Markhor3D
Learning Objectives
In this session, students will:
- Learn to use advanced tools in TinkerCad, such as the Scribble tool, shape generators, and importing images.
- Combine and manipulate shapes to create more complex 3D models.
- Develop confidence in navigating and utilizing the TinkerCad interface for intricate designs.
Teaching Aids
Visual aids:
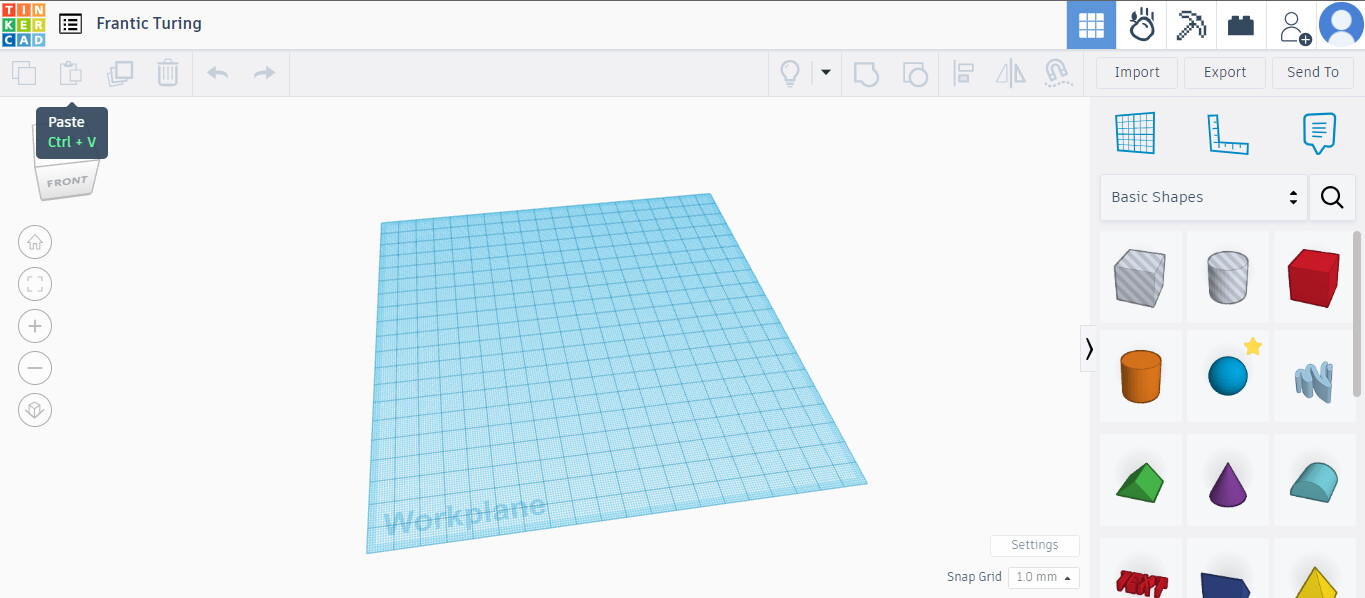
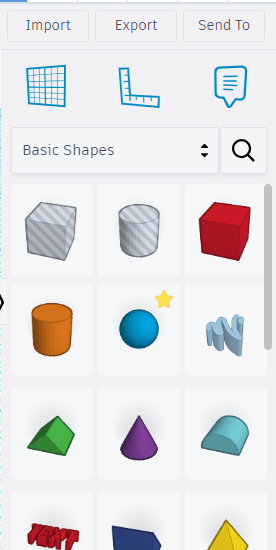
- Computer or tablet with internet access for each student.
- Projector and screen for demonstrations.
- Whiteboard and markers for illustrating concepts.
- Paper and pencils for students to sketch their ideas.
Equipment Required
- Computers or tablets with TinkerCad access.
- Projector and screen.
- Whiteboard and markers.
- Printed guides for each student.
Structure and Lesson Plan
Introduction (10 minutes)
- Encouragement:
“I know this is your first time using a CAD tool, but don’t be intimidated! Think of TinkerCad as a fun digital playground where you can bring your ideas to life. Enjoy the journey of creating and experimenting with your designs.” - Review: Briefly revisit what was covered in Session 1 about reimagining everyday objects.
- Overview: Introduce today’s focus on exploring advanced tools in TinkerCad to enhance their 3D models
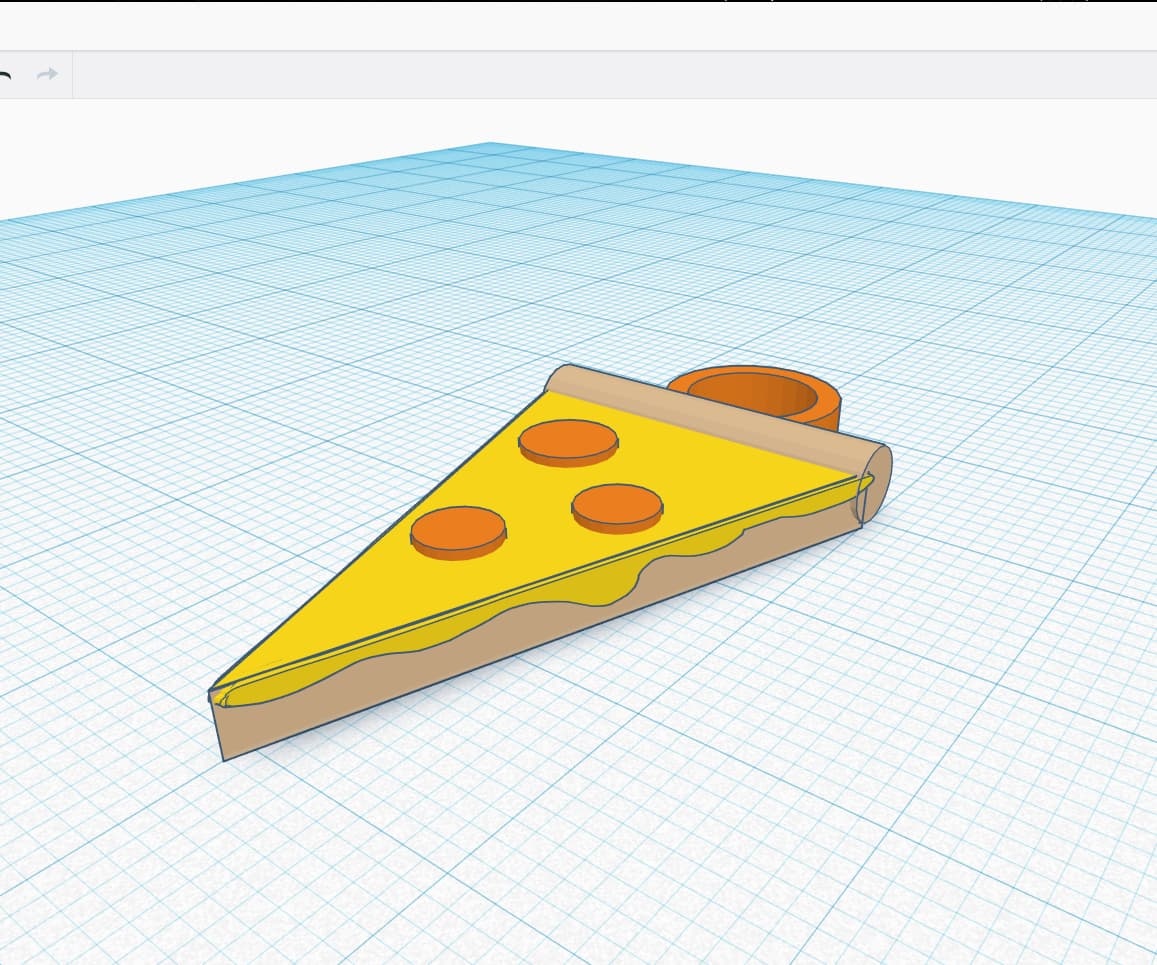
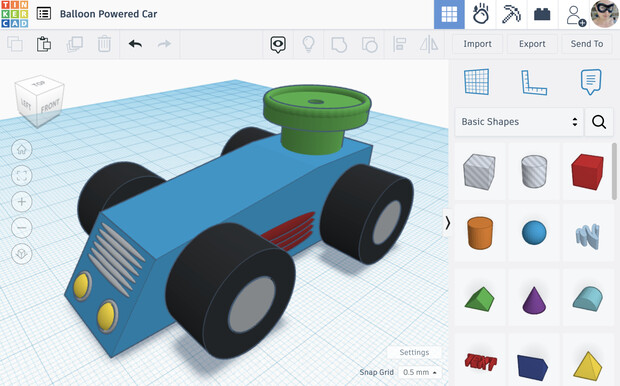
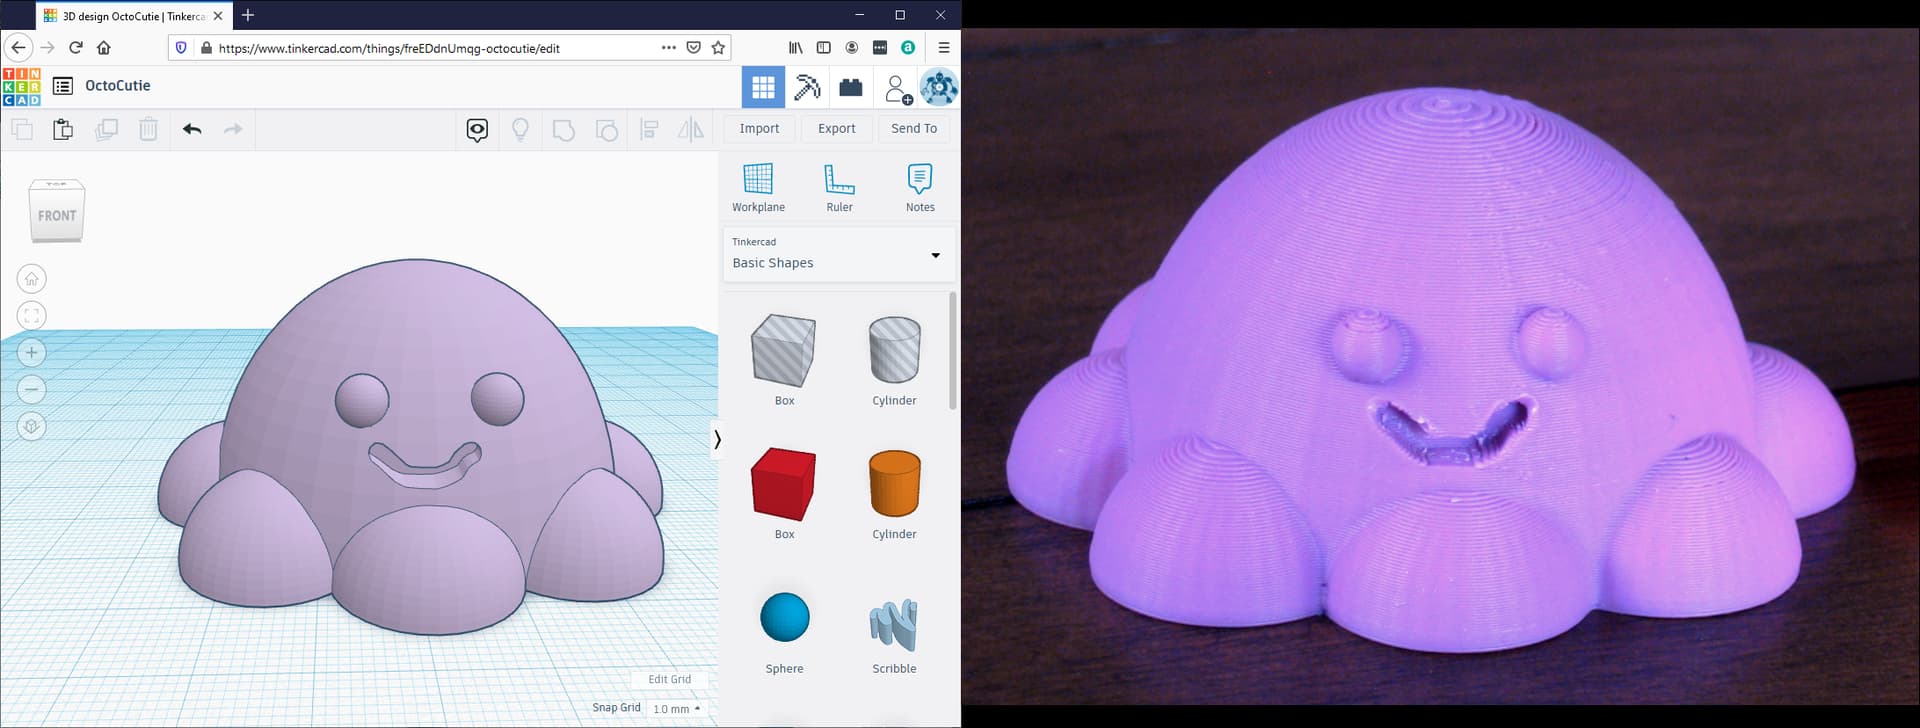
Recap basic features of TinkerCad:
(optional; gauge skill level and confidence of students in TinkerCad, you might need to manage time.)
- Ask students to drag and drop a shape into the build area.
- Encourage them to manipulate the view around the shape. Move, pan, orbit, zoom using mouse.
- Make the students move the object after clicking on it and draging the arrows (attatched to the center).
- Make the students manipulate and resize the object after clicking on it and draging the arrows (attatched to the corner).
- Recap Grouping objects by selecting all of them and using the group command (Ctrl+G).
Demonstration (10 minutes)
-
Interface Tour: Use the projector to display the TinkerCad interface.
-
Advanced Tools:
-
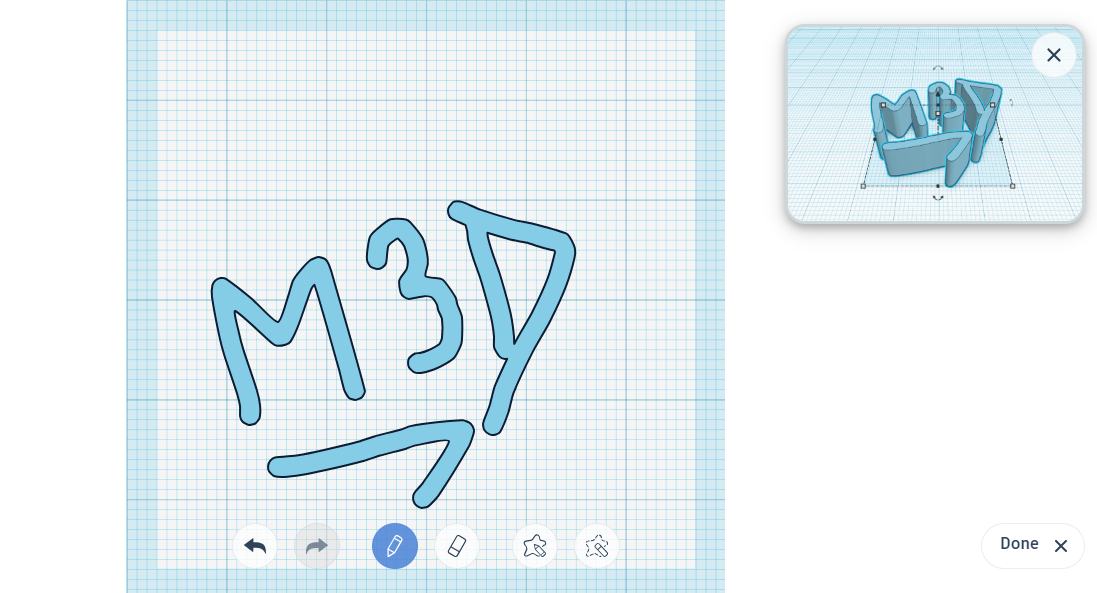
Scribble Tool: Demonstrate creating freehand shapes.
-
Shape Generators: Show how to access and use a variety of complex shapes.
-
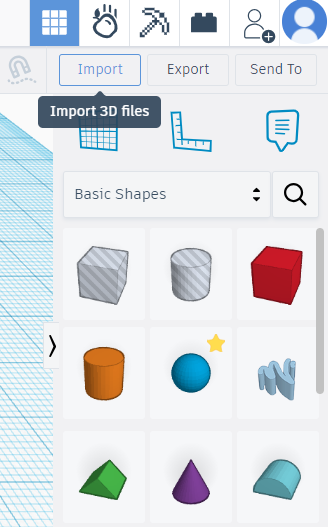
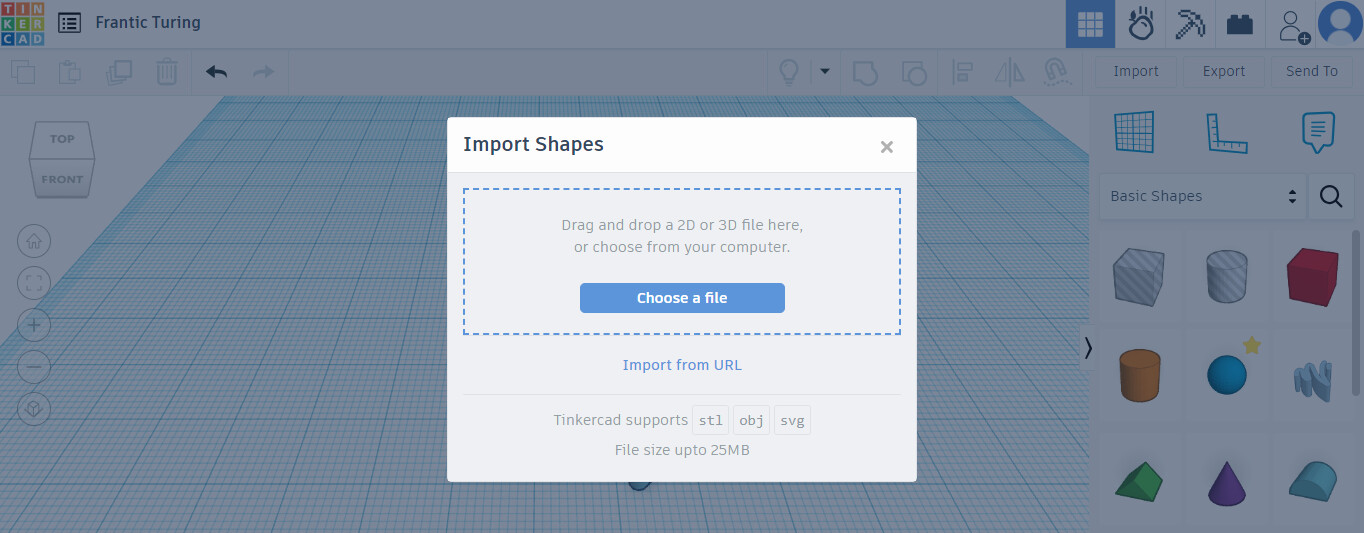
Importing Images: Explain and demonstrate turning a simple 2D image into a 3D model.
-
[The guide to all tools is on the TinkerCad Guide]
-
-
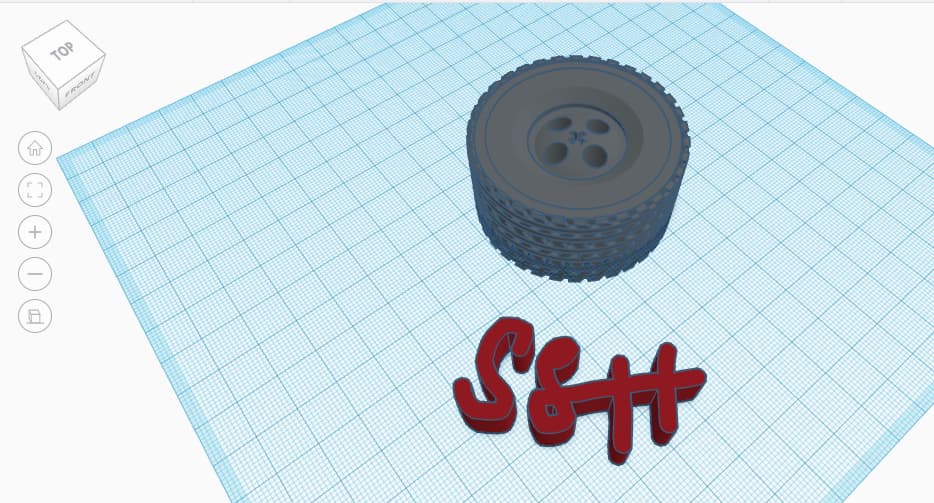
Examples: Present a few examples of intricate designs created using these tools.
Guided Practice (15 minutes)
- Hands-On Activity: Students log into TinkerCad on their devices.
- Step-by-Step:
- Scribble Tool: Follow along to create a simple freehand shape.
- Shape Generators: Add and manipulate complex shapes to their existing models.
- Importing Images: Import a basic 2D image and convert it into a 3D object.
- Assistance: Provide help as needed, ensuring all students can access and use the tools.
Independent Practice (10 minutes)
- Creative Design: Students begin modifying their designs from Session 1 using the new tools.
- Encouragement: Prompt them to combine different shapes and experiment with freehand drawing to enhance their models.
Class Discussion (5 minutes)
- Sharing: Invite a few students to present their enhanced designs.
- Questions:
- What new features did you use?
- How did these tools improve your model?
- Feedback: Encourage positive feedback and suggestions from peers.
[Image of student-designed models]
Reflection and Follow-up (5 minutes)
- Summary: Recap the key points about using advanced tools in TinkerCad.
- Encouragement: Motivate students to think about how these tools can assist them in future designs.
- Homework: Ask students to brainstorm an object they’d like to create using the advanced tools learned today and sketch a rough idea.
Glossary
I. Scribble Tool: A feature in TinkerCad that allows freehand drawing to create custom shapes.
II. Shape Generator: A library of complex and advanced shapes that can be added to designs in TinkerCad.
III. Importing Images: The process of converting 2D images into 3D models in TinkerCad.
Teacher’s Resources:
- Guide to TinkerCad (link to separate document)
For suggestions, improvements, and corrections feel free to reach out at shayaanhaider@gmail.com