Grade 1 - Session 3: “The Weight of Things”
Architect: Aleeza Ayaz - Markhor3D
Session Length: 50-60 minutes
Session Overview:
In this session, students will explore the concept of weight by using MeasureLab’s load cell sensor to measure everyday classroom objects. Through hands-on activities, students will predict which objects will be heavier or lighter, compare their guesses to actual measurements, and observe how numbers represent weight. By associating larger numbers with heavier items and smaller numbers with lighter ones, students gain a foundational understanding of measurement and comparisons, linking these concepts to familiar real-life contexts like weighing fruits at the grocery store.
Learning Objectives:
In this session, students will:
- Use the load cell sensor to measure the weight of various classroom objects.
- Make predictions about which objects are heavier or lighter and compare results.
- Observe and compare larger and smaller numbers related to object weights.
Teacher Resource:
Session File: ML13.plf (55.8 KB)
Equipment Required:
- MeasureLab with built-in load cell.
- A variety of classroom objects of different weights (e.g., erasers, books, small toys).
- Laptop or PC for displaying weight measurements.
- Worksheets with questions and images of objects for students to complete based on their observations.
- Colouring materials (crayons, coloured pencils, markers).
Teaching Aids:
- Projector (optional).
Preparation:
This step has to be done before the session on each workstation/apparatus by the teacher/session instructor:
- Make sure that each computer has Physlogger installed and can detect the Measrelab when connected to it using the provided cable.
- Each Measurelab should have access to a power outlet for sensors that require external power. For this session, load cell will be used which does not require an external power source.
- Launch the Physlogger application and load the session file provided in the resources section.
Your setup will look something like this:
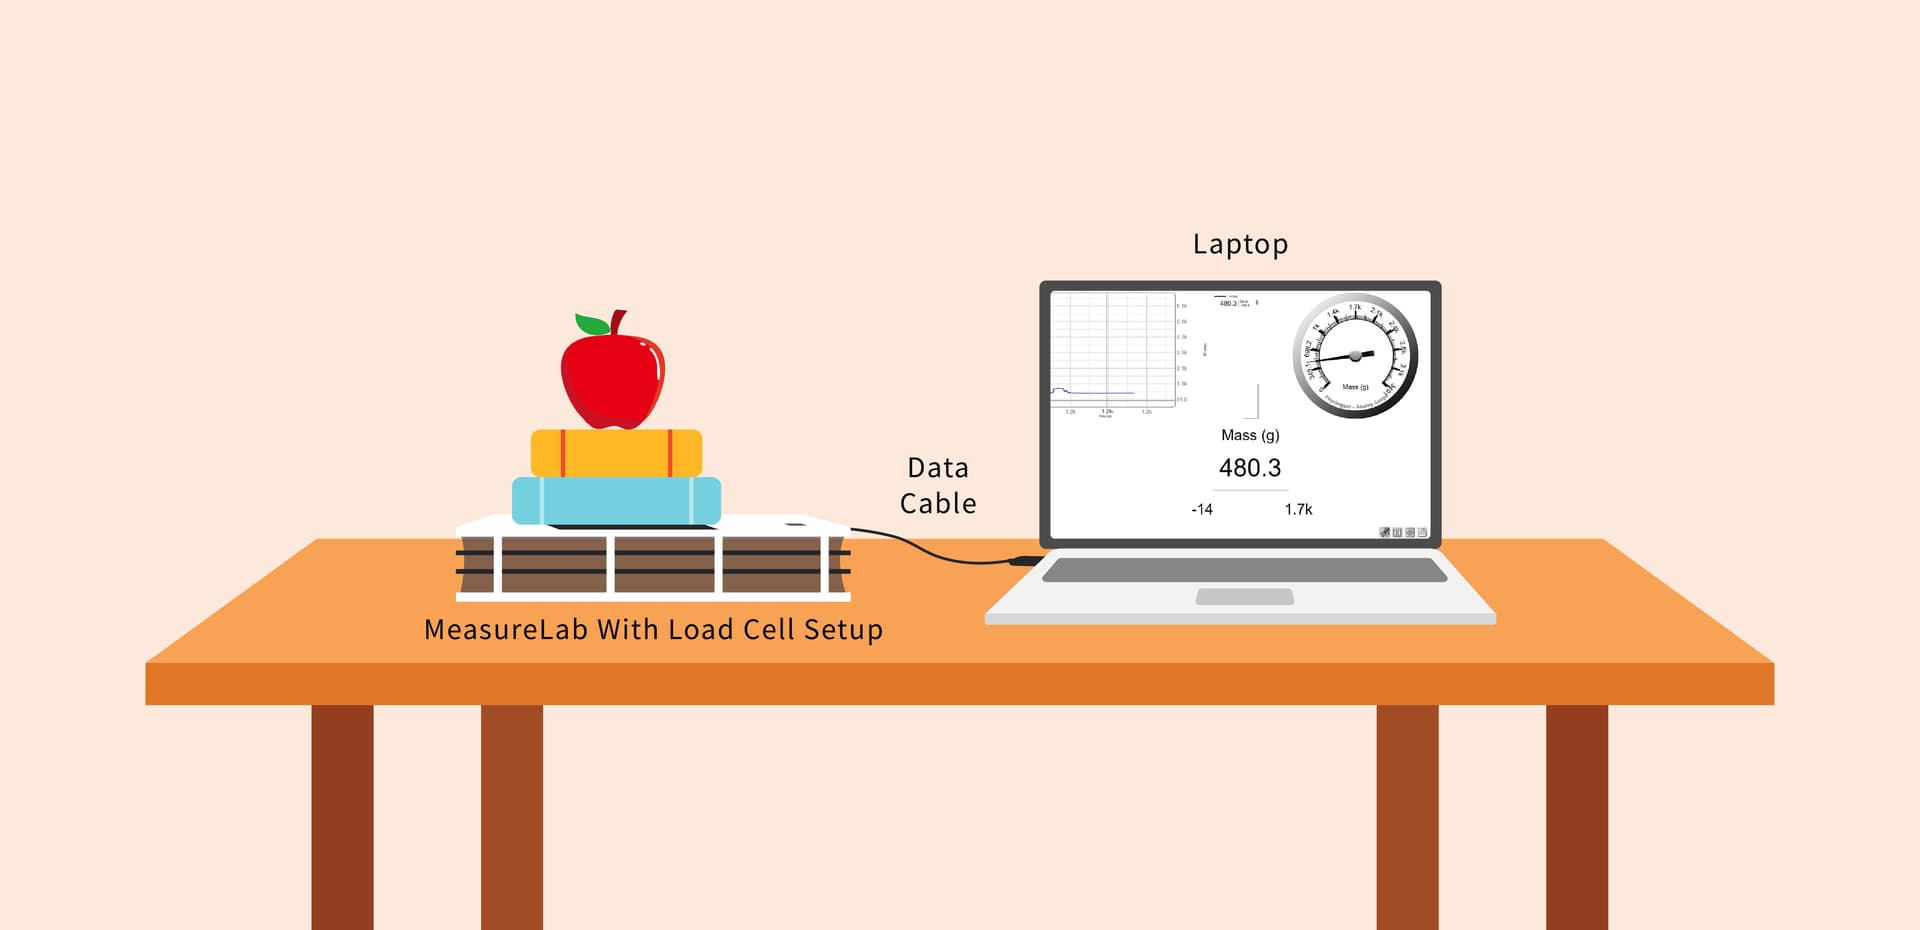
- Set up the apparatus as shown in the diagram above. You should have prior intuition about the masses of several objects, so we suggest you practice with the apparatus as prep.
Introduction: (10 minutes)
- You may begin by asking students:
- “Have you ever seen a tool like this before?”
- “Can you think of places where we weigh things?”
Encourage them to answer. They might mention the grocery store or kitchen.
- You may continue by saying:
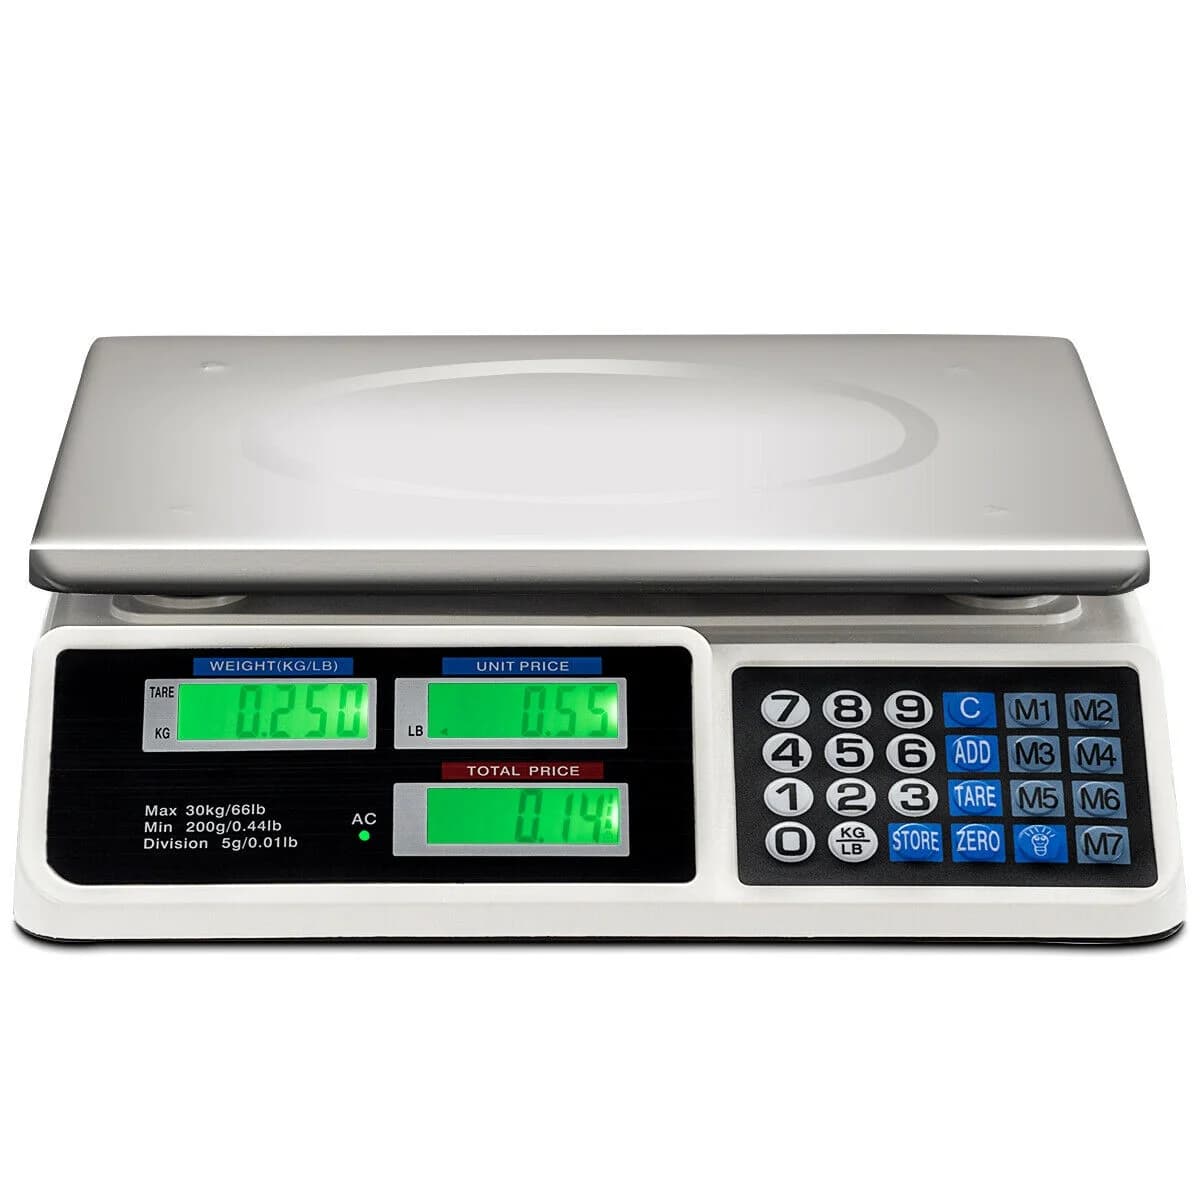
- “Yes! At the grocery store, we use scales to weigh fruits and vegetables. Today, we’re going to use a special tool called the load cell sensor to see how heavy different objects are.”
- You may build on their responses:
- “Why do you think it’s important to know how much things weigh?”
- “What other places use tools to measure weight?”
- Encourage students to share their thoughts and experiences. You may then say:
- “Today, we’ll measure the weight of different things and look at the numbers to see which ones are heavier or lighter.”
Hands-On Exploration: (15-20 minutes)
Measuring with the Load Cell:
- You may begin by saying:
- “Let’s start by measuring some objects. First, let’s hold the pencil and the book. Which one do you think is heavier? Let’s see if you’re right!”
- Place something light like a pencil on the load cell sensor and observe the number on the screen. You may ask:
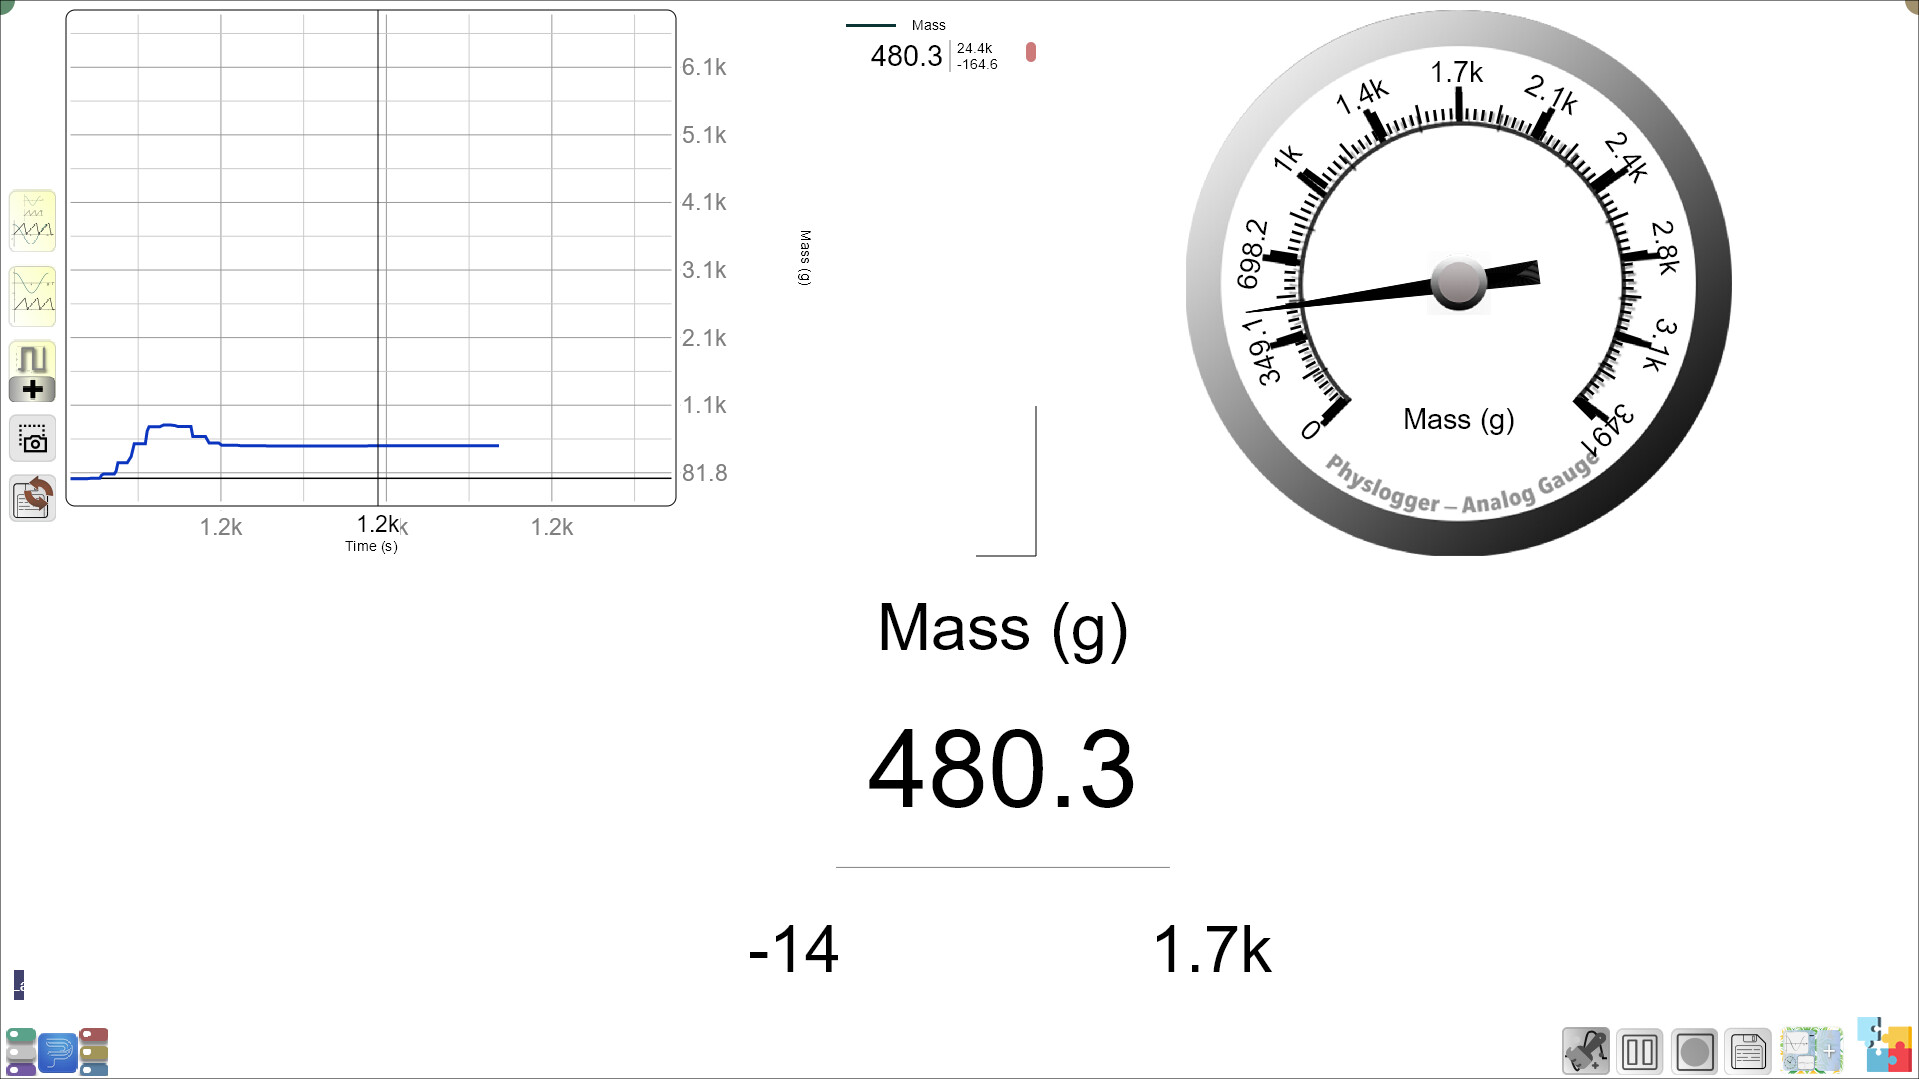
- “Look at this number. It says 36. Now, let’s try the book. What do you think will happen to the number? Will it go up or down?”
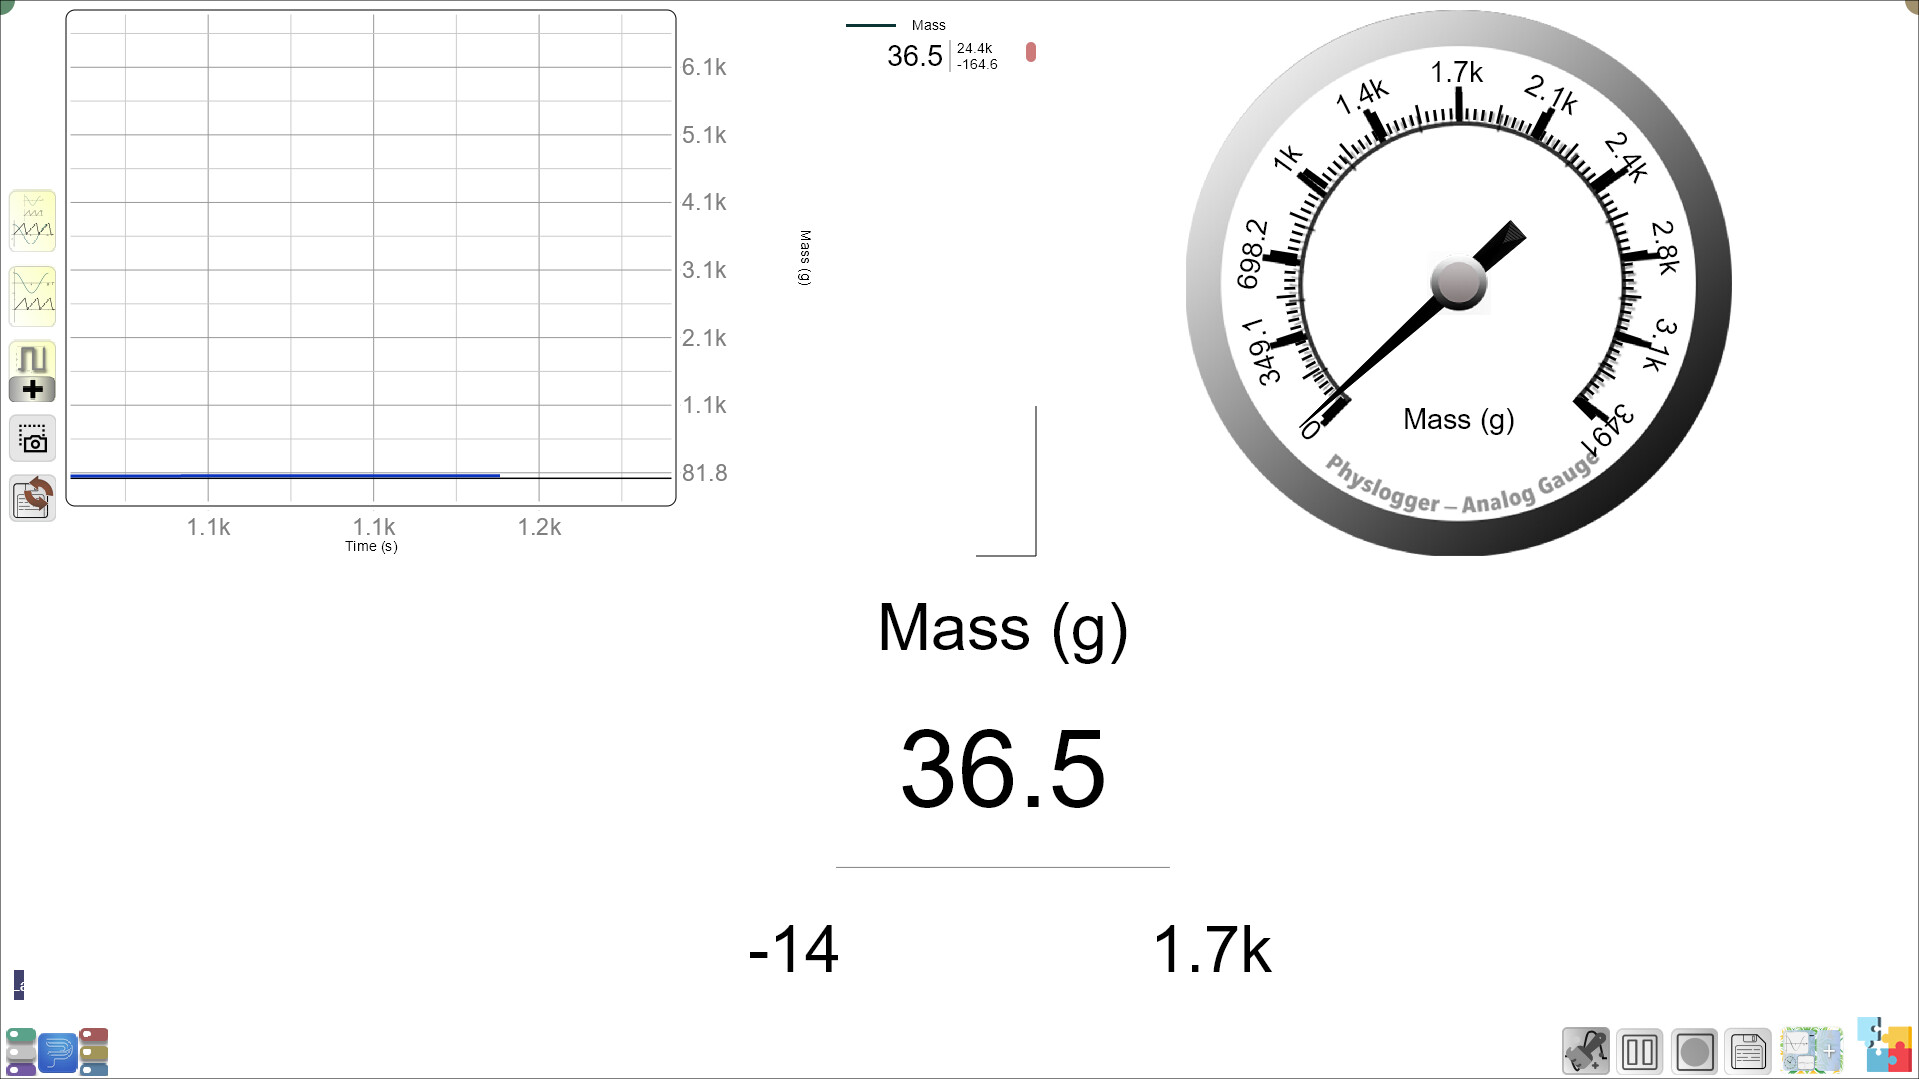
- Place something heavy like a book on the sensor and compare the numbers. You may say:
- “The book weighs 480! See how the number is bigger? That means the book is heavier than the pencil.”
- Encourage students to predict whether the next object will be heavier or lighter.
Using Different Classroom Objects:
- Let students take turns placing different classroom objects on the load cell. For each object, ask them:
- “Do you think this will weigh more or less than the last object?”
- “Look at the number. Is it bigger or smaller?”
- Encourage them to look at the number on the screen and associate it with the weight number.
Guided Activity: (15-20 minutes)
Worksheet Activity:
- You may engage them with questions like:
- “Which object surprised you with its weight? Did you think it would be heavier or lighter?”
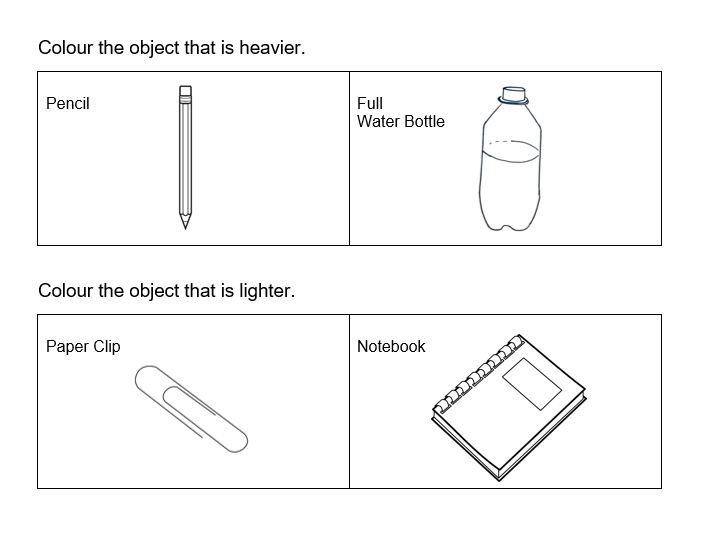
- Now let students continue experimenting and filling in their worksheet with guidance. The worksheet can include:
Object Comparison Section:
- Show pictures of two objects side by side (e.g., pencil vs. book).
- Have students colour the object that is heavier/lighter.
Here is a sample worksheet:
Summary and Reflection: (5-10 minutes)
- You may summarize the key takeaways:
- “Today, we learned how to measure the weight of different objects using the load cell sensor. We saw that heavier objects have bigger numbers, and lighter objects have smaller numbers.”
- Reflection Questions:
- “Which objects had the biggest number?”
- “Did any object weigh more or less than you expected?”
- Encourage students to share their observations and thoughts about how different objects’ weights are shown on the screen.
Glossary:
- Weight: How heavy something is.
- Measure: To find out how big or small something is using a tool.
- Load Cell Sensor: A tool that helps us measure the weight of objects.
- Prediction: A guess about what will happen.