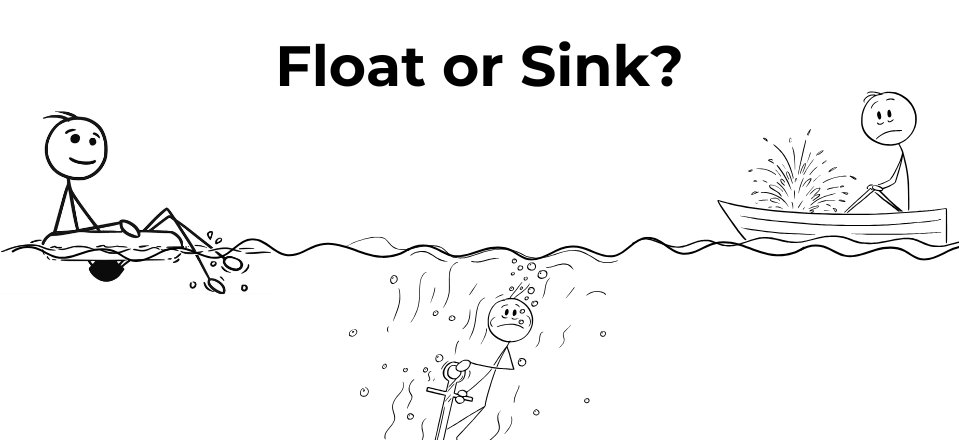
Grade 1 - Session 7 : “Float or Sink”
Architect: Aleeza Ayaz - Markhor3D
Session Length: 50-60 minutes
Session Overview:
In this session, students explore why some objects float while others sink, regardless of their weight. Through hands-on experiments using MeasureLab, students will weigh different objects before and after placing them in water to observe that weight remains the same, even though some items float while others sink. This engaging lesson encourages curiosity, critical thinking, and predictions as students compare objects and learn about the mysterious “push” that helps certain things float.
Equipment Required:
- MeasureLab with built-in load cell sensor.
- A variety of objects made from different materials (e.g., wooden block, metal spoon, plastic toy, ice cube).
- A beaker filled with water, placed on the load cell.
- Laptop or PC for displaying measurements.
- Worksheet with pictures of objects for making predictions and observations.
- Pencils and colouring materials (crayons, coloured pencils, markers).
Learning Objectives:
In this session, students will:
- Explore the concept of floating and sinking by observing objects in water.
- Observe changes in the measurement when objects are placed on the load cell and then submerged in water.
- Understand that the weight of an object doesn’t change, even if it floats or sinks.
- Spark curiosity by asking why some objects float and others sink, despite showing the same weight on the screen.
Teacher Resource:
Session File: ML17.plf (57.8 KB)
Teaching Aids:
- Projector (optional).
Preparation:
This step has to be done before the session on each workstation/apparatus by the teacher/session instructor:
- Make sure that each computer has Physlogger installed and can detect the Measrelab when connected to it using the provided cable.
- Each Measurelab should have access to a power outlet for sensors that require external power. For this session, we will use the loadcell which does not need external power.
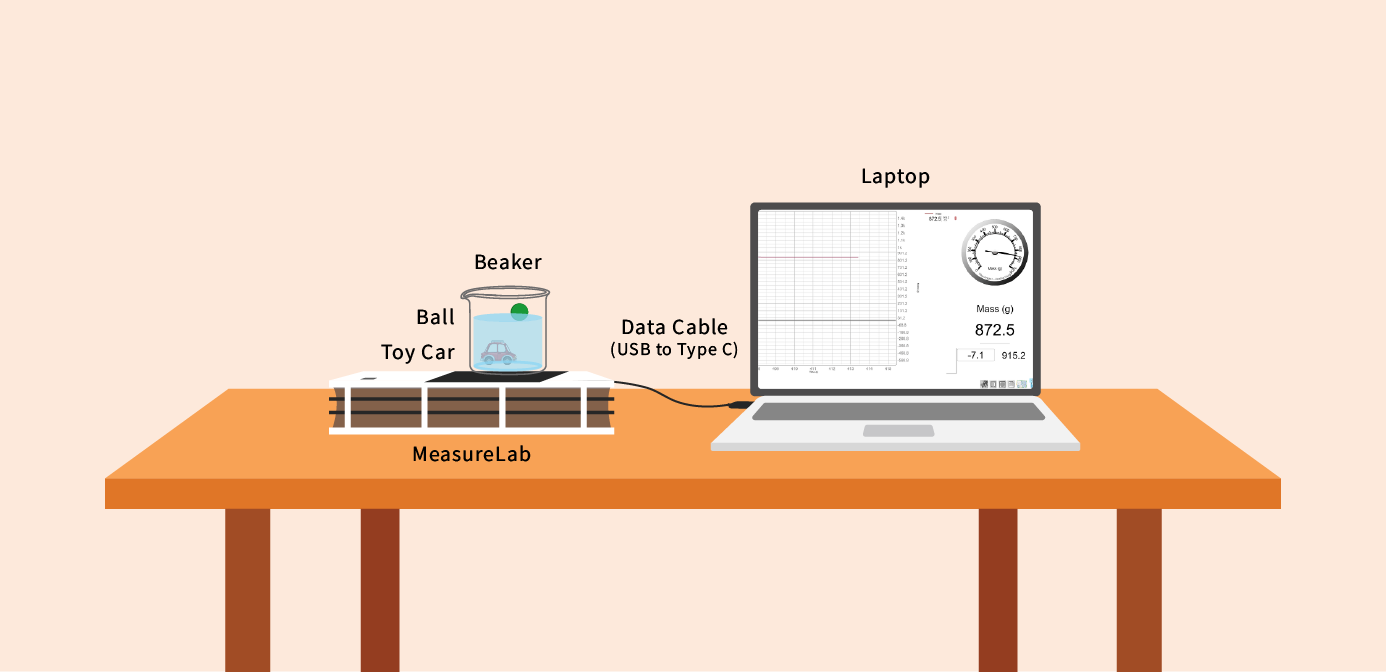
- Connect the Measurelab to your computer and open the provided session file.
- Your setup will look like this:
Introduction: (10 minutes)
- Set up the apparatus with the beaker of water placed on the load cell.
- You may begin by asking:
- “Have you seen boats float in water? What about rubber duckies? What makes them float?”
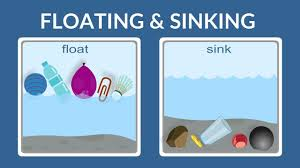
- Build on their answers:
- “Yes, boats and rubber ducks float on the water. Let’s see what happens with other things—will they float or sink?”
- Show the students an ice cube floating in water:
- “Look at the ice cube. It floats on top of the water. Now, let’s try something else.”
- Drop a metal spoon in another beaker of water and let them observe as it sinks to the bottom:
- “Now look at this spoon. It sinks all the way down. Why do you think the ice cube floats, but the spoon sinks?”
- You may continue by saying:
- “Today, we’re going to test different objects to see if they float or sink. But before we do, I want you to make a prediction—what do you think will happen to each object? Will it float or will it sink?”
- Encourage students to make predictions for the objects you’ll test, guiding them to observe and think about the differences between floating and sinking.
Hands-On Exploration: (20-25 minutes)
You may begin by saying:
“Let’s start by looking at these objects. Do you think they will float or sink in water? Let’s test them to find out!”
- Testing the Wooden Block:
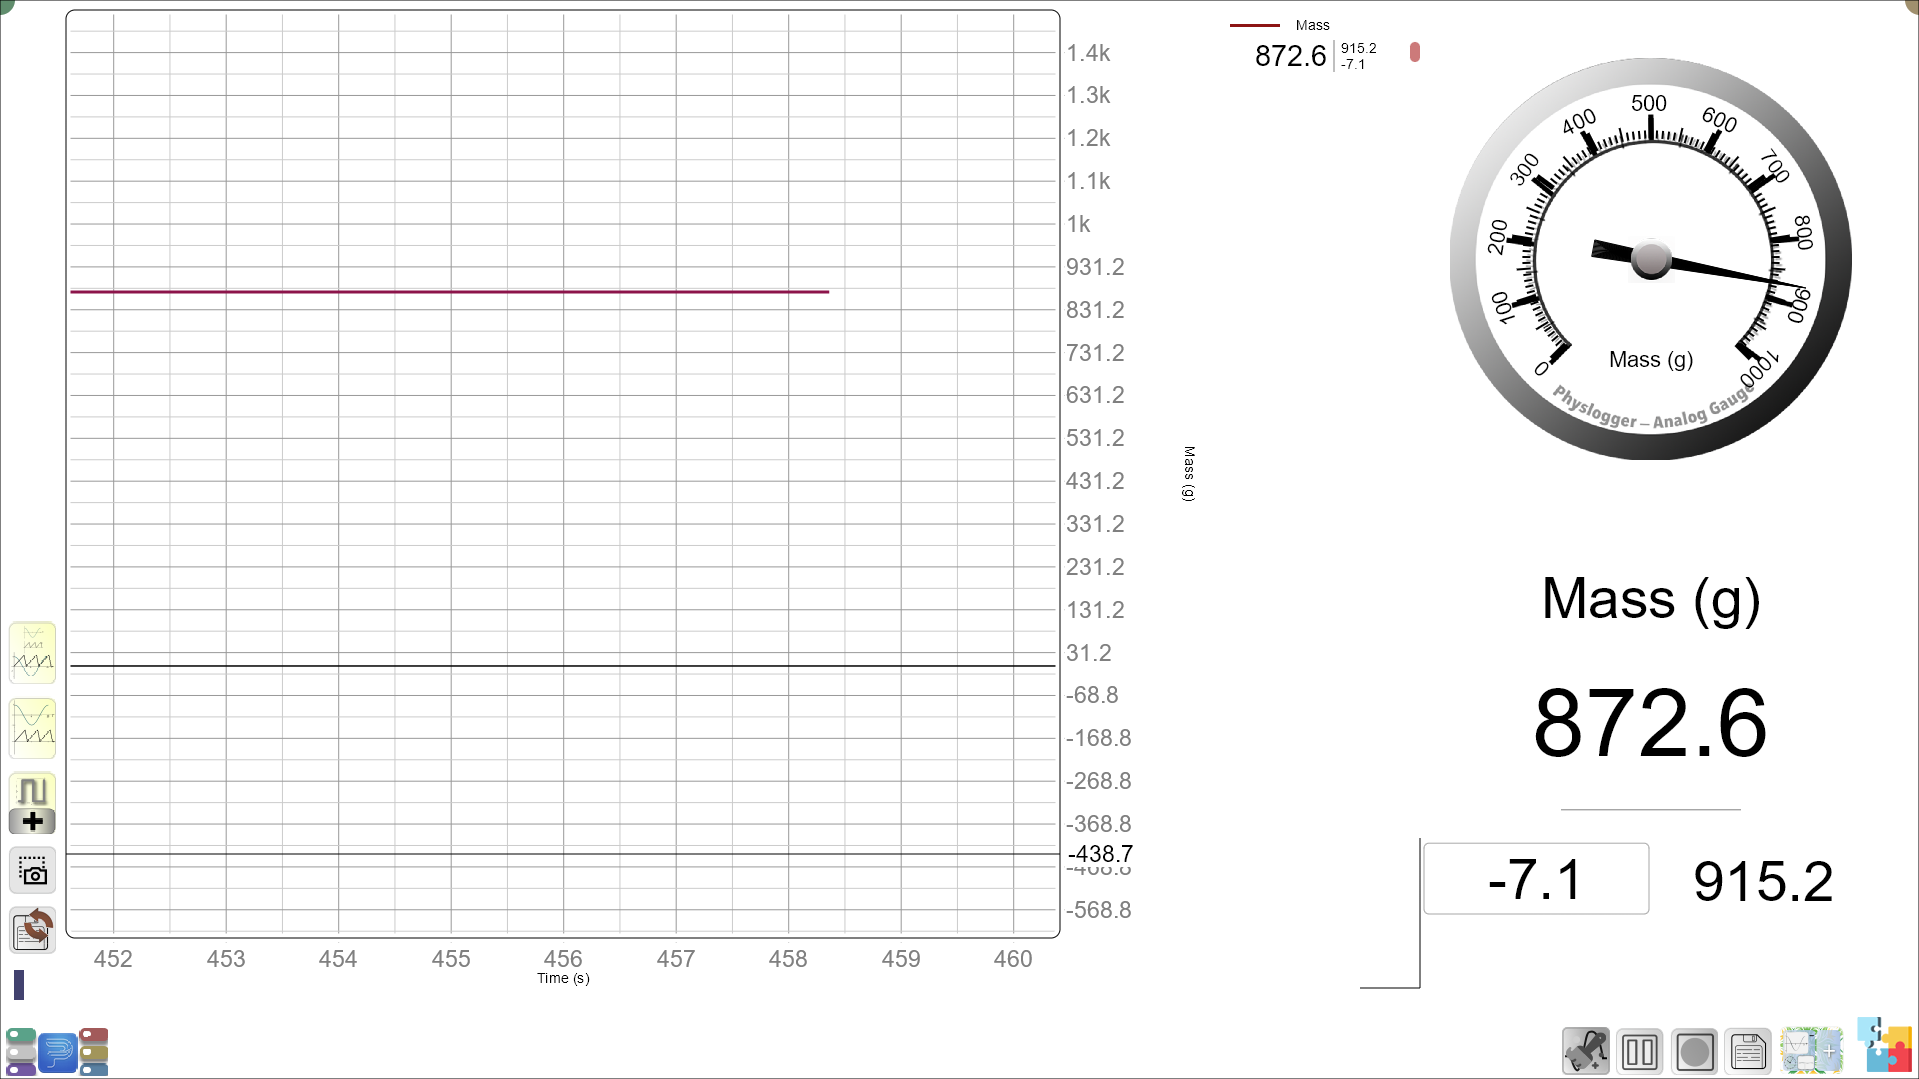
- Place the light ball/object on the load cell (make sure the beaker is already on the load cell to account for its weight) to measure its weight before submerging it in the water.
“Look at the number on the screen. This shows us how much the wooden block weighs.
Before putting the object inside the beaker:
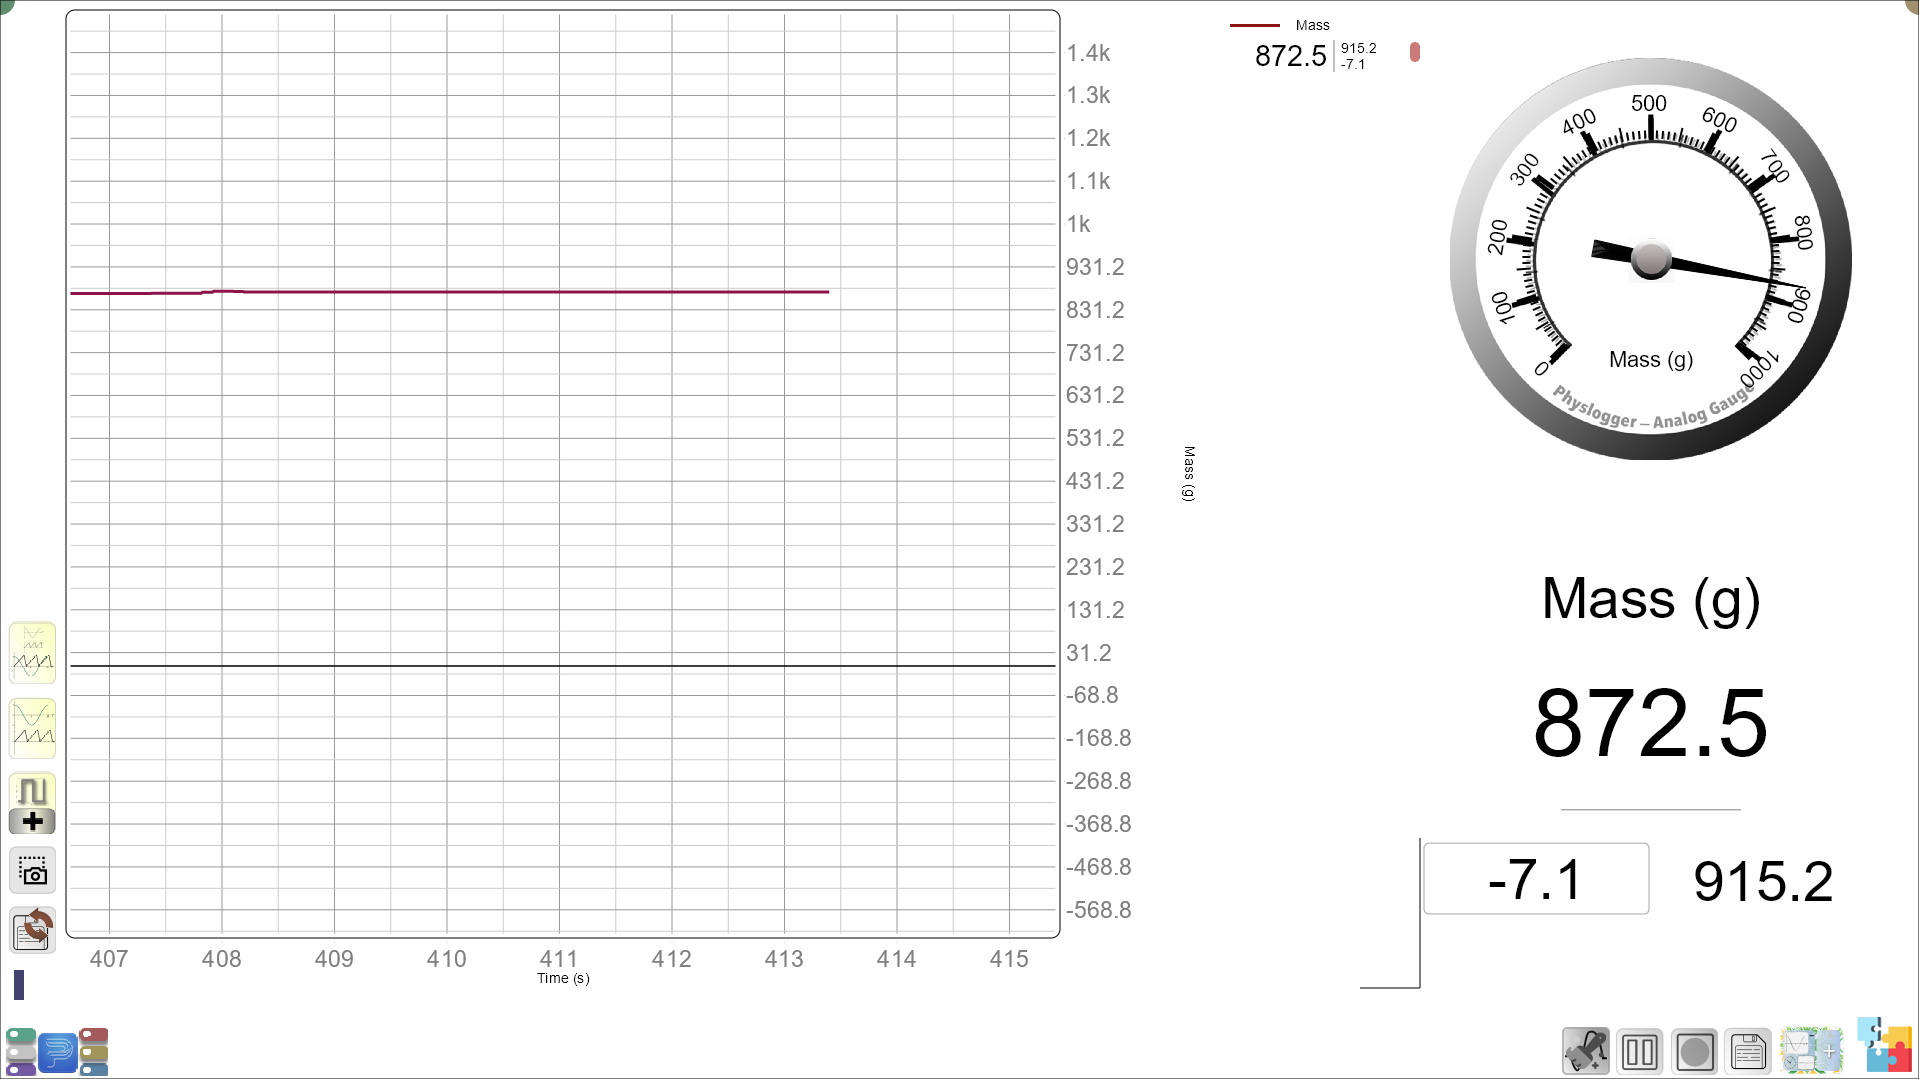
Now let’s put it in the water and see if it floats or sinks.”
- Gently place the wooden block in the water and observe.
“Did the wooden block float or sink? What do you notice about the number on the screen? Did the weight change when it went into the water?”
After putting the object inside the beaker:
- Introducing the Key Concept:
- After students observe that the weight remains the same, guide them to think about why.
“The number on the screen stayed the same, which means the weight of the wooden block didn’t change. But it floated! Why do you think that happens? Can something float even if its weight stays the same?”
- Encourage students to share their thoughts and build curiosity about the relationship between weight and floating.
- Testing the Metal Spoon:
- Measure the weight of the metal spoon on the load cell before placing it in the water.
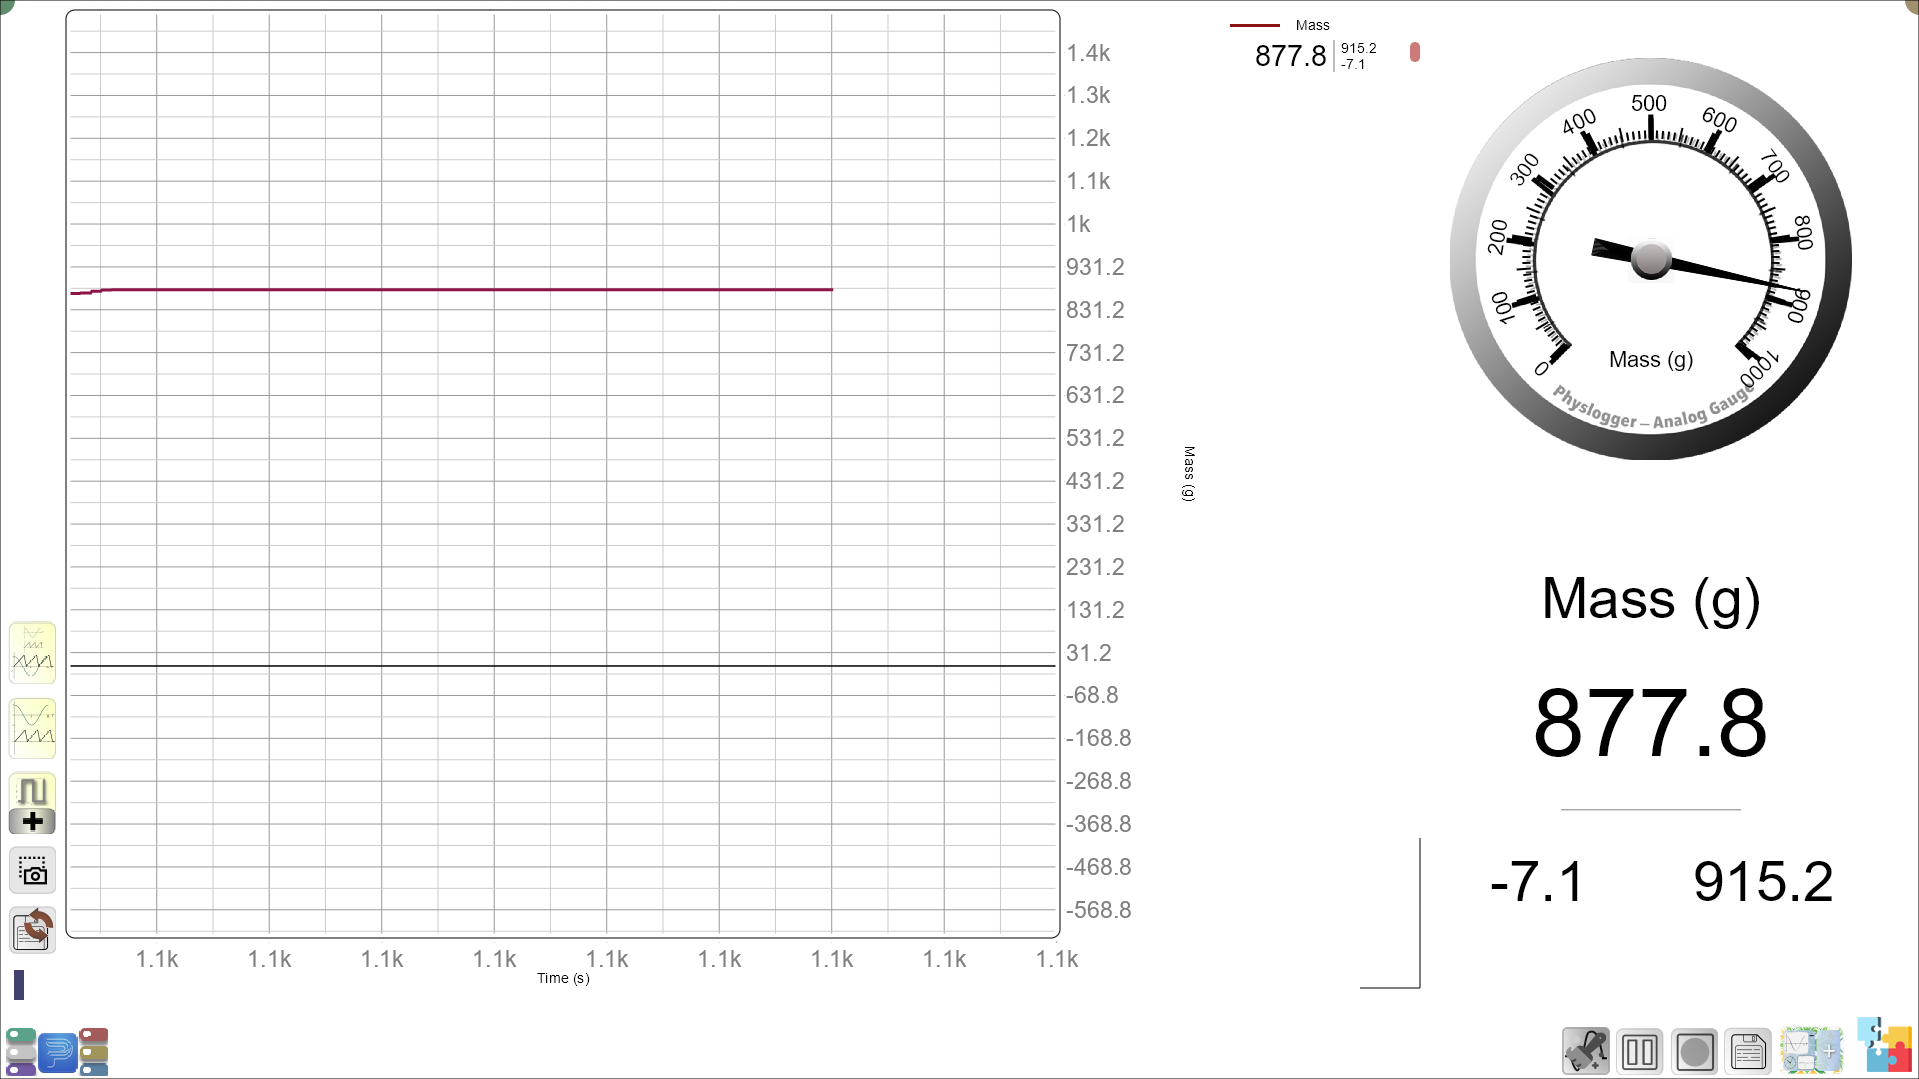
“Now let’s see what happens with the metal spoon. Do you think it will float or sink? What does the number on the screen tell us about its weight?”
- Submerge the spoon in the water and observe it sinking.
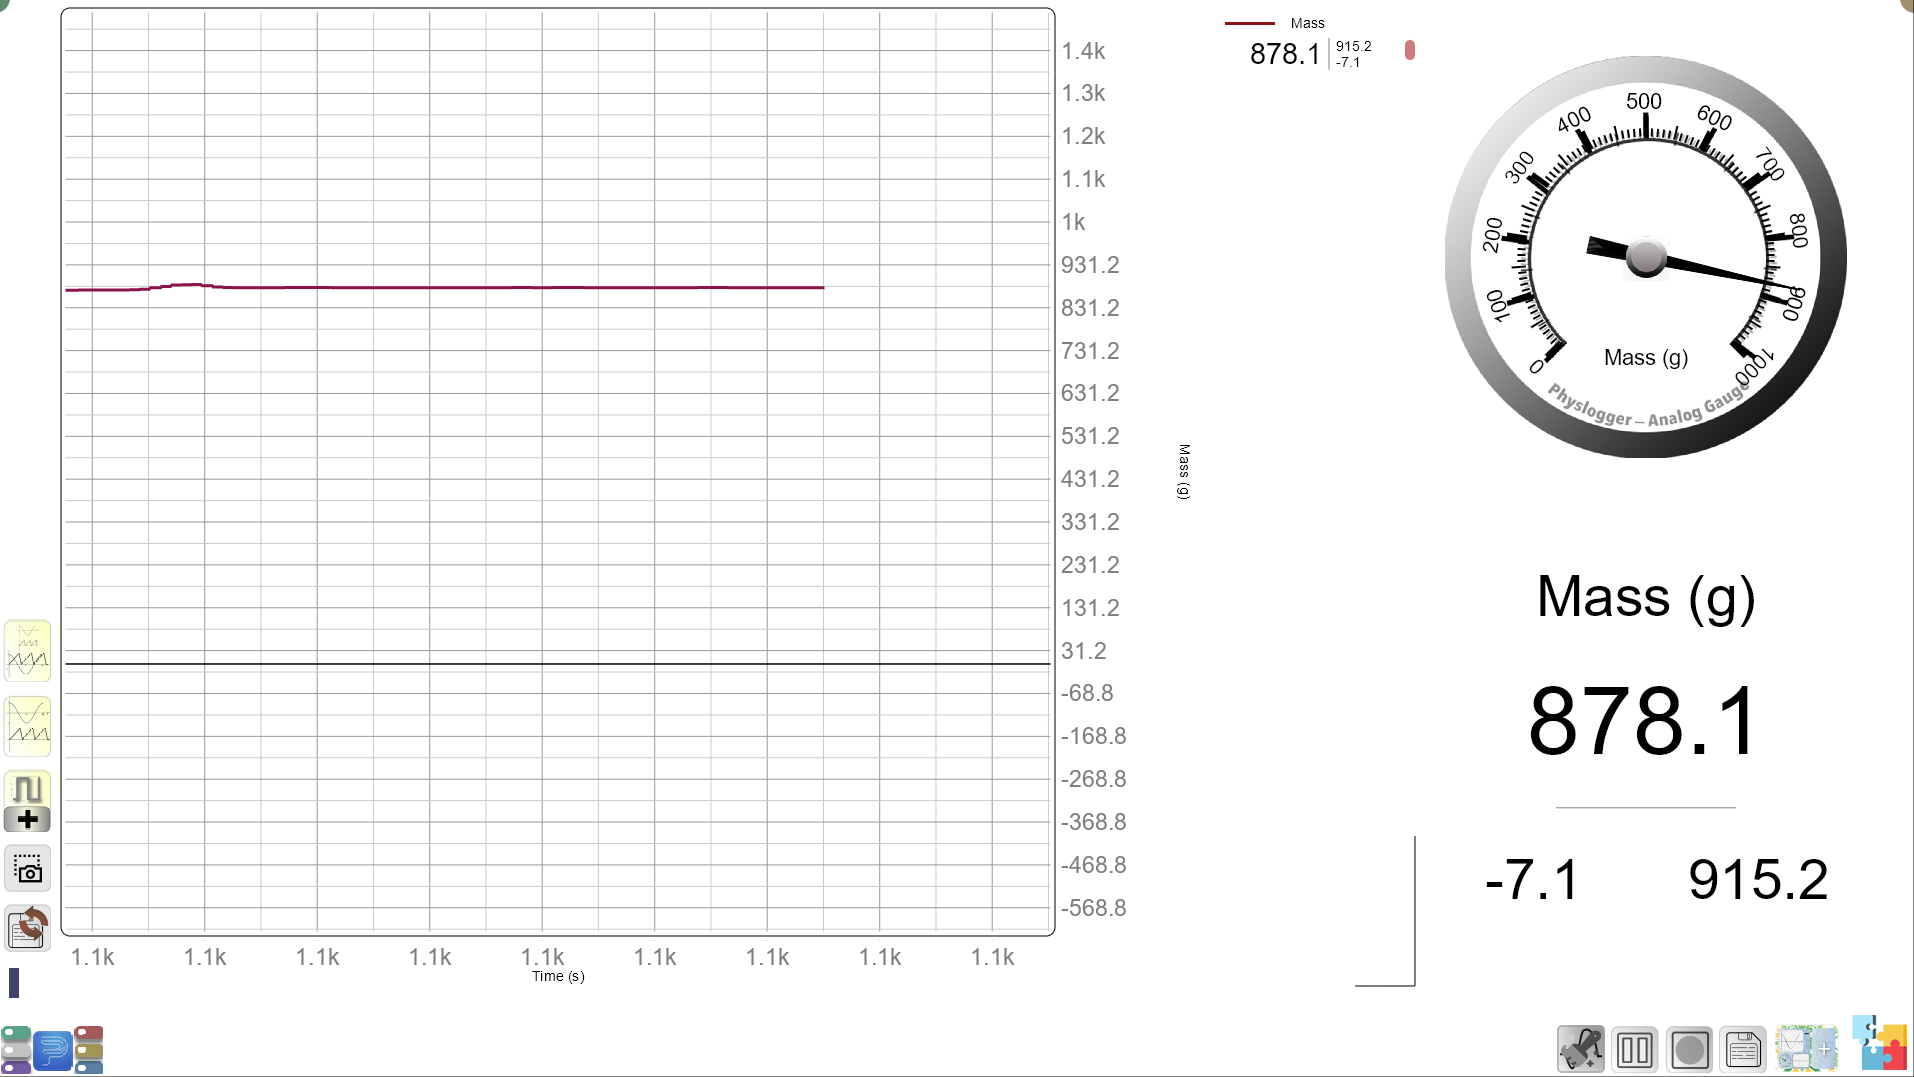
The spoon sank, but the number on the screen didn’t change. Why do you think that is? If the weight is the same, why does the spoon sink while the wooden block floated?
-
Encouraging Critical Thinking:
- Guide the students to compare the results from different objects.
“Both the wooden block and the metal spoon showed similar weight on the screen, but one floated and the other sank. What other factors could be affecting this? Is it just about weight, or could the material and shape of the objects play a role?”
-
Final Object Testing:
- Test other objects, such as a plastic toy and an ice cube. For each object, ask the students to predict, observe, and reflect on the results.
“Does the plastic toy float or sink? What about the ice cube?”
- Continue asking them to note the number on the screen and whether the weight changes when the object is placed in the water.
Real-World Connection:
You may ask:
“Have you seen a boat float on water, but a rock sink? What about a rubber duck? Why do you think that happens?”
Build on their responses by saying:
Even though both the boat and the rock have weight, the shape and material of the boat help it float. This force that helps things float is called buoyancy.
Encourage students to share examples of floating and sinking objects they’ve observed in their everyday lives.
Guided Activity: (10-15 minutes)
Worksheet Activity:
1. Prediction Activity
Look at the pictures of the objects. Before we test them, make a prediction. Do you think the object will float or sink?
| Object | Picture | My Prediction (Circle one) |
|---|---|---|
| Wooden Block | (Image to be added by teacher) | Float / Sink |
| Metal Spoon | (Image to be added by teacher) | Float / Sink |
| Plastic Toy | (Image to be added by teacher) | Float / Sink |
| Ice Cube | (Image to be added by teacher) | Float / Sink |
2. Observation Activity
Now, let’s test the objects in water. After testing, write down what really happened! Did they float or sink?
| Object | What Happened? (Circle one) |
|---|---|
| Wooden Block | Float / Sink |
| Metal Spoon | Float / Sink |
| Plastic Toy | Float / Sink |
| Ice Cube | Float / Sink |
3. Colouring Activity
Colour the objects based on what they did in the water! Use blue for floating objects and brown for sinking objects.
- Wooden Block: Colour the block based on whether it floated or sank.
- Metal Spoon: Colour the spoon based on whether it floated or sank.
- Plastic Toy: Colour the toy based on whether it floated or sank.
- Ice Cube: Colour the ice cube based on whether it floated or sank.
4. Followup Questions
Answer the following questions:
-
Which objects floated?
-
Which objects sank?
-
Did anything surprise you about how the objects behaved in the water?
5. Drawing Activity: My Own Experiment
Draw an object you think would float in water and one you think would sink.
-
Object that would float: ___________________________________
(Draw your object here) -
Object that would sink: ___________________________________
(Draw your object here)
Summary and Reflection: (5-10 minutes)
- You may summarize the session:
- “Today, we learned that some things float and some things sink. Even though the weight stays the same on the screen, objects still behave differently in water. Why do you think some objects float and others sink, even if they weigh the same?”
- Reflection Questions:
- “Which objects floated and which ones sank?”
- “Did anything surprise you about how objects behaved in the water?”
- “Why do you think the number on the screen didn’t change, even though some things were floating?”
- Encourage students to think about floating and sinking as a mystery to explore in future sessions, sparking curiosity about buoyancy.
Glossary:
- Float: When an object stays on the surface of the water.
- Sink: When an object goes to the bottom of the water.
- Buoyancy: The force that helps objects float in water.
- Prediction: A guess about what will happen.