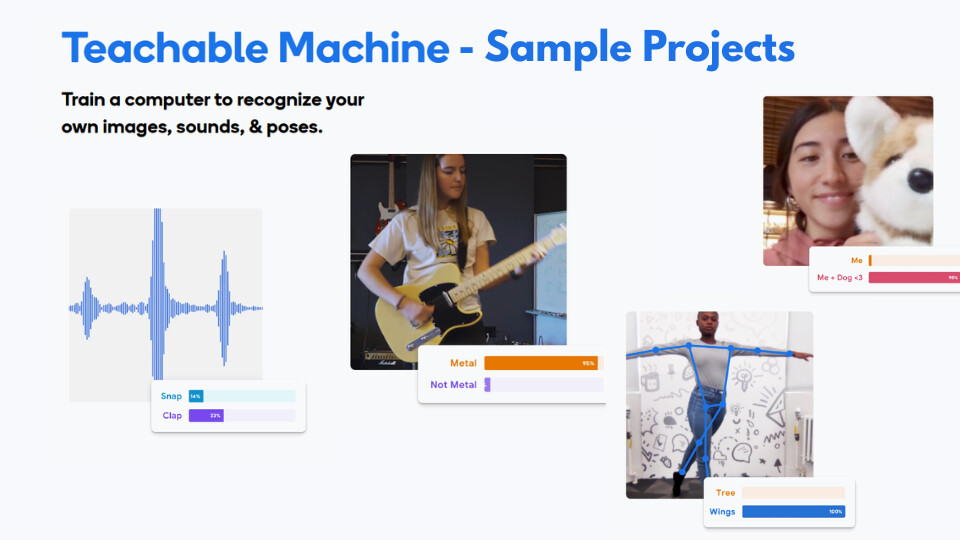
In this post, we will discuss some examples of Teachable Machine models you can create and use to demonstrate it to your students. You may give these ideas to your students as well to build upon. To recall, Teachable Machine gives us the freedom to choose from three different types of models:
- Image Project
- Audio Project
- Pose Project
The general process of training the model and then further linking it to your Scratch remains the same in each model. If you need a refresher on it, you can check out the previous guide on the introduction to Teachable Machine.
Image models
1. Using your hands:
Starting with Image model, the simplest model to train is for the model to detect different hand signs. It could be a model which detects how many fingers you are holding up. It can also be different hand emotes.
Note: Image model works by detecting and differentiating the different colors it detects in its model. It does not detect anything as an object. Thus, when you are training the model with your hands, your model may tend to get confused very easily.
A solution to this is that the gestures should be visually distinct enough for the model to distinguish. Another solution can be to increase the sample size, but if you data is flawed, an increased sample size can lead to more confusion.
Project Ideas:
Once your model is ready, you can link it to your Scratch. This is where the rest of the magic happens. Using the a single model, you can code your bot to do various things. Some examples of this can be:
a. Gesture Controlled Bot:
You can code your bot to move in different directions based on the hand sign it detects. Thus, you can control the movement of your bot just by waving your hand in front of the camera.
b. Sign Language Translator:
You can also code the robot to translate the hand signs into text and display them on it’s screen. It can also speak the translated words out load using your laptop/computer’s speaker.
2. Moving Around:
Another idea for an image model is to train to detect movement and change. This is could be in various forms. You can even train it to detect if someone is at the your room’s door. It just needs to know what does your room’s door look like when no one is there and when someone arrives.
This can be easily done using only 2 data classes and a few samples.
Project Ideas:
a. Your Personal Companion:
You can code this model to react at your presence. You can code this model to detect when you are sitting in front of the computer and when you are not there, or if someone else is sitting at your computer. Thus, the robot will only respond to you when you are present, or perhaps greet you when you return to your desk.
b. Snooze Bot:
This acts as a study buddy. You can train the model to recognize two states: “Awake” (sitting upright) and “Sleeping” (head down on the table or eyes closed leaning back). If the model detects the “Sleeping” class for more than a few seconds, you can code the bot to beep loudly or move around to wake you up.
c. Someone’s at the door:
This acts as a security alert bot. By training the model on an empty doorway versus a doorway with a person standing in it, the bot can constantly monitor the entrance. You can code it to make a siren noise to alert you if it detects that someone is at the door.
Pose models
While image models look at pixels and colors, Pose models look for the “skeleton” of the body. They detect key points like shoulders, elbows, and knees. This is excellent for detecting full-body movement or exercise.
Note: For Pose models to work well, the camera needs to see the major body parts clearly. Ensure your students stand far enough back so the camera can see their full upper body.
Project Ideas:
a. The Exercise Coach:
You can train a model to recognize specific physical exercises, such as a “Jumping Jack” versus “Standing Still,” or “Arms Up” versus “Arms Down.”
b. The Mimic Bot:
You can code the robot to mimic your posture. For example, if you tilt your head to the left, the robot turns left. If you raise your arms (detected by the pose model), the robot could lift its own attachments or move forward. It creates a “mirror” effect with your robot.
c. Posture Corrector:
Train the model to recognize “Good Posture” (straight back, shoulders aligned) and “Bad Posture” (slouching, leaning too close). You can code the bot to remain silent when your posture is good, but beep annoyingly if you start to slouch, reminding you to sit up straight.
Sound model
Sound models in Teachable Machine work by listening to short snippets of audio (usually 1 second) and categorizing them. This is great for voice commands or environmental monitoring.
Note: Always remember to record a “Background Noise” class first. This helps the model understand what “silence” sounds like in your specific room, preventing false triggers.
1. The Commander:
The most common use is teaching the model distinct words. You can record yourself saying “Go”, “Stop”, and “Turn.”
Project Ideas:
a. Voice controlled bot:
Controlling movement using your sound. You can map the “Go” class to a move forward block in Scratch, and “Stop” to a stop block. This allows you to drive your Markhor3D robot completely hands-free just by speaking to it.
b. Distress detector:
This acts as a safety guardian. You can train the model to recognize a specific loud sound, such as a sharp clap, a cry, or a scream, distinguishing it from normal talking. You can code the bot to call for help, flash red lights, or make a noise to alert others if it hears the distress signal.
Conclusion
Ultimately, these exercises help bridge the gap between abstract coding and real-world application. By allowing students to train and debug their own models, they move beyond passive learning to understanding that AI is simply a tool they can build and control.