It helps you explore and better understand how AI models work, how the machine learning models behind them are trained, what makes a good model and what can be done to improve your models. We’ll explore all that in this topic.
Working with Teachable Machine is a two step process.
- The first step is creating your Machine Learning model.
- The second step is attaching your model with GO and coding it to behave as desired.
Training Your Model
You have some freedom in the type of model you create. There are 3 major categories:
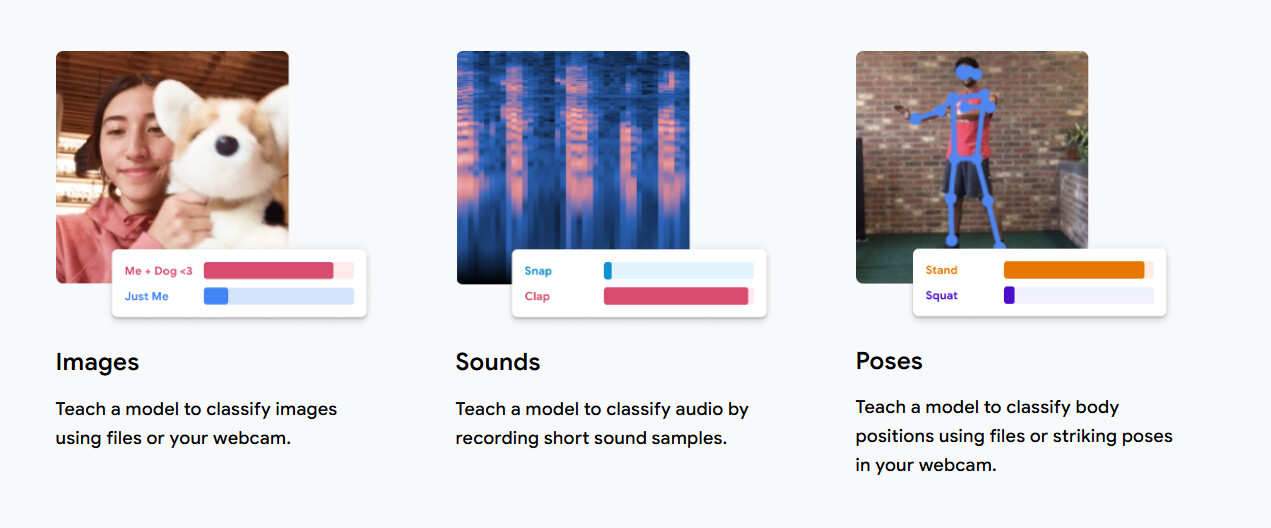
But inside these categories, there are a pathways in each category from teaching your GO to recognise you to making it move with hand gestures.
This step is very crucial as this is where you will plan your entire project. The things you need to know are:
- What do I need to teach my GO bot?
- What kind of model(image/sound/pose) would be most suitable?
Once you have a rough idea of these, you can proceed to developing your model.
Let’s say we want to work with the image model because we want to train our Bot to recognise us. We we will the Image model for this:
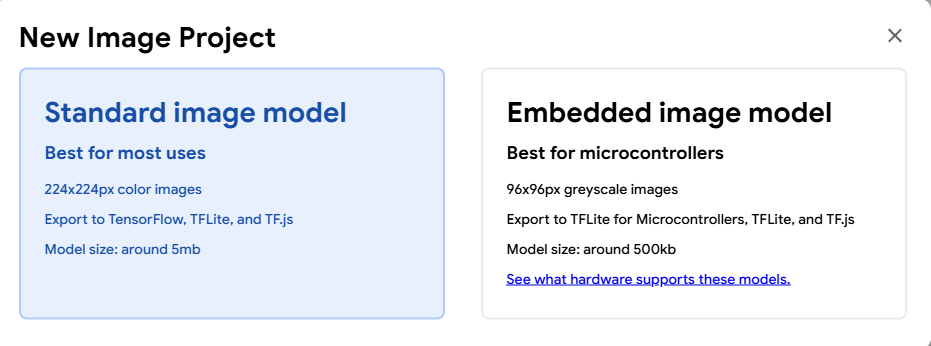
Select Standard Image Model and continue:

Now on the next screen, you would see two classes by default on the left. Each class represents a unique category. You can add more classes as well using the “Add a class” button at the bottom.
To add samples into a class, we can use the webcam to record live samples, or use images we have already saved on our computers..
Note: Make sure that the samples in each class are visually distinct so that the model does not get confused. If there are similarities in the samples, a larger sample size may help to help the model understand the differences better.
Once you have added your classes, you can click on the “Train Model” button. It will take a few minutes to train the model. Don’t switch your tab during this process as the Model Training happens locally on your computer.
Image of Model Training Loading...
Once trained, you can preview how well your model is working in a small window that appears on the right. If the output is not right or gets easily confused, you can adjust your samples and retrain the model for a better output.
Image of Model Preview Loading...
Linking your Model with Scratch
Once you are confident in your model, you can export it and attach it to Scratch to pair it with your GO. To do so, click on the “Export Model” above your model preview window. You will see a shareable link window:
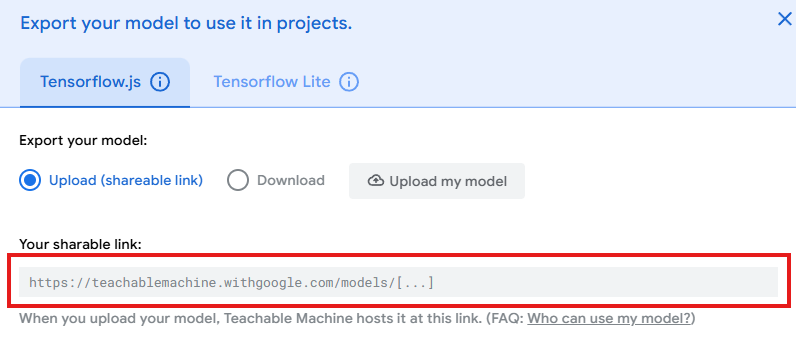
Copy this link and head to Markhor3D’s Custom Scratch.
Once there, click on the “Extensions” button on the bottom left corner. A new menu will appear.
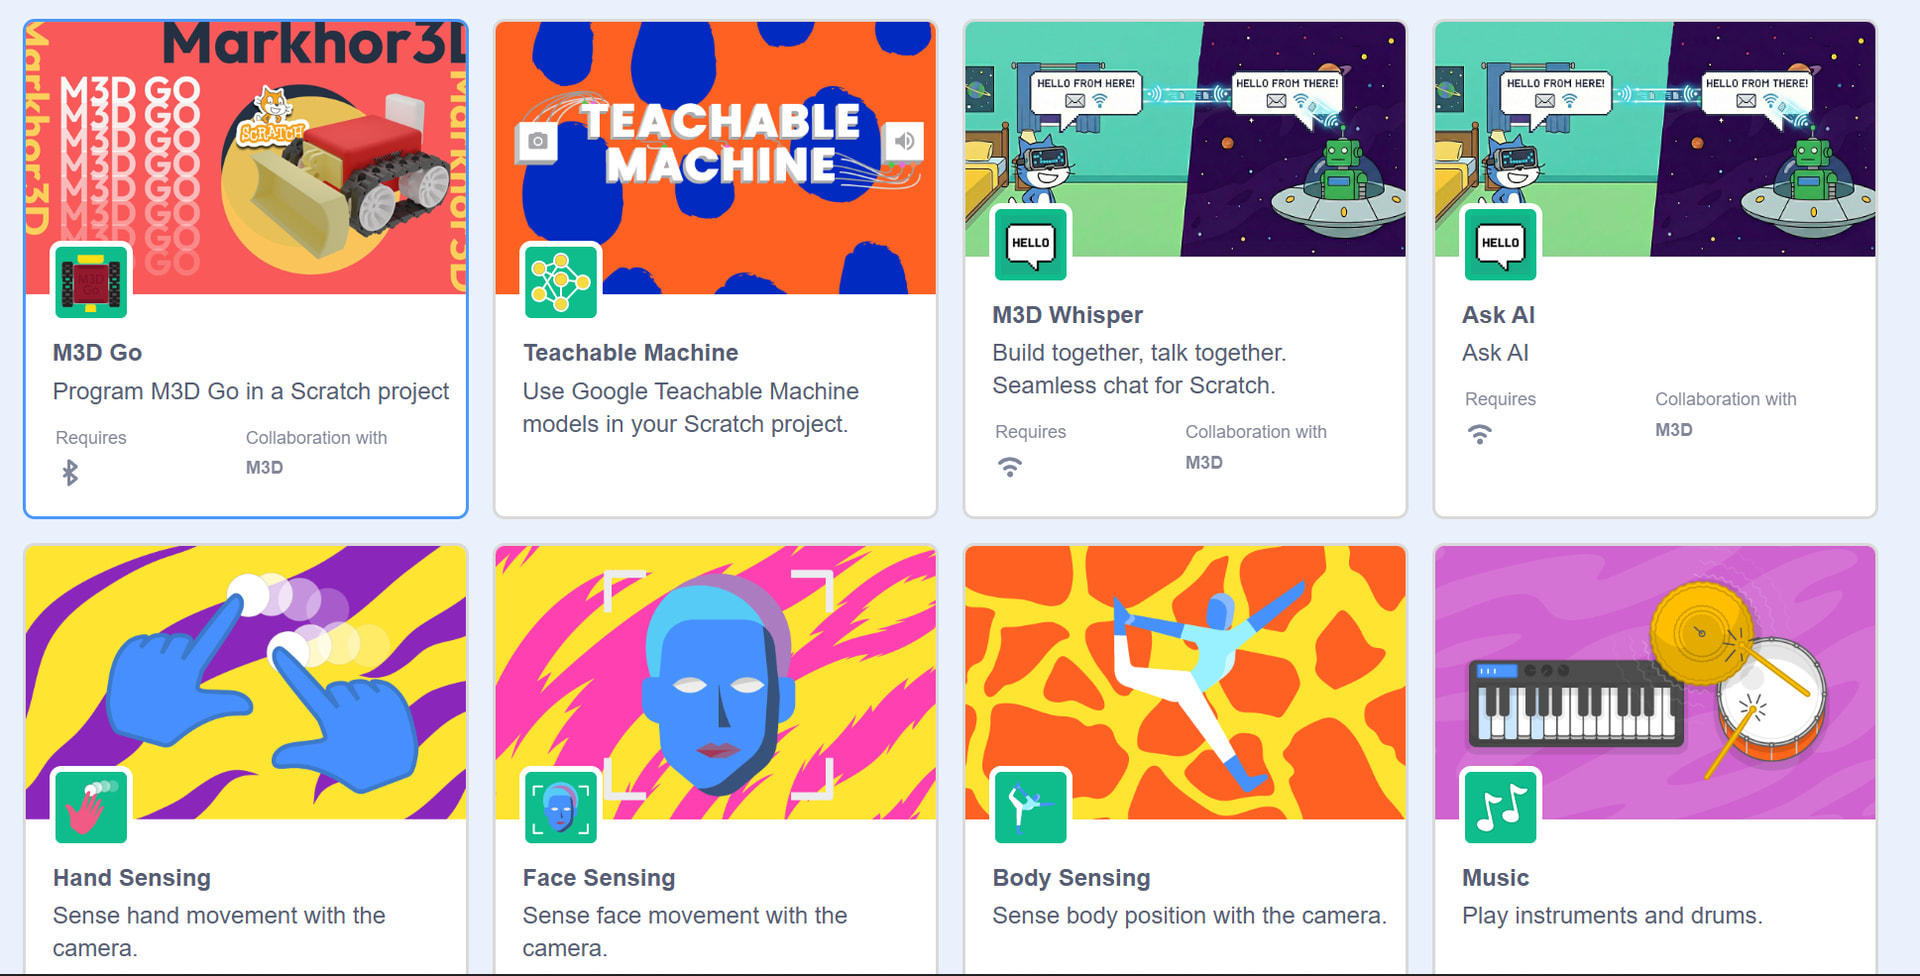
Select the 2nd extension named “Teachable Machine”.
You should see new blocks appear in the left side bar.

Use the first code block in this menu to link your model to Scratch:
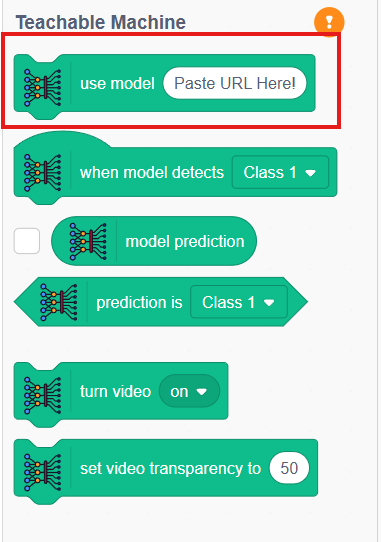
Once your model is linked to Scratch, the yellow exclamation button should turn into a green tick mark, indicating success.
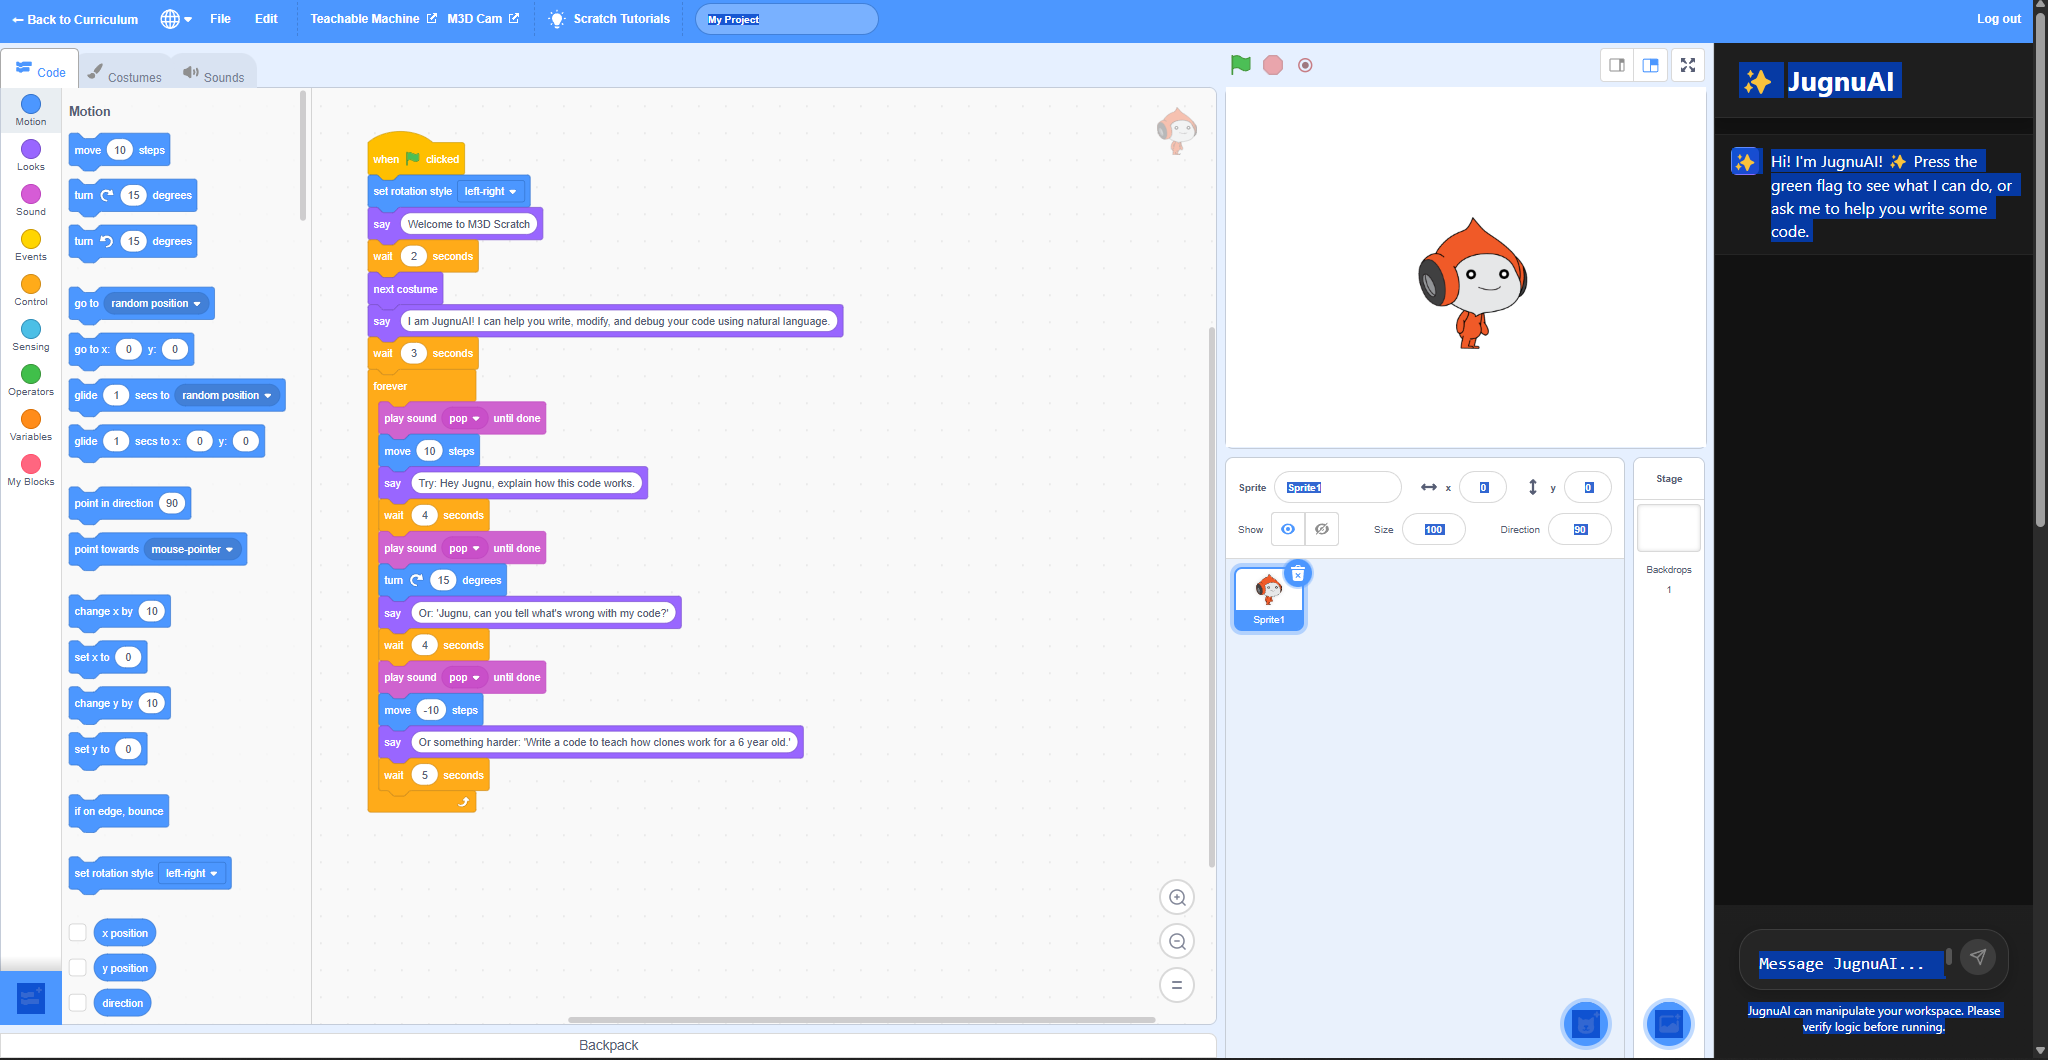
Now you can code your GO or your Scratch program to take live input from the camera and respond accordingly.
You can explore some sample projects which utilize Teachable Machine and Scratch by clicking on the following button:
Sample Projects
Additionally, you can also watch this official video from Teachable Machine for a quick run of the tools it provides:
