Diagnostic Guide: Troubleshooting your Enabler D8500 Lite/Pro
![]() Welcome to the M3D Diagnostic Suite
Welcome to the M3D Diagnostic Suite
When your 3D printer stops working, the issue can seem like a mystery. However, the Enabler D8500 is constantly communicating its status behind the scenes. While the Smart UI gives us a general idea of what’s happening, “Serial Logging” allows us to see the exact technical reason for a failure.
 1. Initial Observation: The Symptoms
Before we look at the data, we must look at the machine. Most hardware issues occur during the “Pre-Print” sequence. Watch your printer carefully and identify which stage it fails:
- The Homing Phase: The printer moves to find its “Zero” position.
- Symptom: Grinding noises, stopping before reaching the edge, vibrating in place, restarting while homing.
- Likely Culprit: Limit Switch, Power Issue, or physical obstruction on an axis (X, Y, or Z). Try to look at the motion of the printer and see which axis fails during homing. the sequence is such that the printer first homes X axis(The Print Head), then Y axis(The Print Bed) and finally the Z axis(Touching Nozzle to the Print Bead)
- The Heating Phase: The printer waits for the nozzle and bed to reach temperature.
- Symptom: The printer suddenly restarts, the temperature “stalls” (stops rising), or you see a “Thermal Runaway” message.
- Likely Culprit: Heater cartridge, thermistor (temp sensor), or power supply issues.
 2. Setting Up Your Diagnostic Tool
To read the printer’s internal log, we use Pronterface. This software acts as a bridge between your computer and the printer’s motherboard.
Requirements:
- A USB Type-C data cable.
- A laptop or PC with Pronterface installed.
Detailed Setup Instructions: If you haven’t connected your printer to a computer before, follow our Beginners Guide: Printing via USB to get your drivers and software ready.
 3. Capturing the Live Error Log
Once you are connected and the status in Pronterface says “Printer is online”:
The software looks something like this:
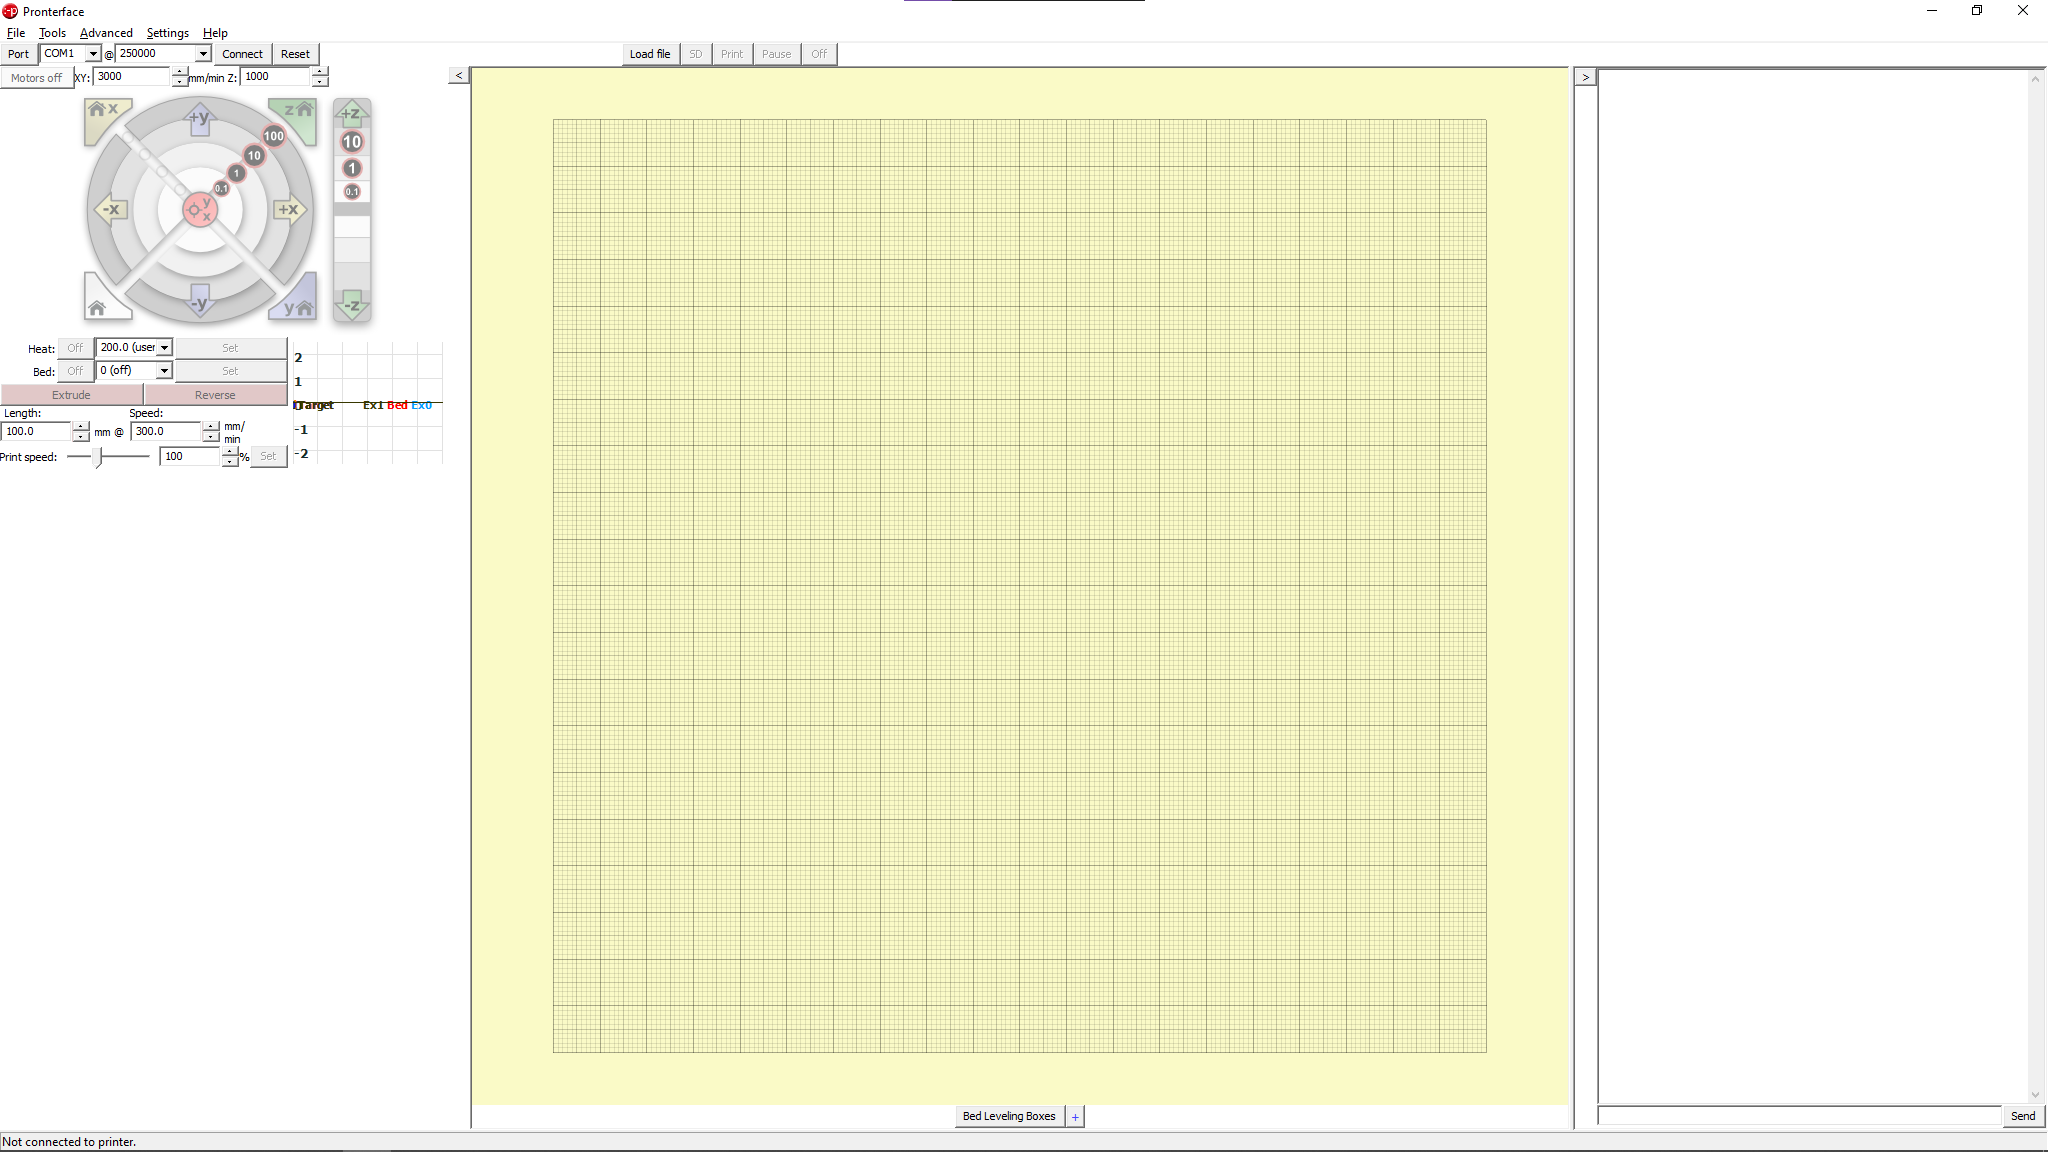
- Trigger the Error: Perform the action that causes the failure. For example, start your print job, start bed-levelling etc.
- Watch the Stream: You will see a rolling log of commands.
- Find the error: At the exact moment of failure, the printer will send a specific error message. Look for lines starting with
Error:orSTOPPED.
 4. Decoding the Printer’s Language
The log consists of G-codes (commands) and Responses. Here are the most common error responses you might see. You might see them but the error codes are not limited to these:
| Error in Log | What it means |
|---|---|
Error: Thermal Runaway |
The printer detected a temperature drop and shut down for safety. |
Error: Z-Probe failed |
The ABL sensor didn’t trigger correctly during leveling. |
Error: Printer halted. kill() called! |
A critical safety error occurred; the printer has locked itself to prevent damage. |
echo: endstops hit: Z |
The printer thinks it hit a wall when it shouldn’t have. |
 5. Next Steps: Search and Support
Once you have copied the specific error code from your log, you have two paths:
-
Self-Correction: Search for the error string on the web. Many common issues have 5-minute fixes! While you are performing any fix, we suggest to consult the M3D Team if you are not certain about the fix or if the procedure requires opening an assembly.
-
Professional Help: If you need to contact the Markhor3D Diagnostic Team, please copy the last 20 lines of your log and paste them into your support ticket.