Grade 2 – Session 7: “Material Detectives: Magnetism”
Architect: Aleeza Ayaz- Markhor3D
Session Length: 50-60 minutes
Session Overview: “Material Detectives: Magnetism”
In this interactive session, students will explore magnetism by investigating which materials are magnetic and which are not. Using MeasureLab’s magnetic flux sensor, they will see how it responds to a magnet. Through hands-on experimentation, students will learn how magnets interact with certain materials, classify objects into magnetic and non-magnetic groups, and understand that only some materials are attracted to magnets. This session promotes curiosity as students play “material detectives,” making predictions, observing, and analyzing their findings about magnetism’s effects in the real world.
Learning Objectives:
In this session, students will:
- Explore how magnets attract or do not attract different materials.
- Use the magnetic flux sensor to detect the presence of magnetic materials.
- Classify objects into magnetic and non-magnetic categories based on what they observe.
- Understand that some materials are magnetic while others are not.
Equipment Required:
- MeasureLab with a magnetic flux sensor.
- A laptop or PC for displaying data.
- A variety of objects to test (e.g., paperclips, coins, keys, erasers, rubber bands, aluminum foil).
- Magnets.
- Worksheet for students to record observations.
Teaching Aids:
- Projector (optional, for displaying magnetic readings).
Teacher Resource:
Session File: ML27.plf (61.0 KB)
Preparation:
This step has to be done before the session on each workstation/apparatus by the teacher/session instructor:
- Make sure that each computer has Physlogger installed and can detect the Measrelab when connected to it using the provided cable.
- Each Measurelab should have access to a power outlet for sensors that require external power. For this session, we will use the “Magnetic Flux Sensor” which requires external power source.
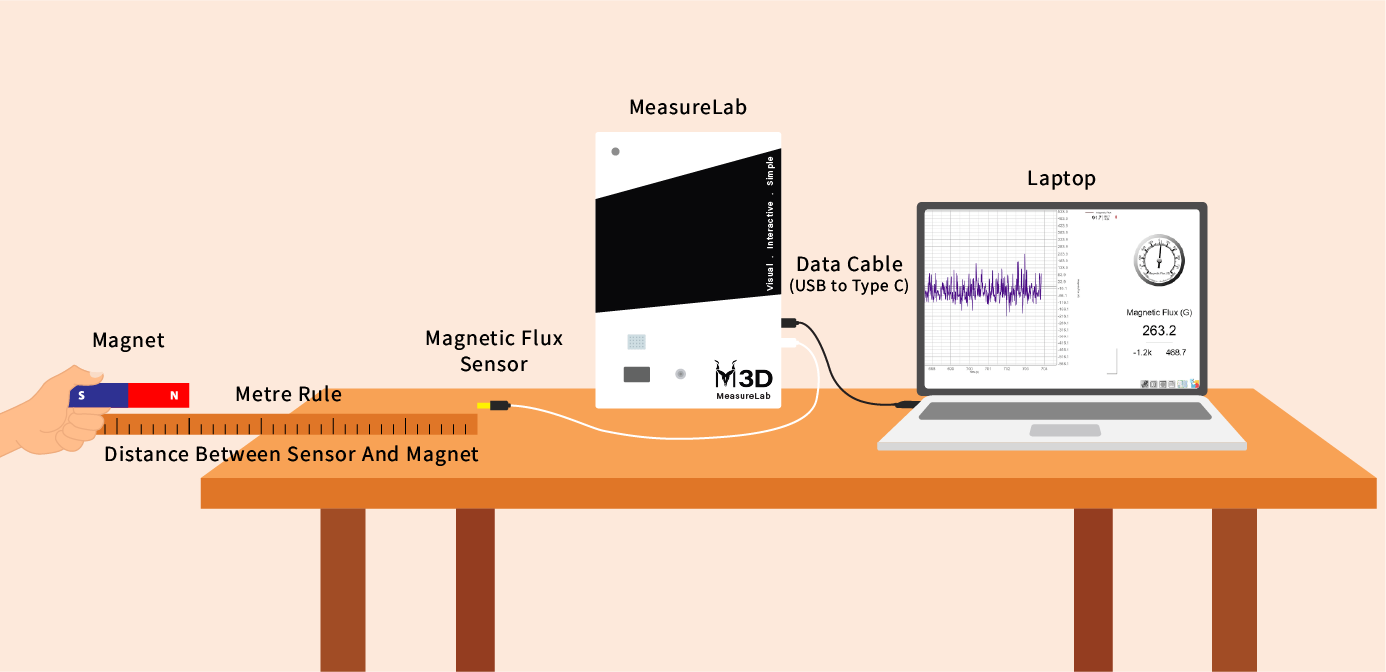
- Connect the “Magnetic Flux Sensor” to the Measurelab using the following port and load the session file:

Your setup will look something like this:
Structure: (10 minutes)
- Introduction with Demonstration (Establishing the Base):
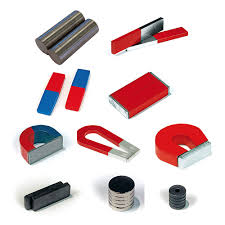
- You may begin by showing the class a magnet and a few objects like a paperclip, rubber band, and eraser.
- You may say:
“Have you ever played with a magnet before? What happens when I bring this magnet close to the paperclip?”
-
Slowly move the magnet towards the paperclip and let the students observe the paperclip being pulled towards the magnet.
- You may ask: “What do you see? Why do you think the paperclip stuck to the magnet?”
-
Next, show the magnet with a rubber band and an eraser, bringing the magnet close to these objects.
- You may ask:
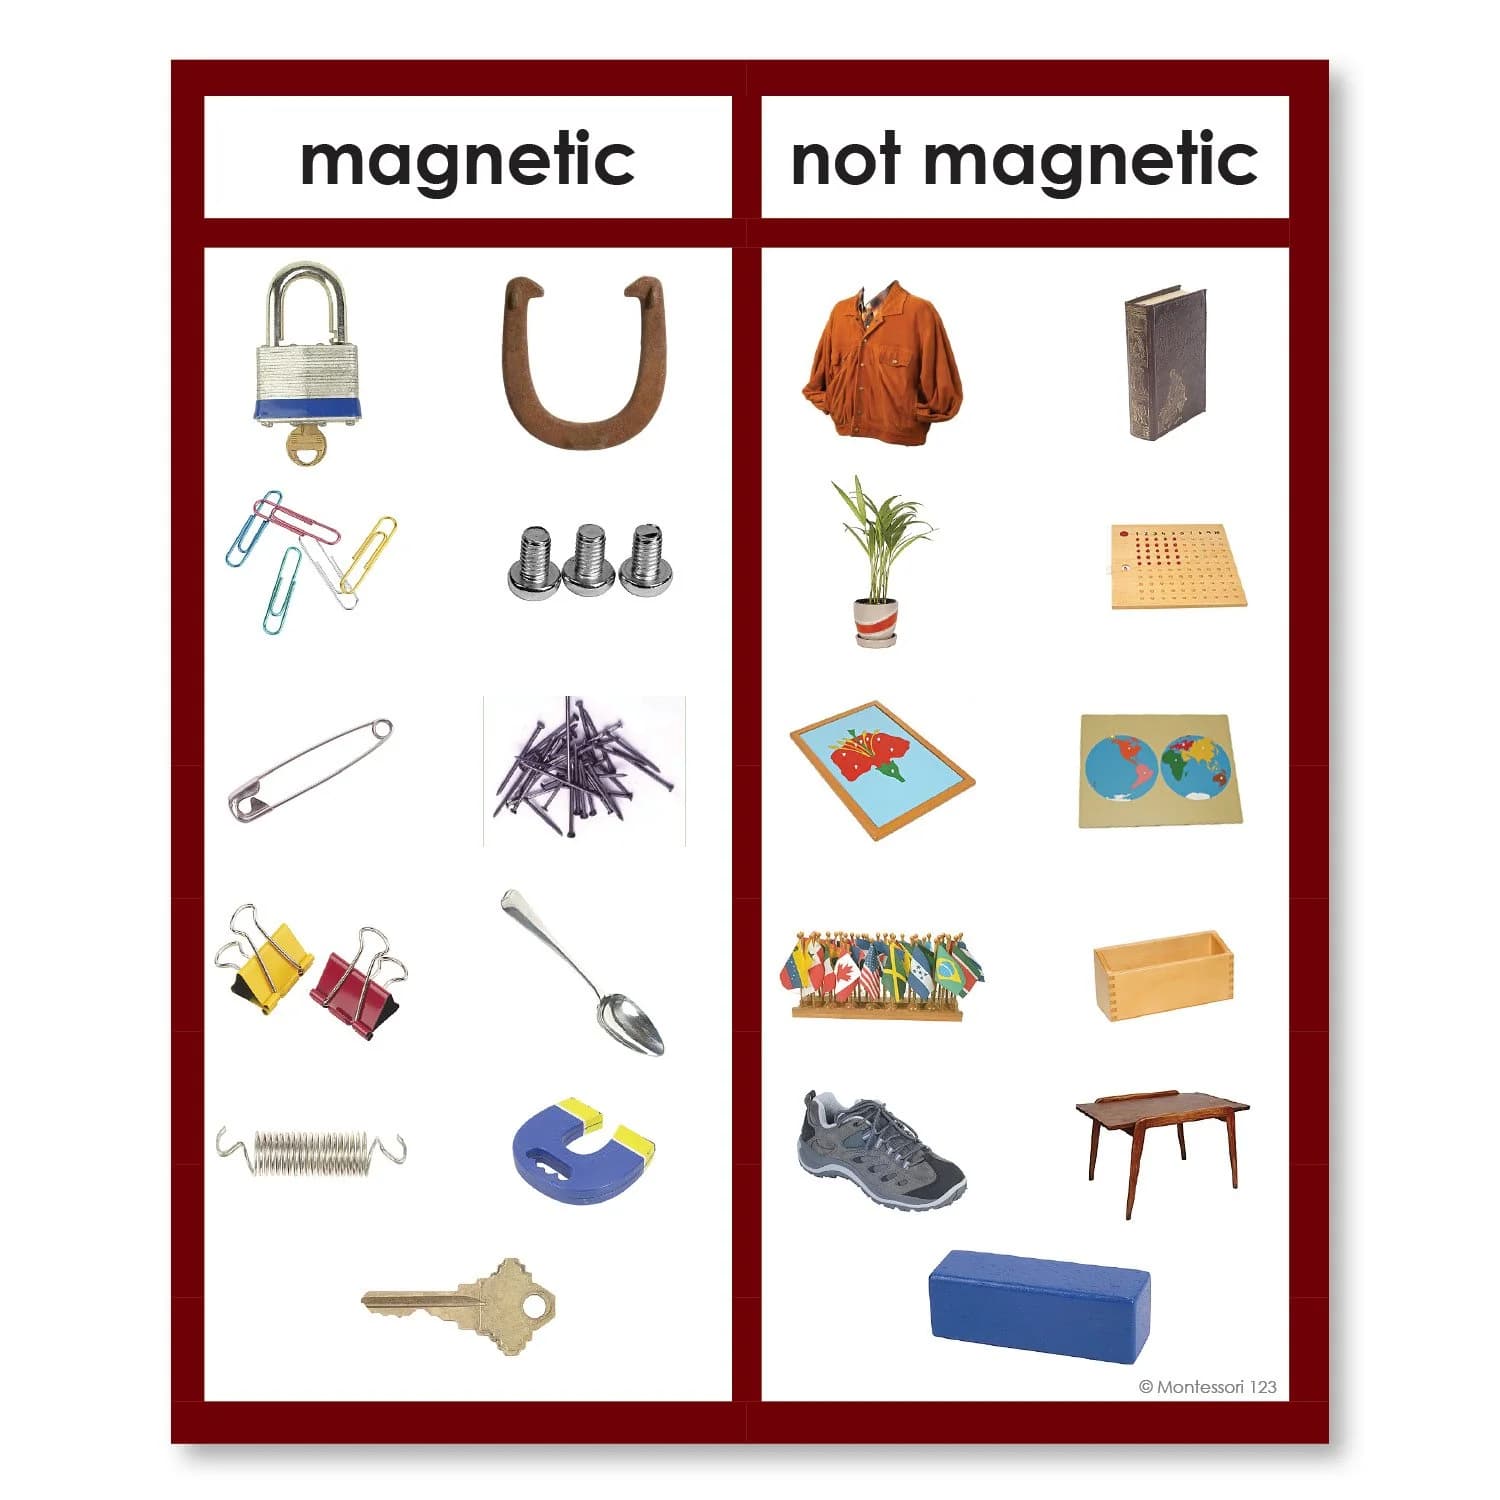
“What happens when I bring the magnet close to these objects? Why didn’t they stick to the magnet like the paperclip did?”
- Elaboration on Magnetic and Non-Magnetic Materials:
- After the demonstration, you may explain the concept of magnetic and non-magnetic materials in simple terms:
You may say:
“Some materials, like the paperclip, are attracted to a magnet. We call those materials magnetic. But other materials, like this rubber band and eraser, are not attracted to the magnet. We call them non-magnetic.”
To further elaborate, you can say:
“So, today we are going to investigate which materials are magnetic and which ones are non-magnetic. We will use a special tool that helps us see when something is magnetic!”
- Introducing the Magnetic Flux Sensor:
- You may show the students the magnetic flux sensor and demonstrate how it can detect when something is magnetic.
- You may do this by placing a magnet near the sensor and showing the students the change in data on the screen.
You may ask:
“What happens to the numbers on the screen when I bring the magnet close to the sensor? This tells us when something is magnetic!”
- You may ask students to predict which of the objects (like paperclips, coins, rubber bands) will be magnetic and which ones won’t, preparing them for the hands-on exploration
Transition to Hands-On Exploration:
- You may say:
“Now, let’s try out a bunch of different objects and see if we can figure out which ones are magnetic! Are you ready to be detectives and find out?”
- You may explain that the students will get a chance to test the objects themselves using the magnetic flux sensor, and that they will be sorting the objects into magnetic and non-magnetic categories based on what they find.
Hands-On Exploration (15-20 minutes)
- Testing Objects:
- Step 1: Let students predict which objects are magnetic before testing them.
You may ask:
“What do you think will happen when we put the paperclip next to the sensor? How about this coin?”
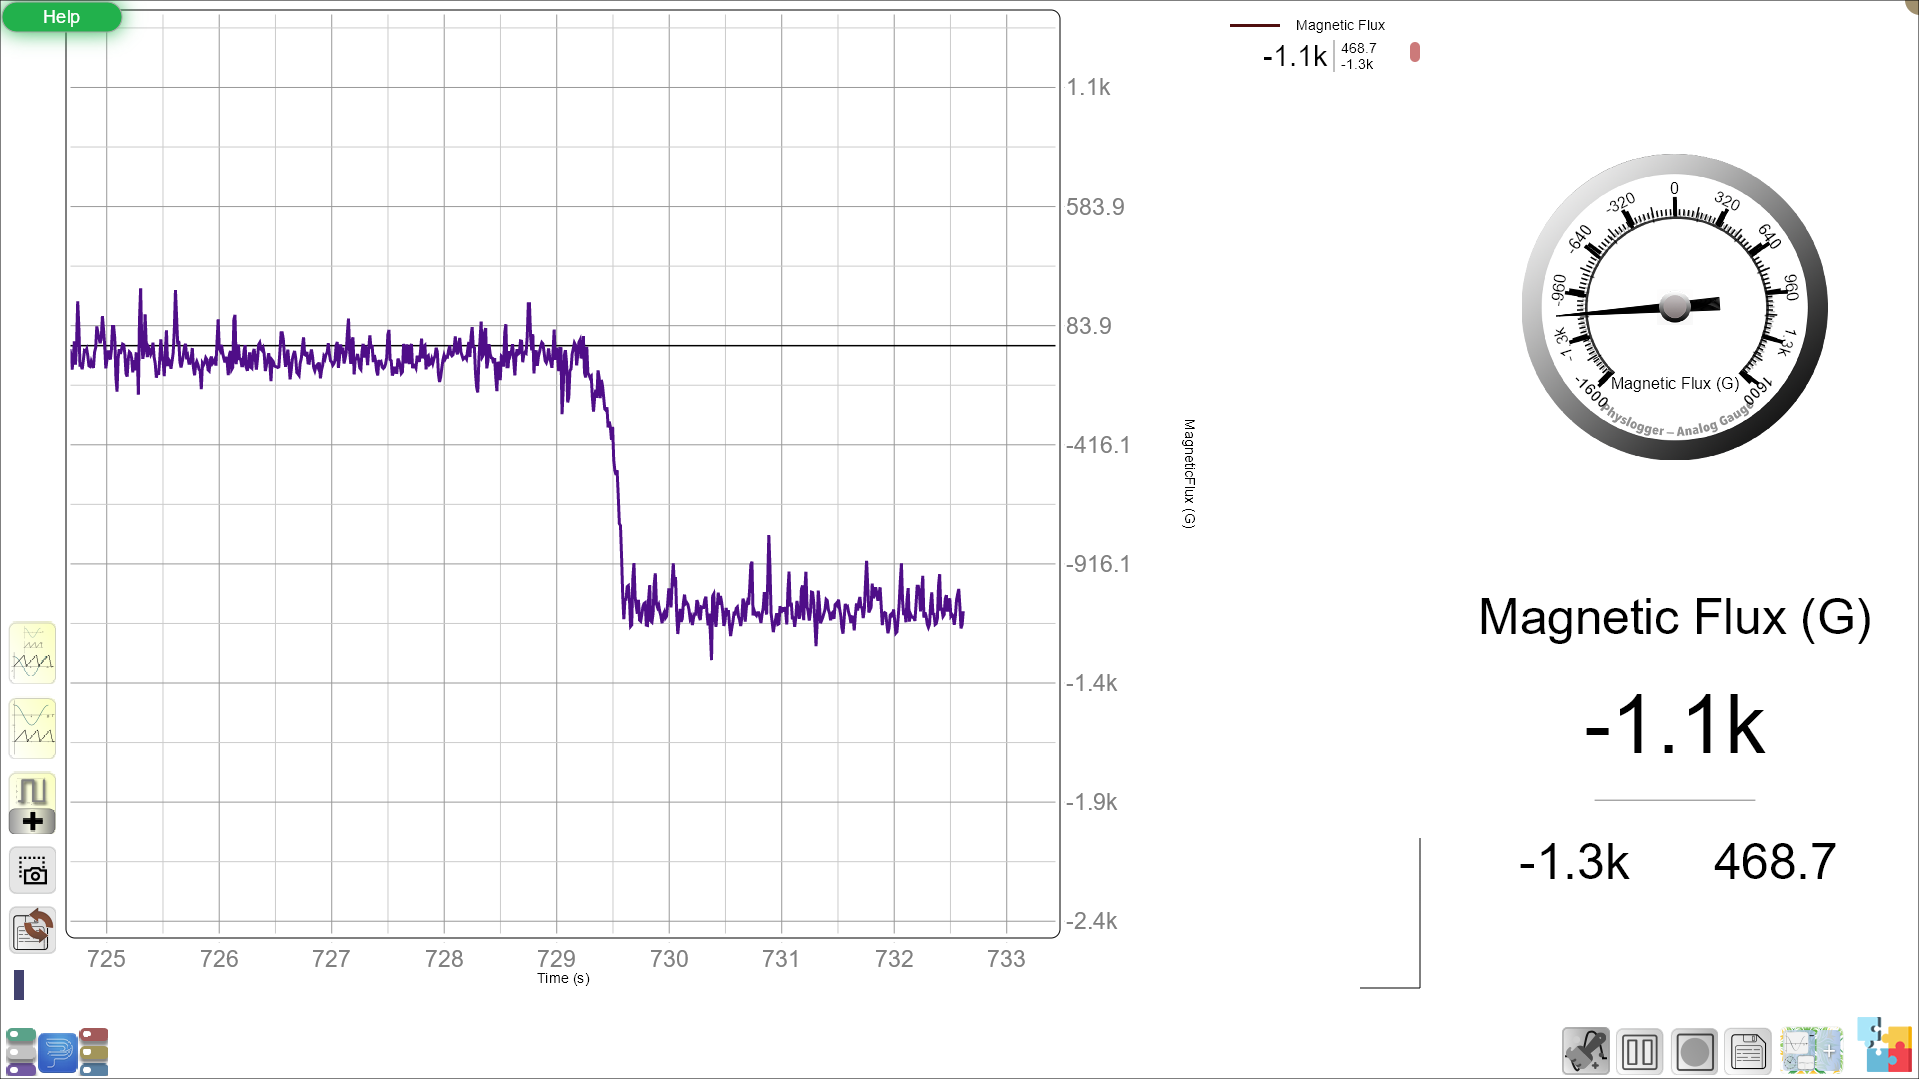
- Step 2: Test each object and have students observe the changes on the screen. Then can see the Gauge Needle moving as well as the number and live plot change on the screen. Encourage them to compare different objects.
Normal Sensor Reading:
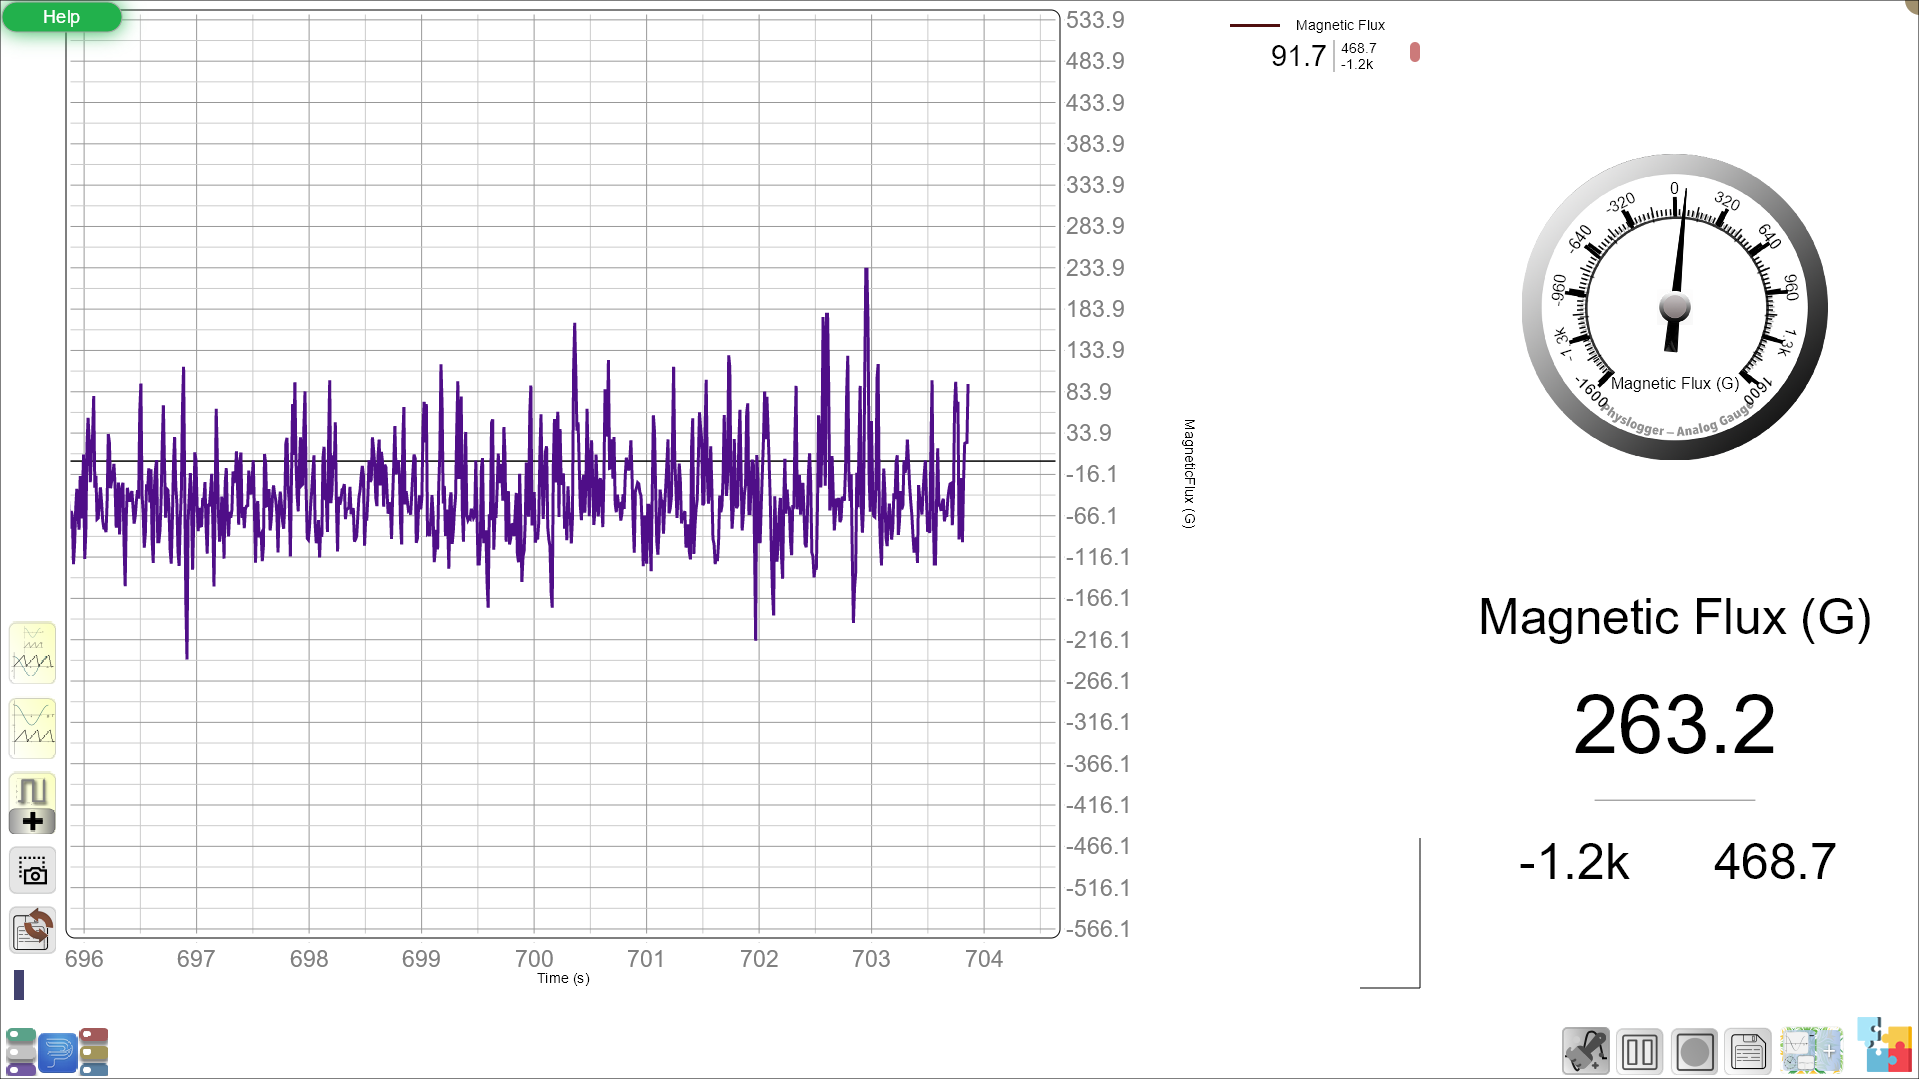
Sensor Reading close to a Magnet:
You may ask:
“What do you see? Did the screen change when the magnet was near the object?”
- Classifying Magnetic and Non-Magnetic Objects:
- After testing several objects, you may ask the students to help classify them into two groups: magnetic and non-magnetic.
You may ask:
“What do all the magnetic objects have in common? Can you find other things in the classroom that might be magnetic?”
- Encouraging Exploration:
- You may allow students to test different objects around the classroom, encouraging them to predict and check whether items like desk materials or other objects are magnetic.
Guided Activity (15-20 minutes)
-
Worksheet Activity:
- You may distribute a worksheet where students will:
- Record which objects were magnetic and which were not.
- Draw or color the objects they tested and sort them into magnetic and non-magnetic categories.
- Answer simple questions like: “What do all the magnetic objects have in common?”
- You may distribute a worksheet where students will:
-
Exploration of Distance:
- You may ask students to experiment with moving the magnet closer or farther from the sensor.
- You may ask: “What happens when you move the magnet closer? What happens when you move it farther away?”
- This helps students observe that the magnetic effect can change based on distance, even if they don’t yet need to understand the technical details.
- You may ask students to experiment with moving the magnet closer or farther from the sensor.
-
Class Discussion:
- You may bring the students together and ask them to share their discoveries.
- You may ask: “Which object surprised you by being magnetic or non-magnetic?”
- You may ask: “Did anything behave differently than you expected?”
- You may bring the students together and ask them to share their discoveries.
Summary and Reflection (5-10 minutes)
-
Conclusion:
- You may summarize the session by saying:
- “Today, we learned that some objects, like metal paperclips, are attracted to magnets, while others are not. We used a special tool to check which objects were magnetic and found that not everything is attracted to a magnet.”
- You may summarize the session by saying:
-
Reflection Questions:
- You may ask: “What kinds of objects are magnetic?”
- You may ask: “Can you think of any places where you might find magnets, like in machines or on your refrigerator?”
Glossary:
- Magnetism: A force that pulls some materials toward a magnet.
- Magnetic: An object that sticks to a magnet.
- Non-Magnetic: An object that doesn’t stick to a magnet.
- Magnetic Flux Sensor: A tool that shows when an object is magnetic.
Safety Considerations:
- Ensure students handle magnets carefully and keep small magnets away from their mouths.
- Remind students not to place magnets near electronic devices.
Next Session
Previous Session